Employees
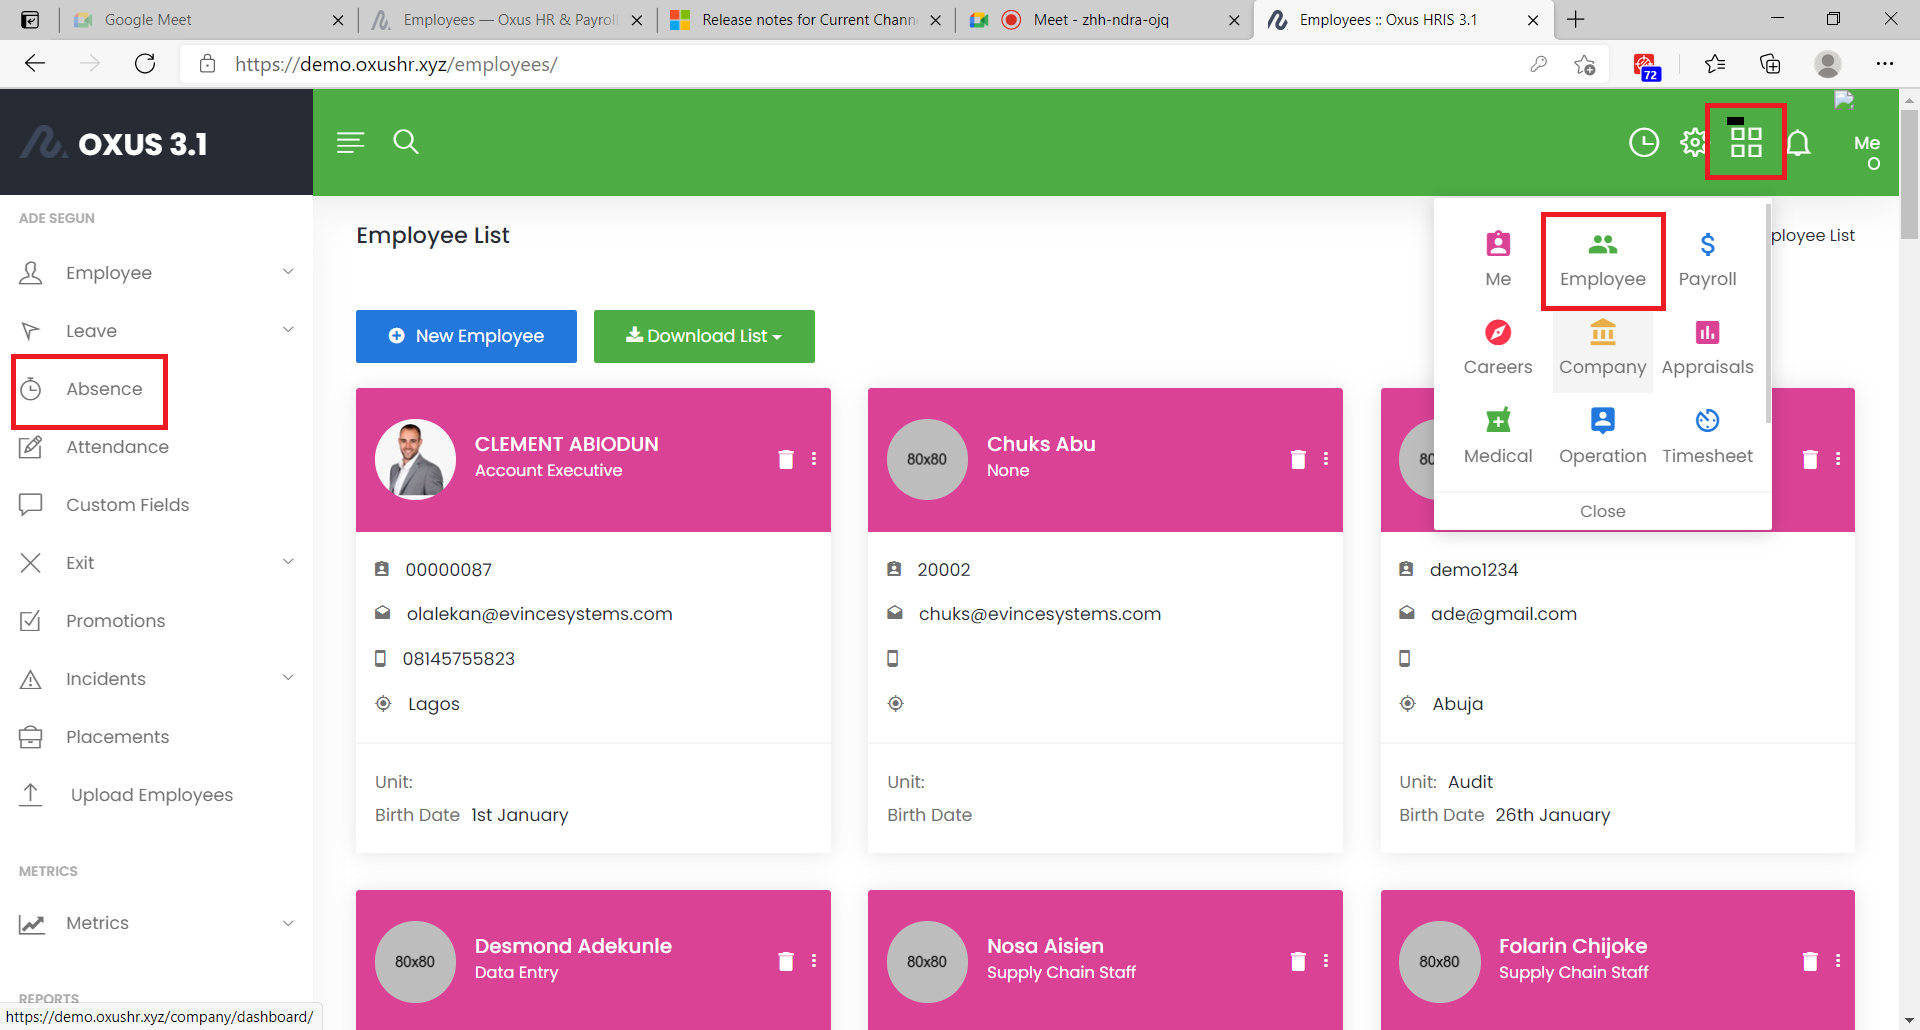
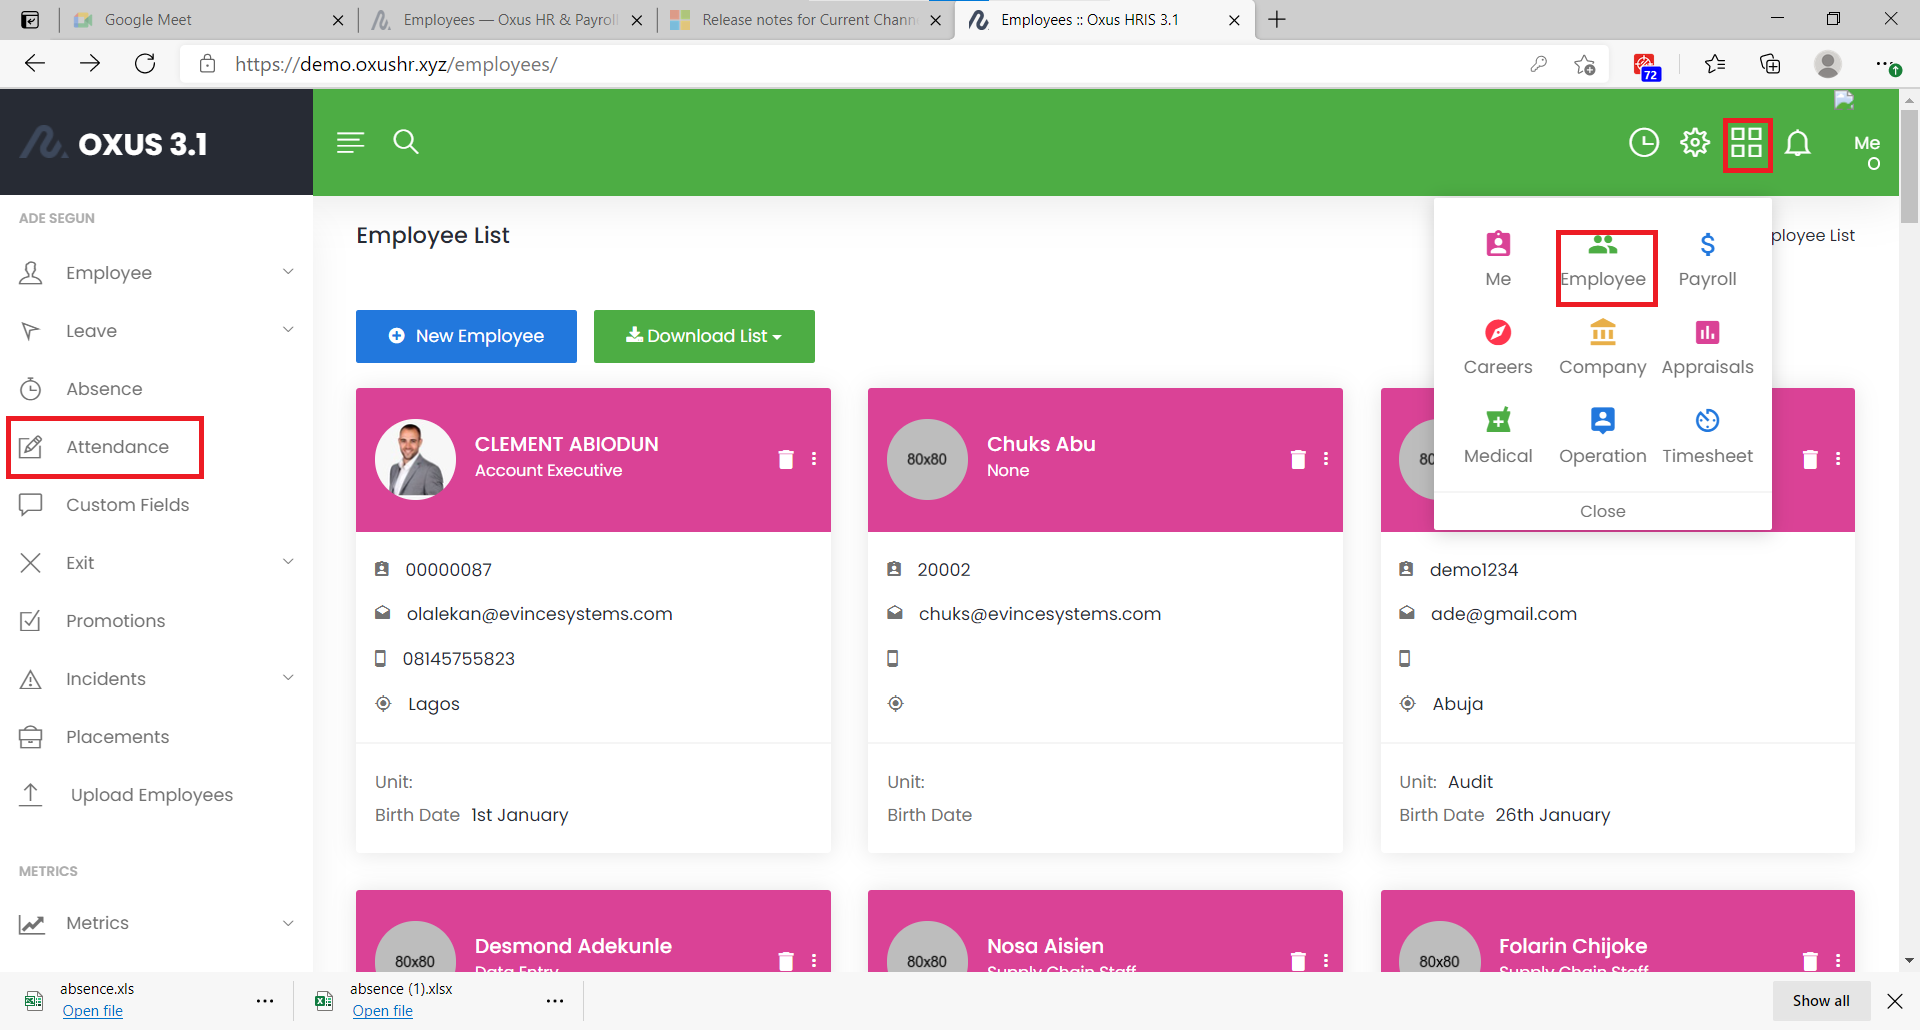
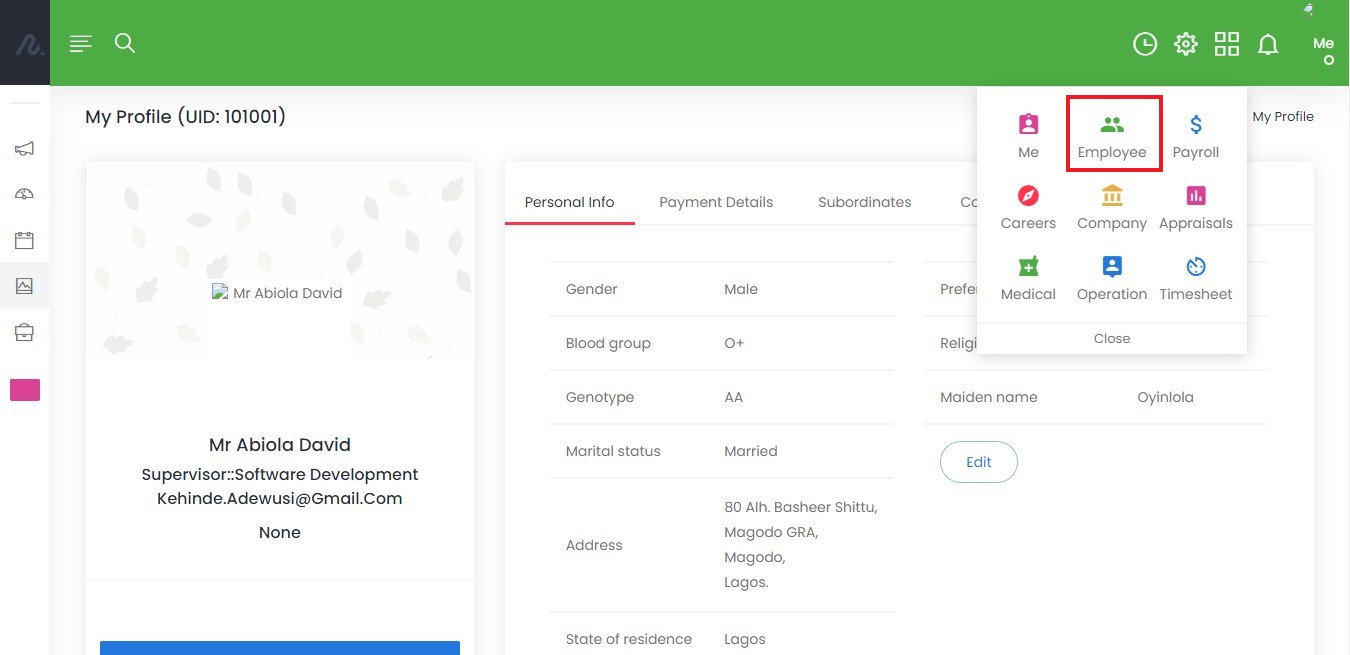
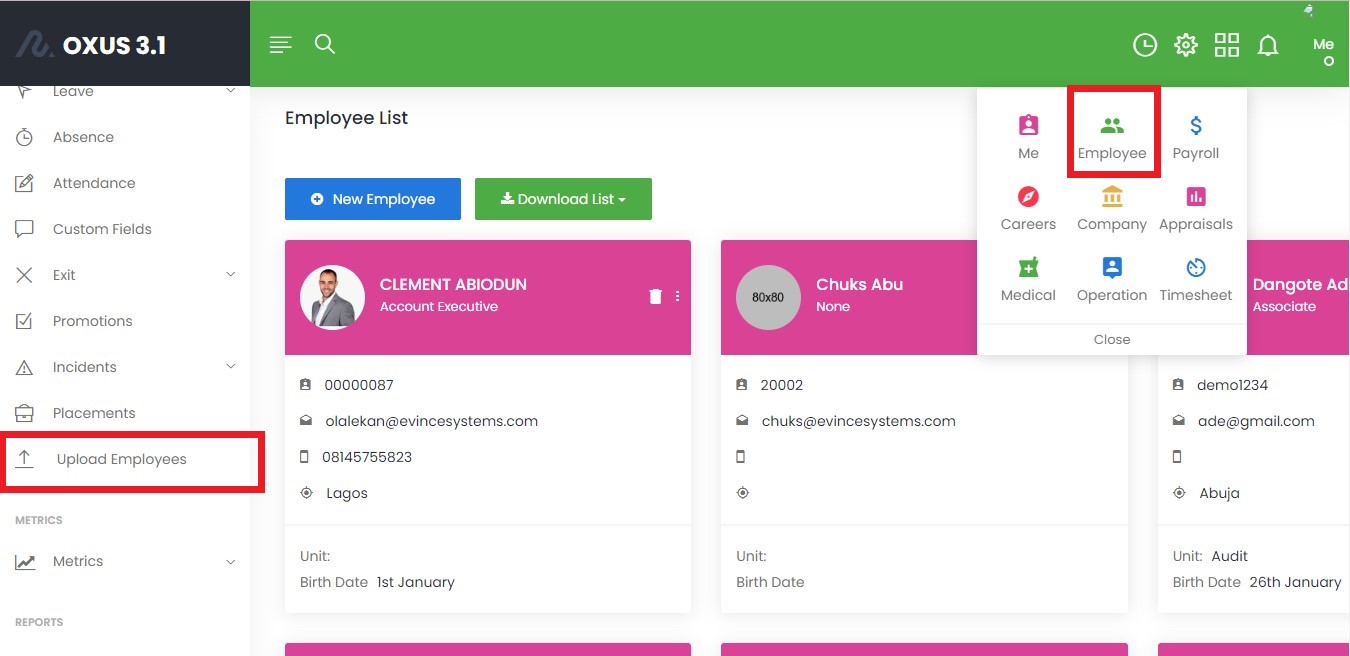
To view the employee module, select employee from the top-right corner module selector.
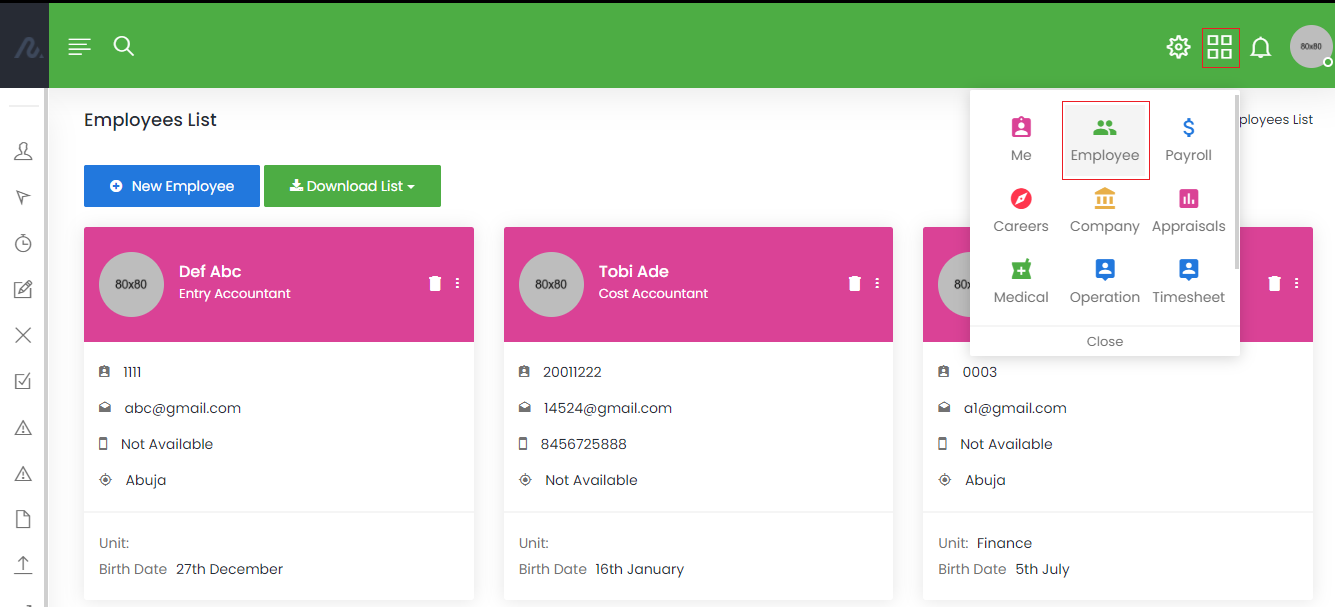
The employee module provides functionality to manage individual employee or all employees collectively. The employee module being a large one, is broken down into a number of sub-modules to provide clarity in the management of employees in the application. Sub-modules are listed below.
Employee List
To present a well organized data and view of all employee data, each employee is represented in a card view which reveals their basic information (profile picture, name, position, username, email, phone number, location, unit and birth date).
Managing Employee List
Edit Employee
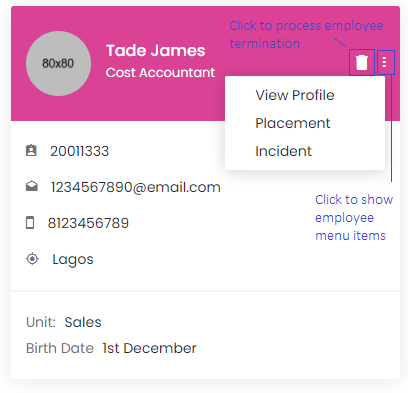
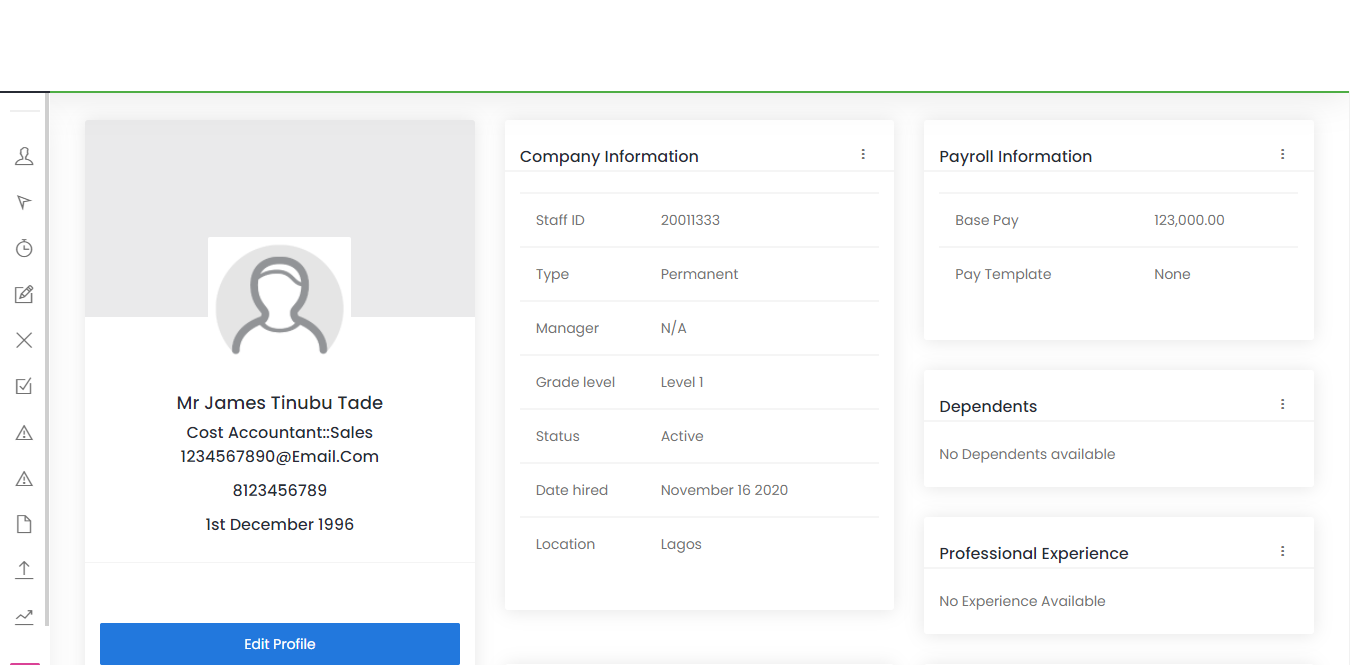
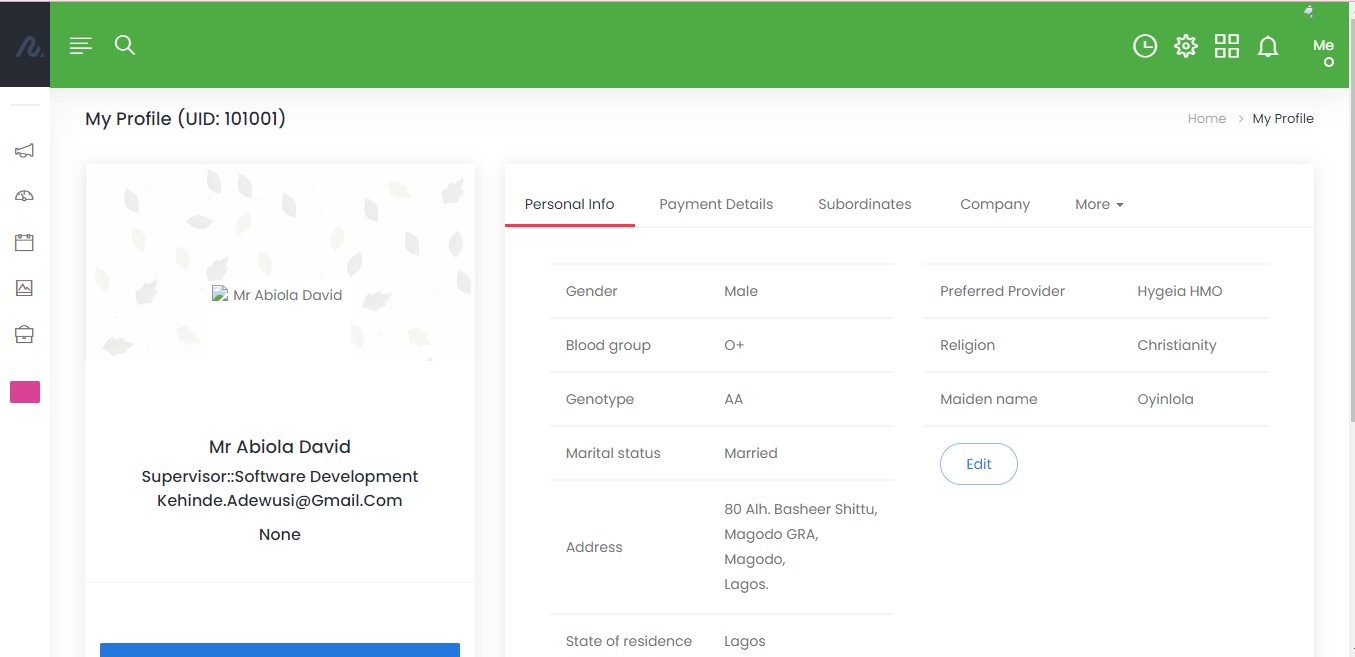
To edit an employee, click on the menu icon on the employee card, select “view profile” then click on the “edit profile” in the presented page. An in-page form loads just below the button to give optimum user experience. Make desired changes and click on submit to effect the changes.
Note
Employee profile page contains a number of related attributes of an employee which are also editable with an in-page form. To edit/add an attribute on the employee page, click the menu icon on the attribute card and select the appropriate item in the menu.
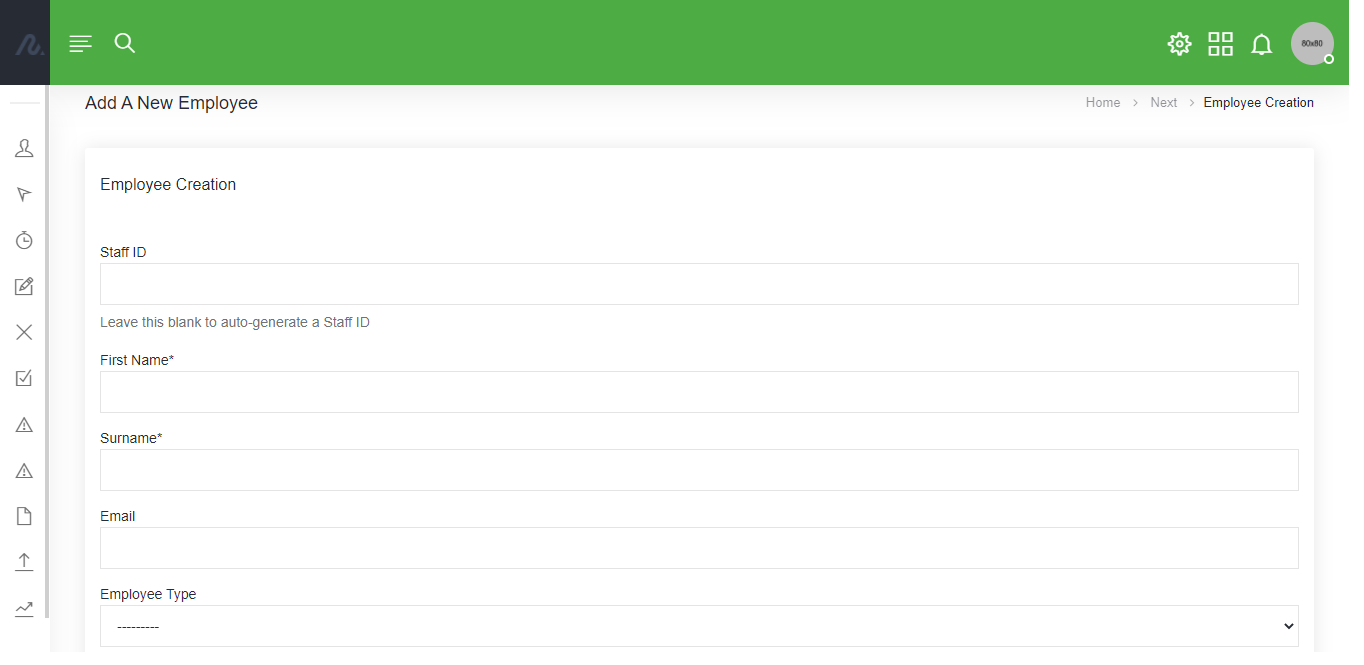
Create New Employee
To create a new employee, use the “New Employee” button and fill out the form with the required details.
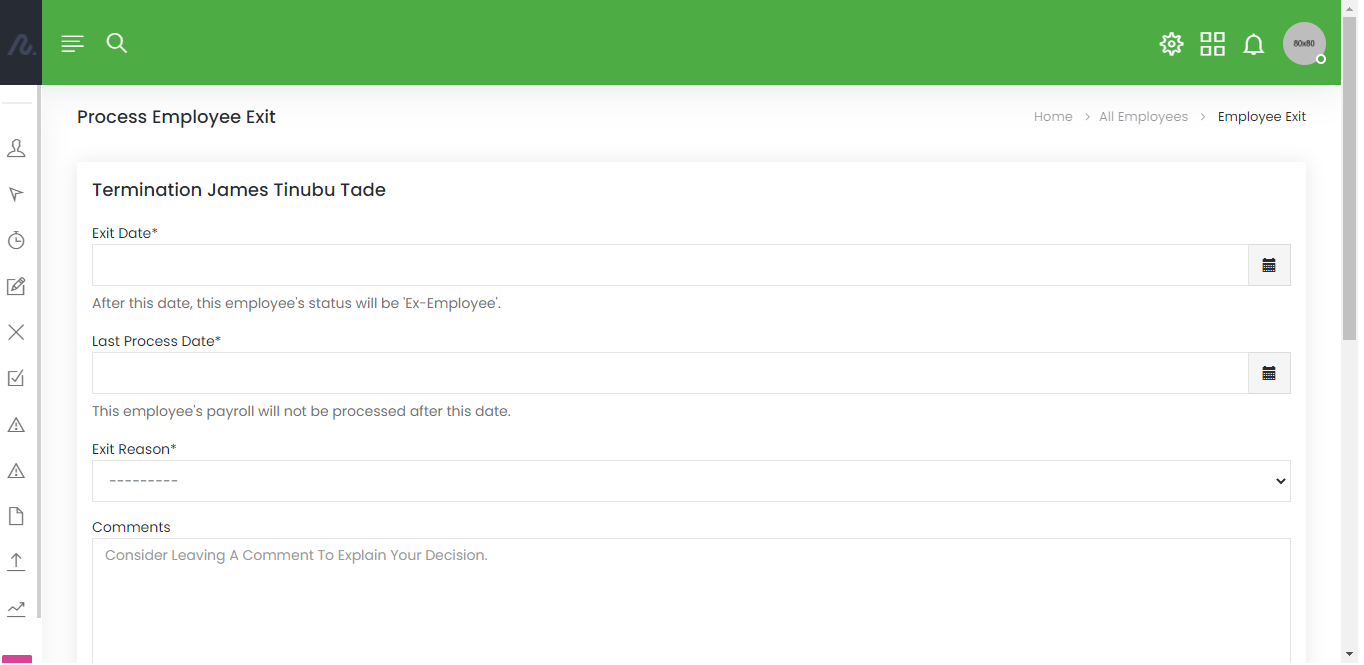
Terminate Employee
To process an employee termination (exit), click the bin icon on the employee card and fill out the form with required details.
Download Employees
Employees data can be collectively downloaded in a single excel sheet. They can be filtered by Units or Locations
Employee Type
Employee type is a group defined by how employees are paid. Employee Types are used for payroll, time tracking and reporting purposes. Examples are Full-time Hourly, Part-time Salaried, and Contractor employee type. this application provides the flexibility to cater for as much as required employee types.
Managing Employee Types
Employee Type entries can be added, edited and deleted.
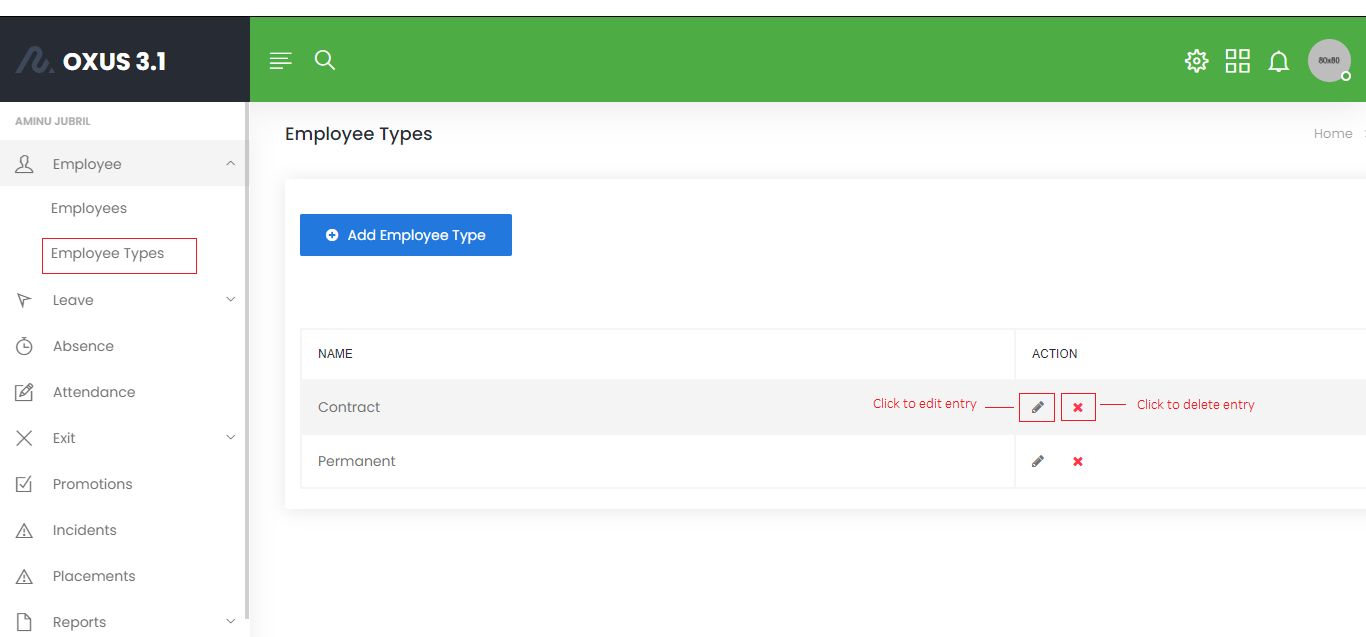
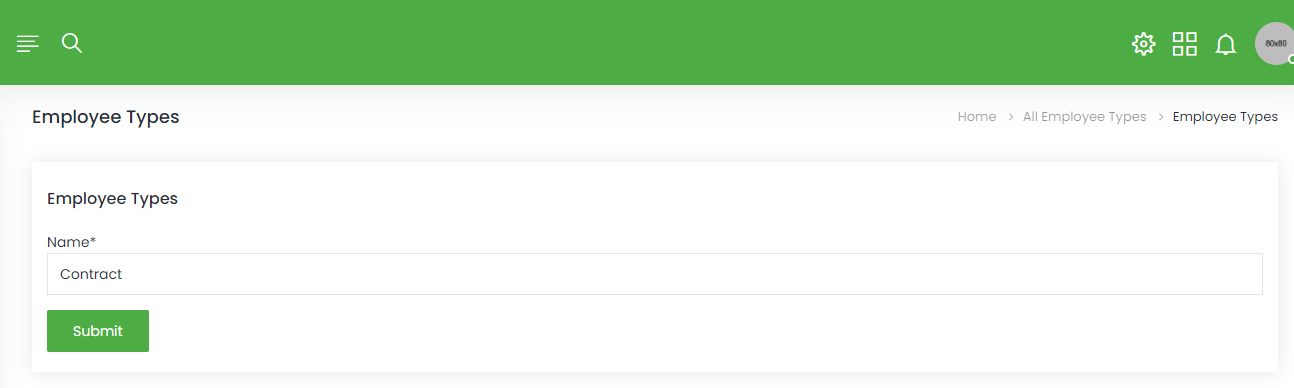
Add Employee Type
To create a new employee type, use the “Add Employee Type” button and fill out the form with the required details.

Edit Employee Type
To edit employee type, click on the pen icon and make desired change on the fields you wish to edit in the presented form.
Delete Employee Type
To delete an entry of employee type, click the close icon on that particular entry row.
Absence
The Employee Absence page is useful for managing employees’ absence. It allows employers to track the absence history of their employees and helps in maintaining accurate records. Absence is located in the left menu of the employee module.
Absence Report filter
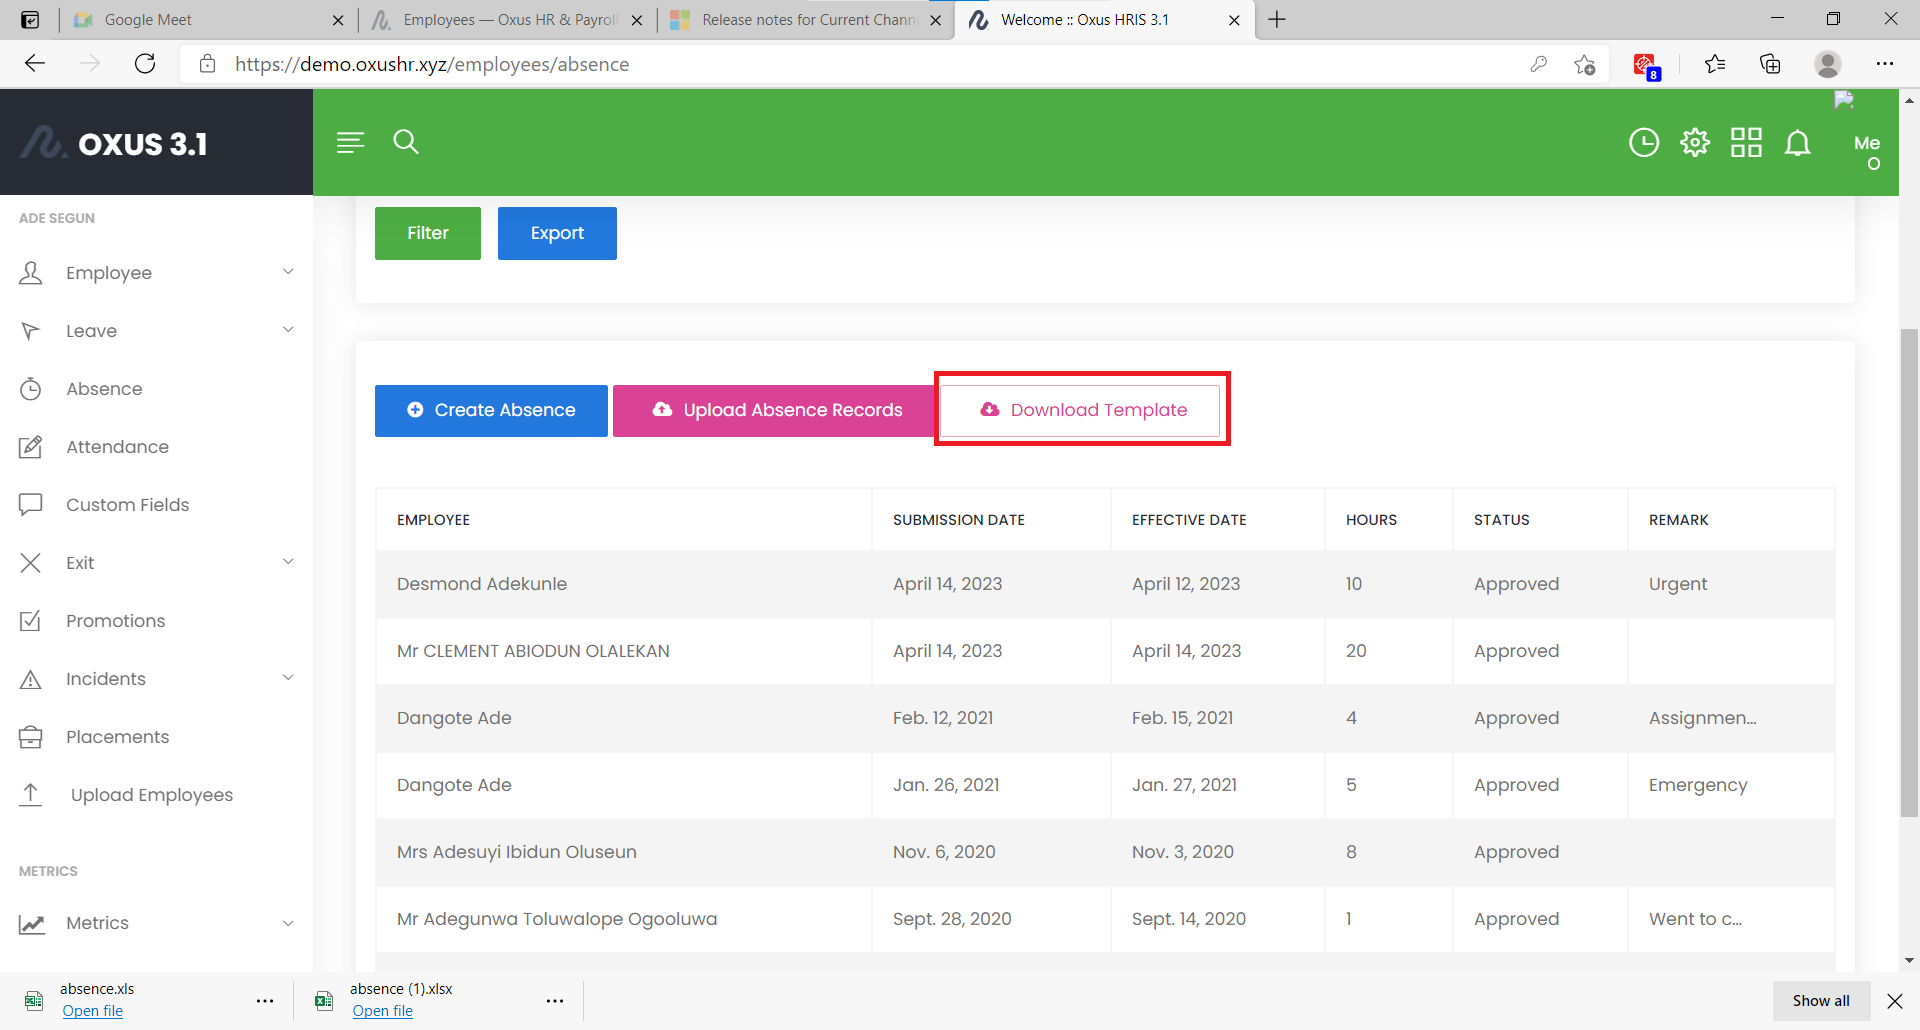
The Report Filter enables dynamic population of the absence history table based on selected filter criteria. You can filter the report by employee, status, start date, and end date. By default, the report displays all employees with their absence records. After selecting your desired filter options, click on the ‘Filter’ button to generate the report. If you would like to download the report, click on the ‘Export’ button.
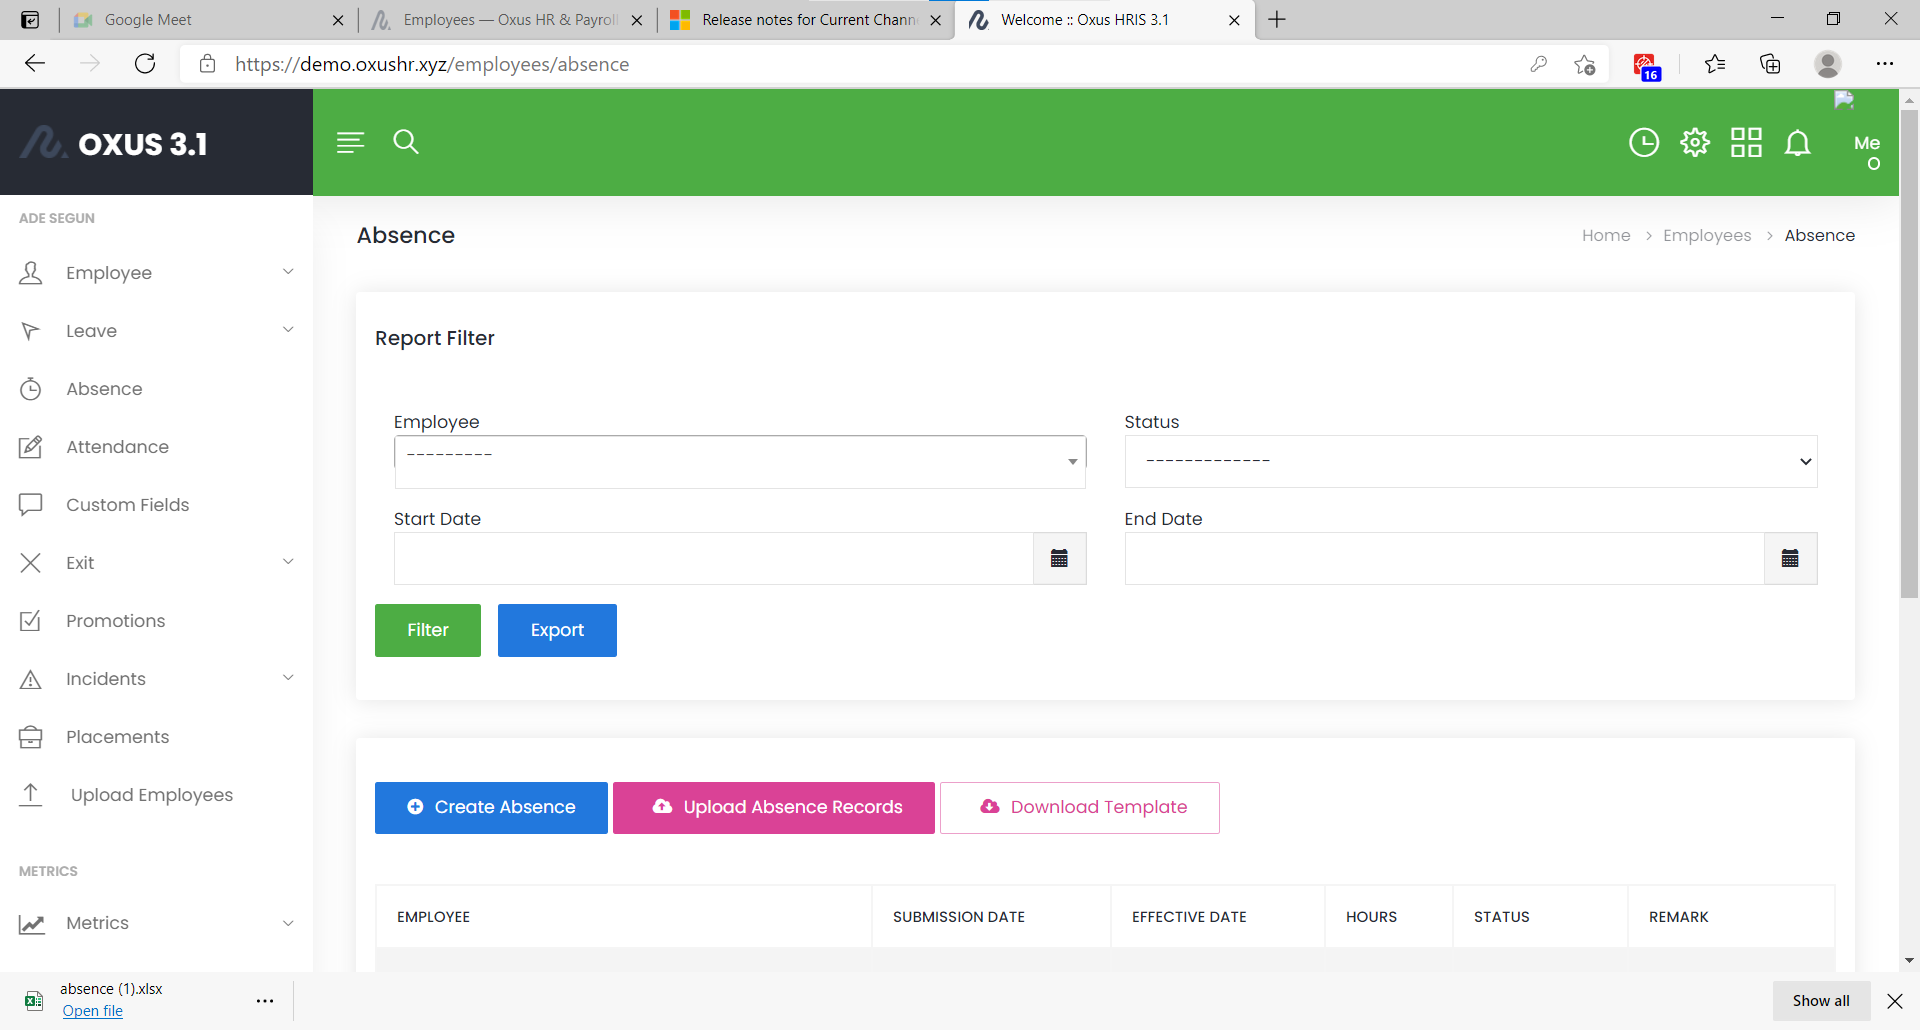
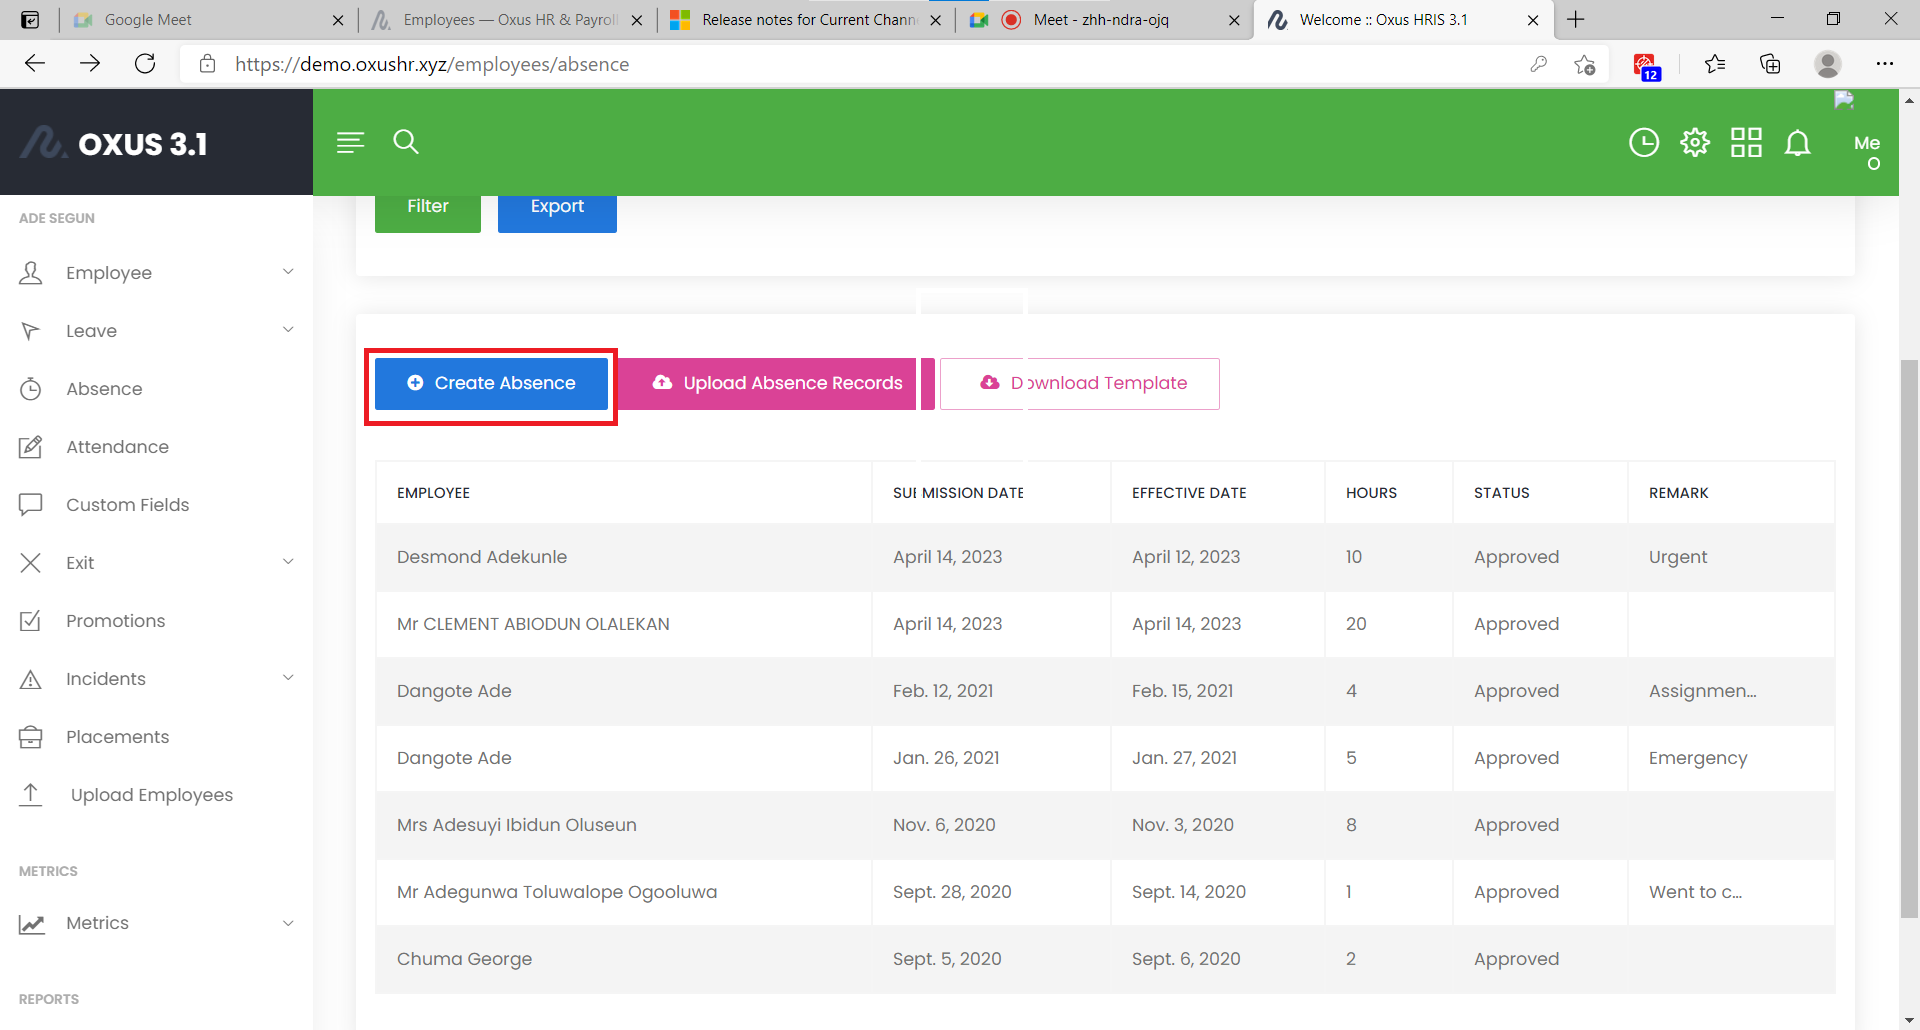
To create absence, click on ‘create absence’ button and fill the necessary fields then click on the ‘submit’ button
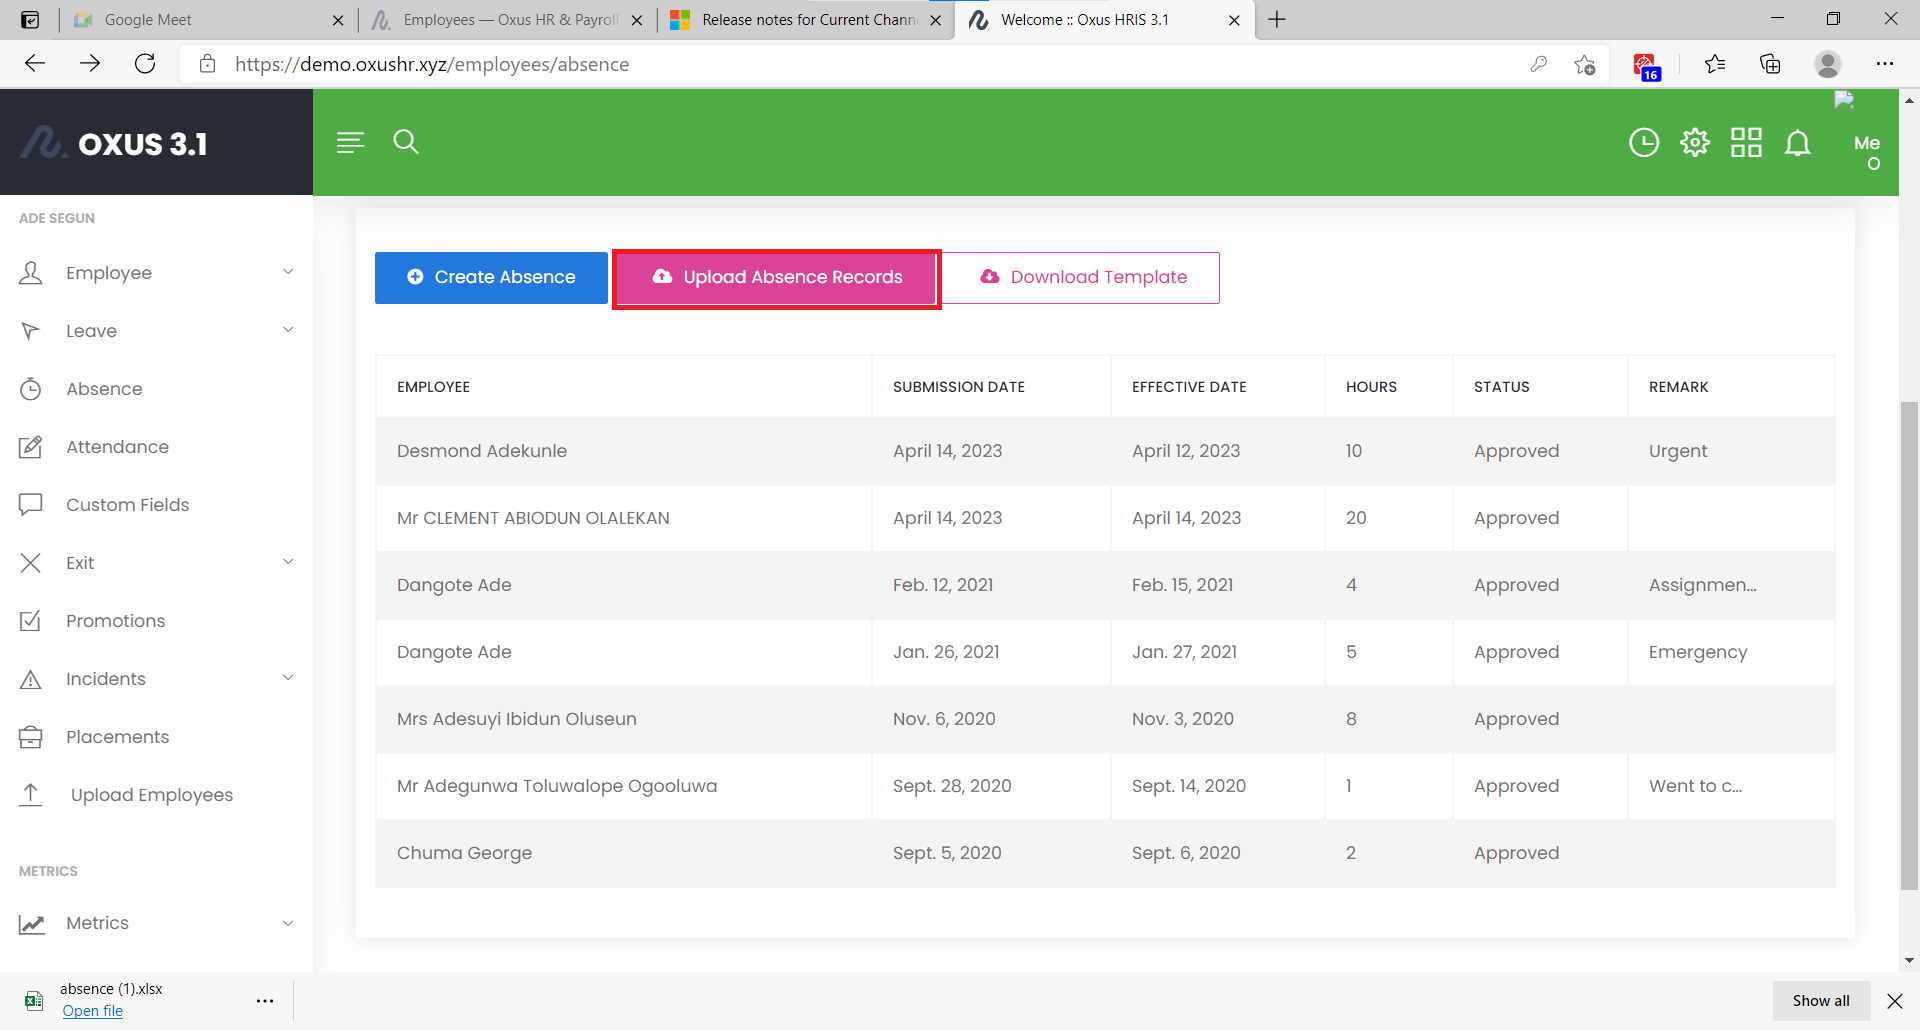
Absence Upload
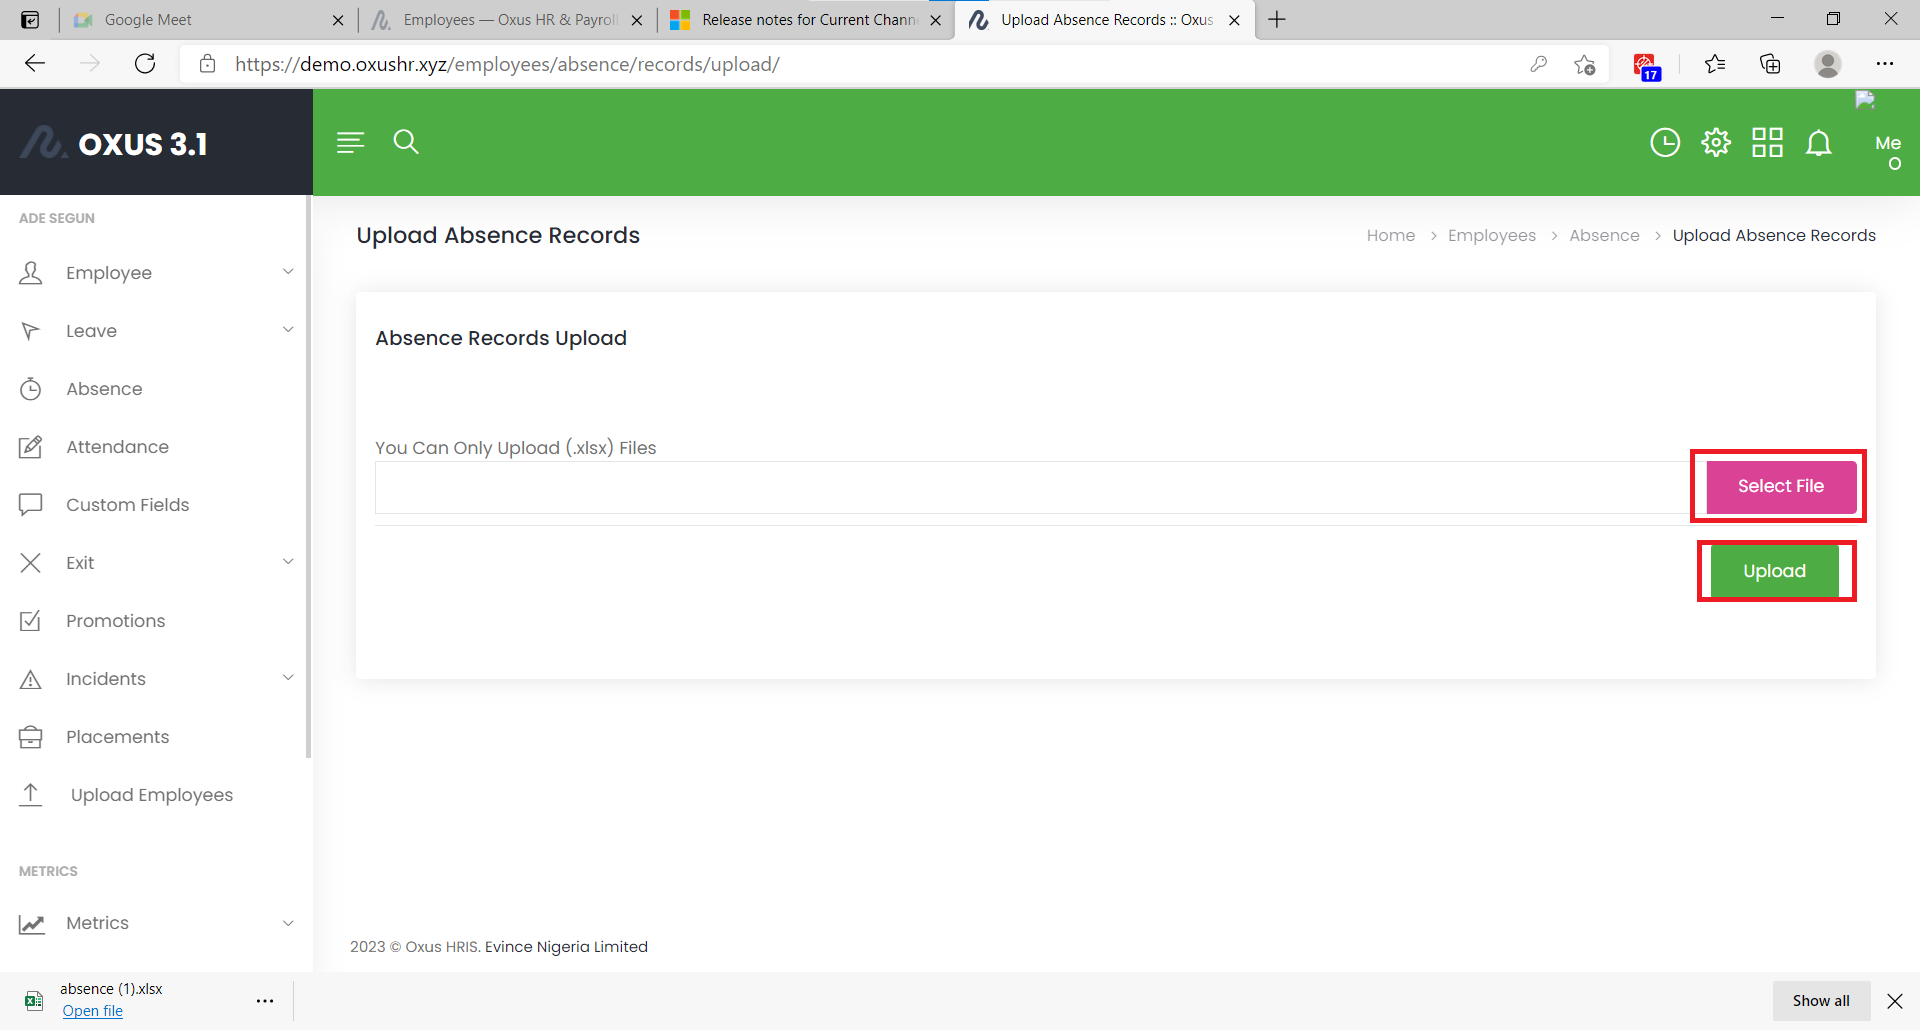
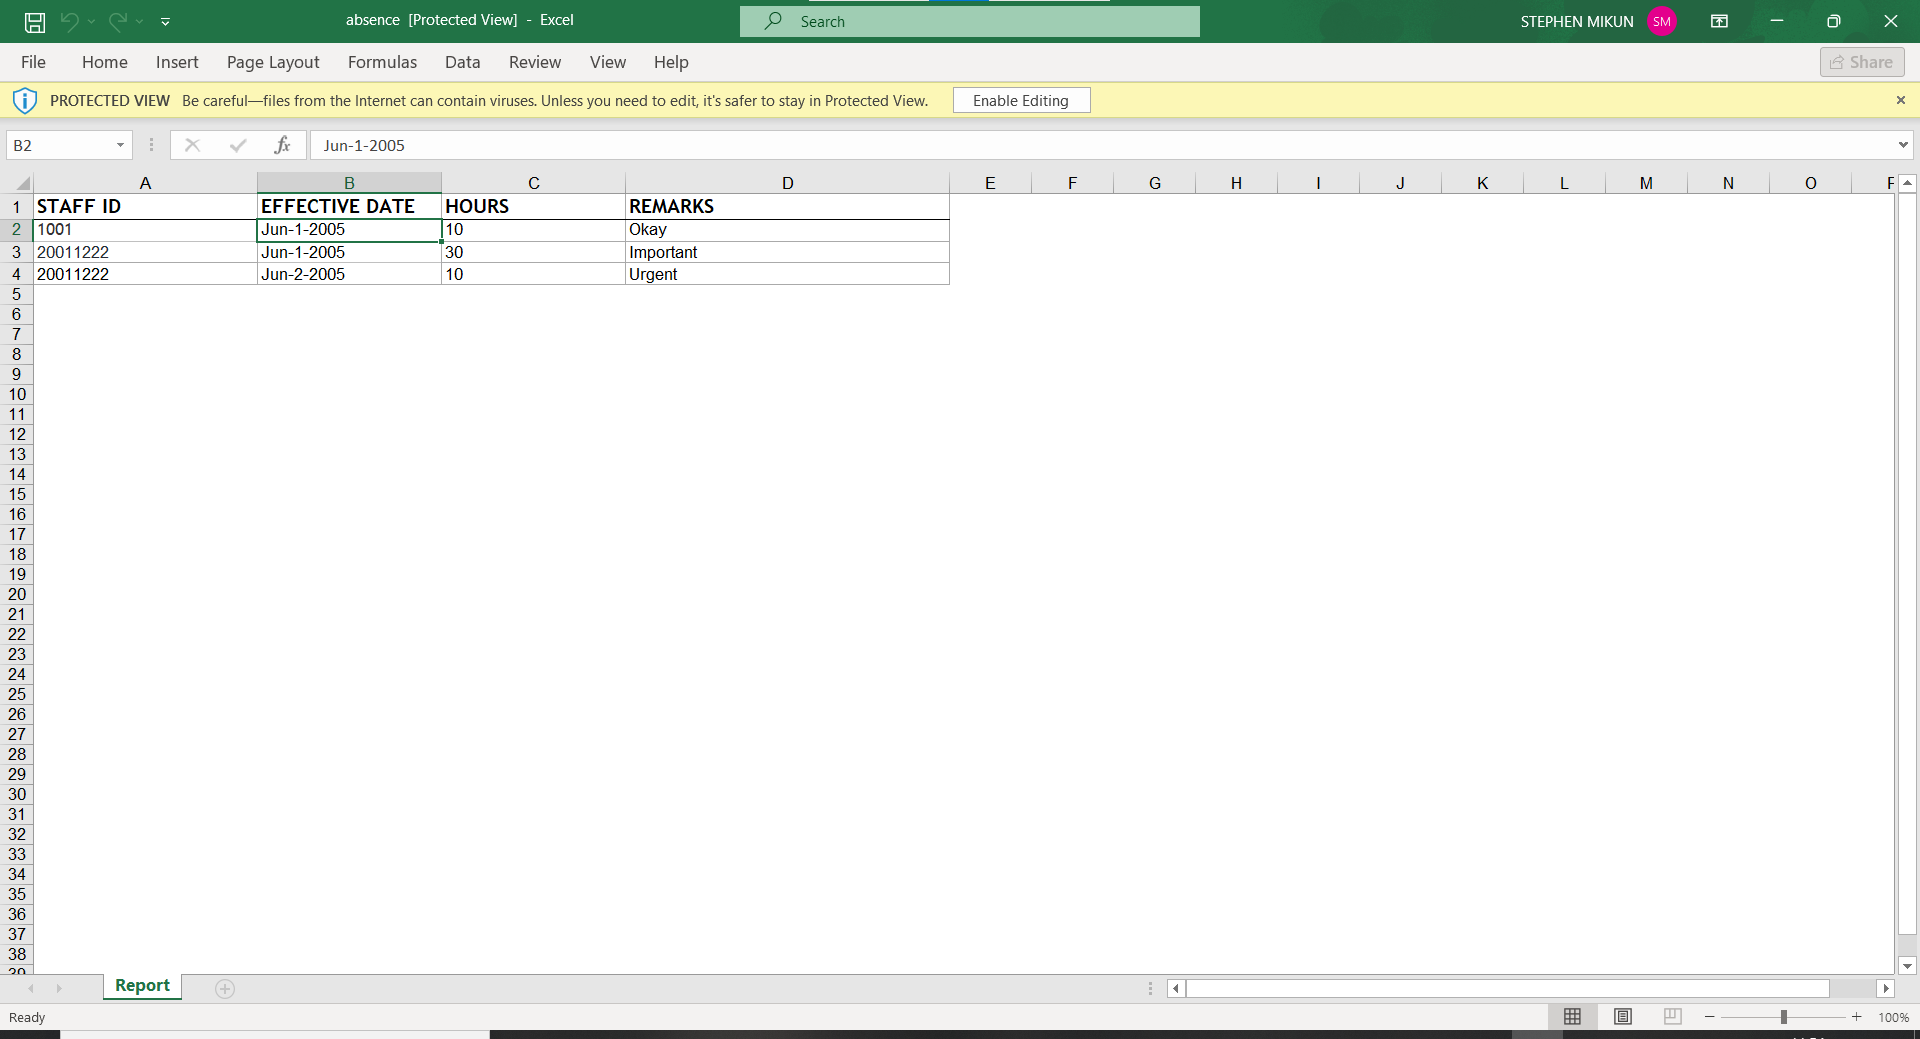
In event that there is a need to create a large number of absence records, the upload feature makes this easy to achieve. Click on the “Download template” to get a guide which has a prepared format to enable a smooth upload experience. You may choose to edit the downloaded file (this is recommended) or model it to create yours. On completion of the file to upload, click the ‘Upload Absence Records’ button, select the prepared (.xlsx format) file, then click ‘upload’ to proceed.
Download Template
To download template, click on the ‘Download Template’ button. You can go further to edit the downloaded template
Attendance
The Employee Attendance page is essential for tracking employee attendance and working hours. It provides a simple and convenient way for employees to submit their attendance. It also enables employers to manage their staff efficiently. Attendance is located in the left menu of the employee module.
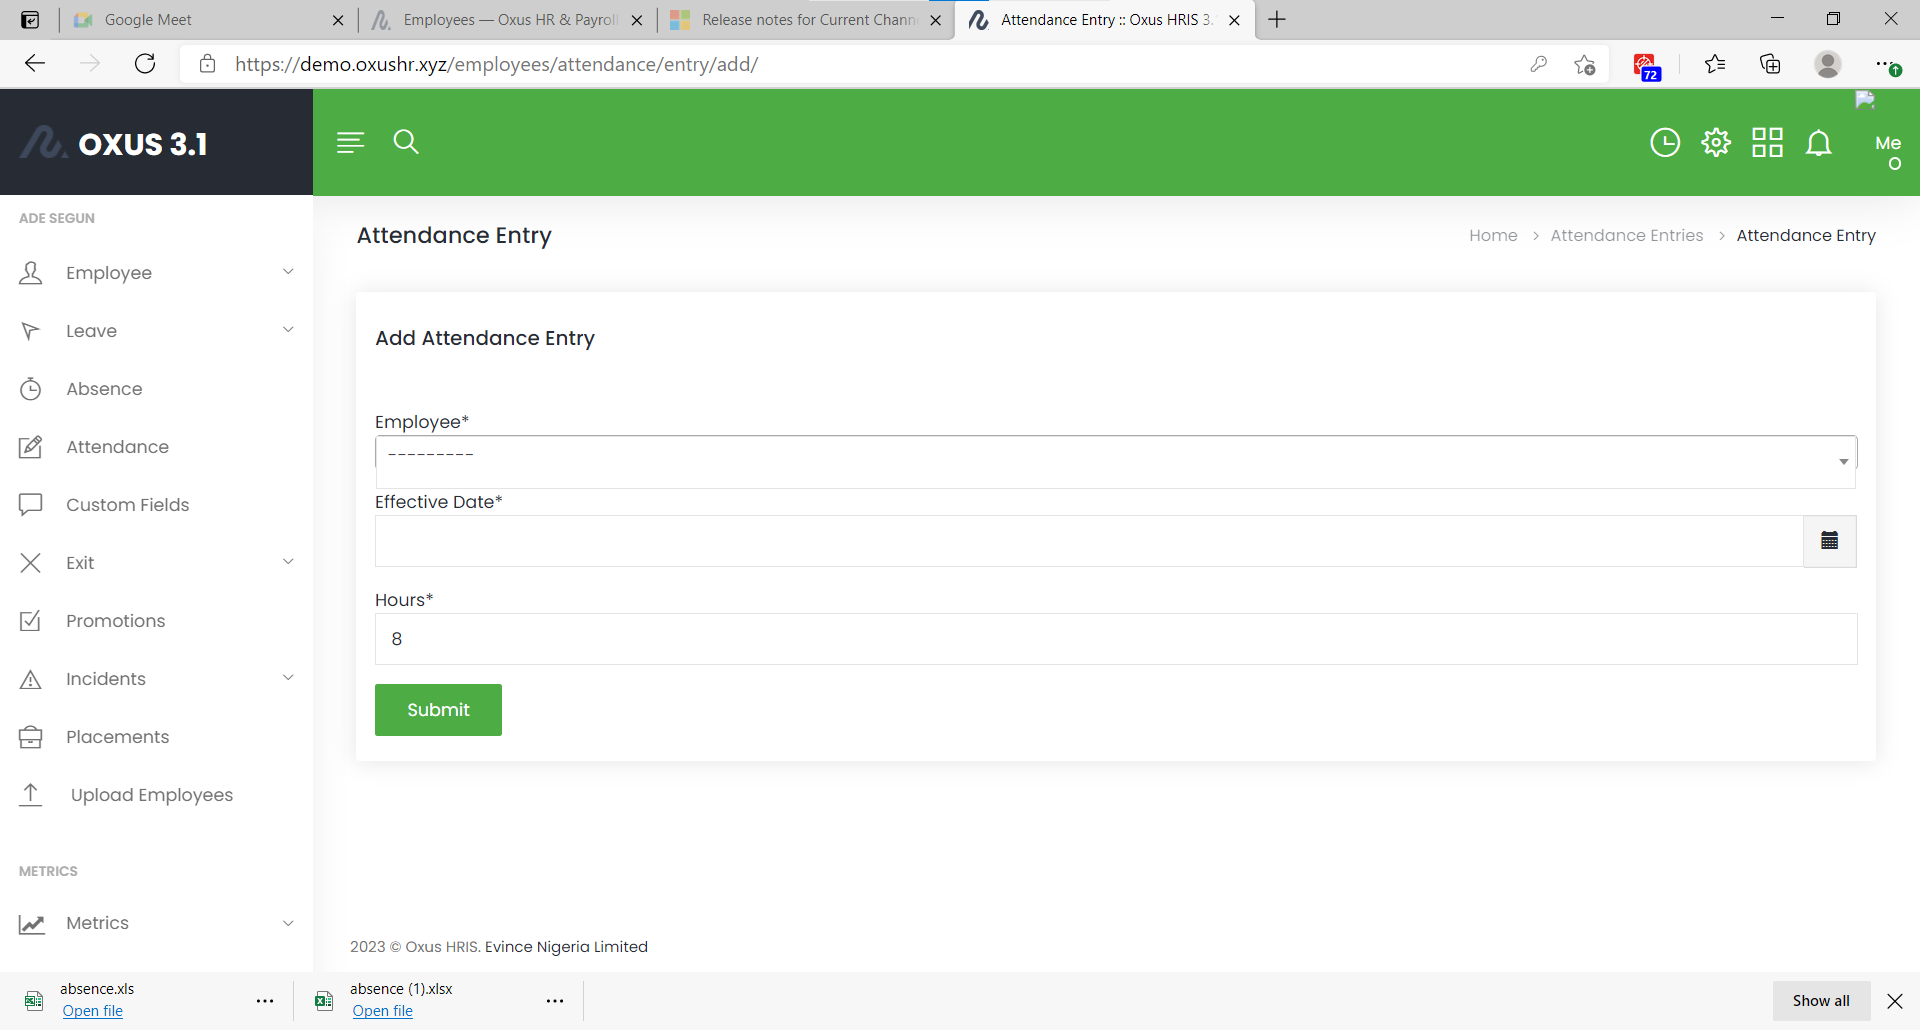
Attendance Entry
To add attendance entry, click on the ‘Add Attendance Entry’ button and fill out the necessary columns and click the ‘Submit’ button.
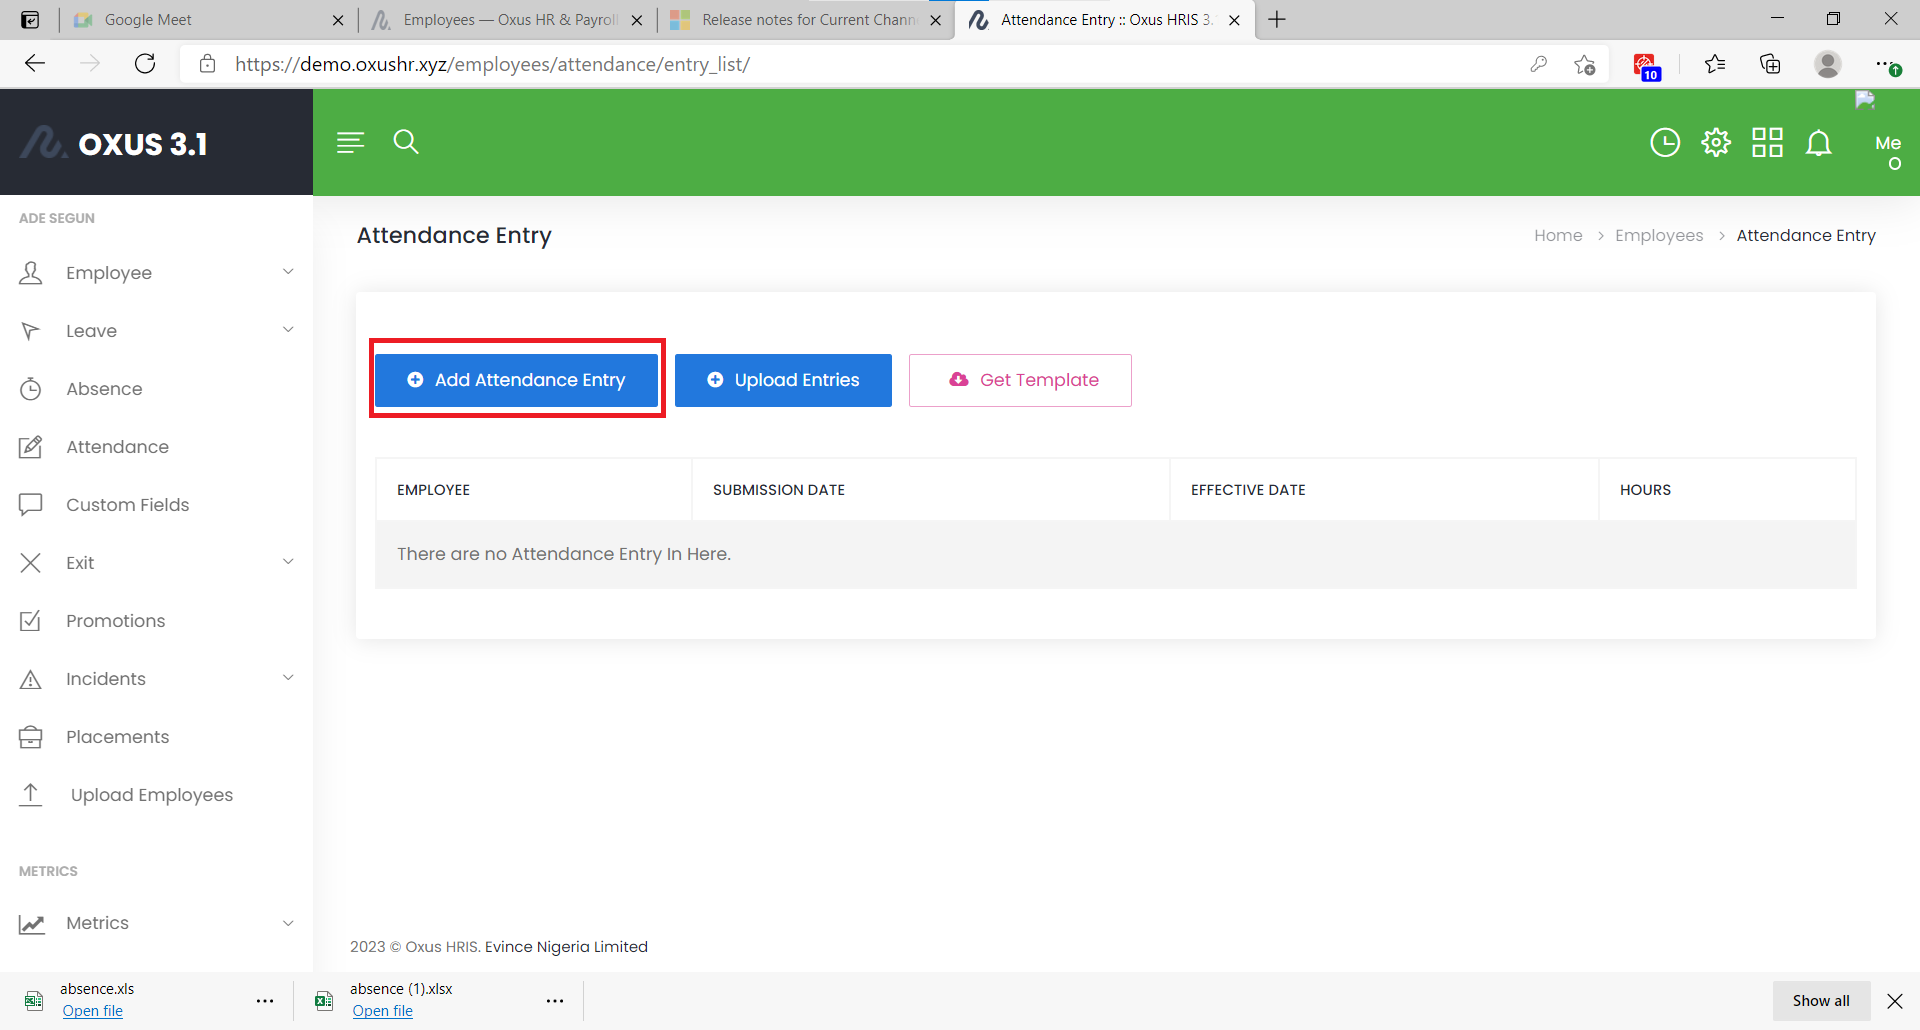
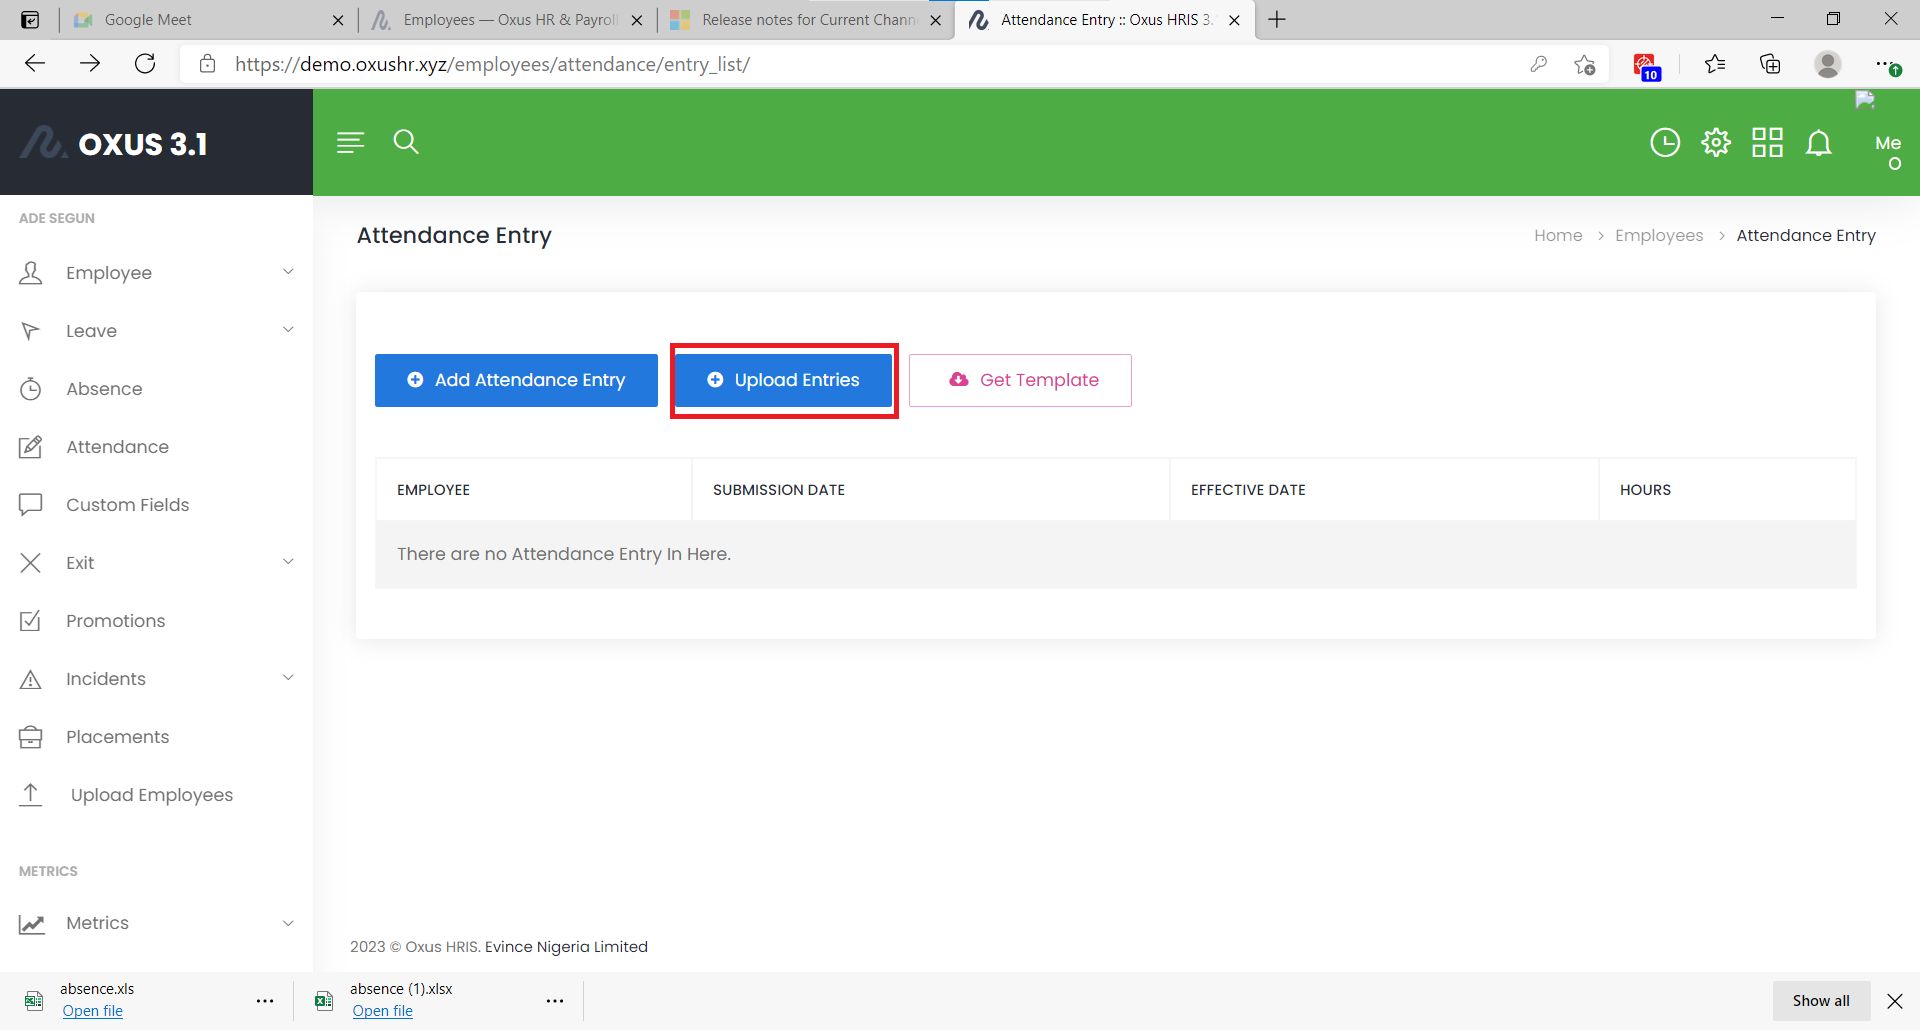
Upload Entries
To upload entries, click on the ‘Upload Entries’ button, click on ‘select file’ button and select your file, then click on the ‘Upload’ button to upload the selected file.

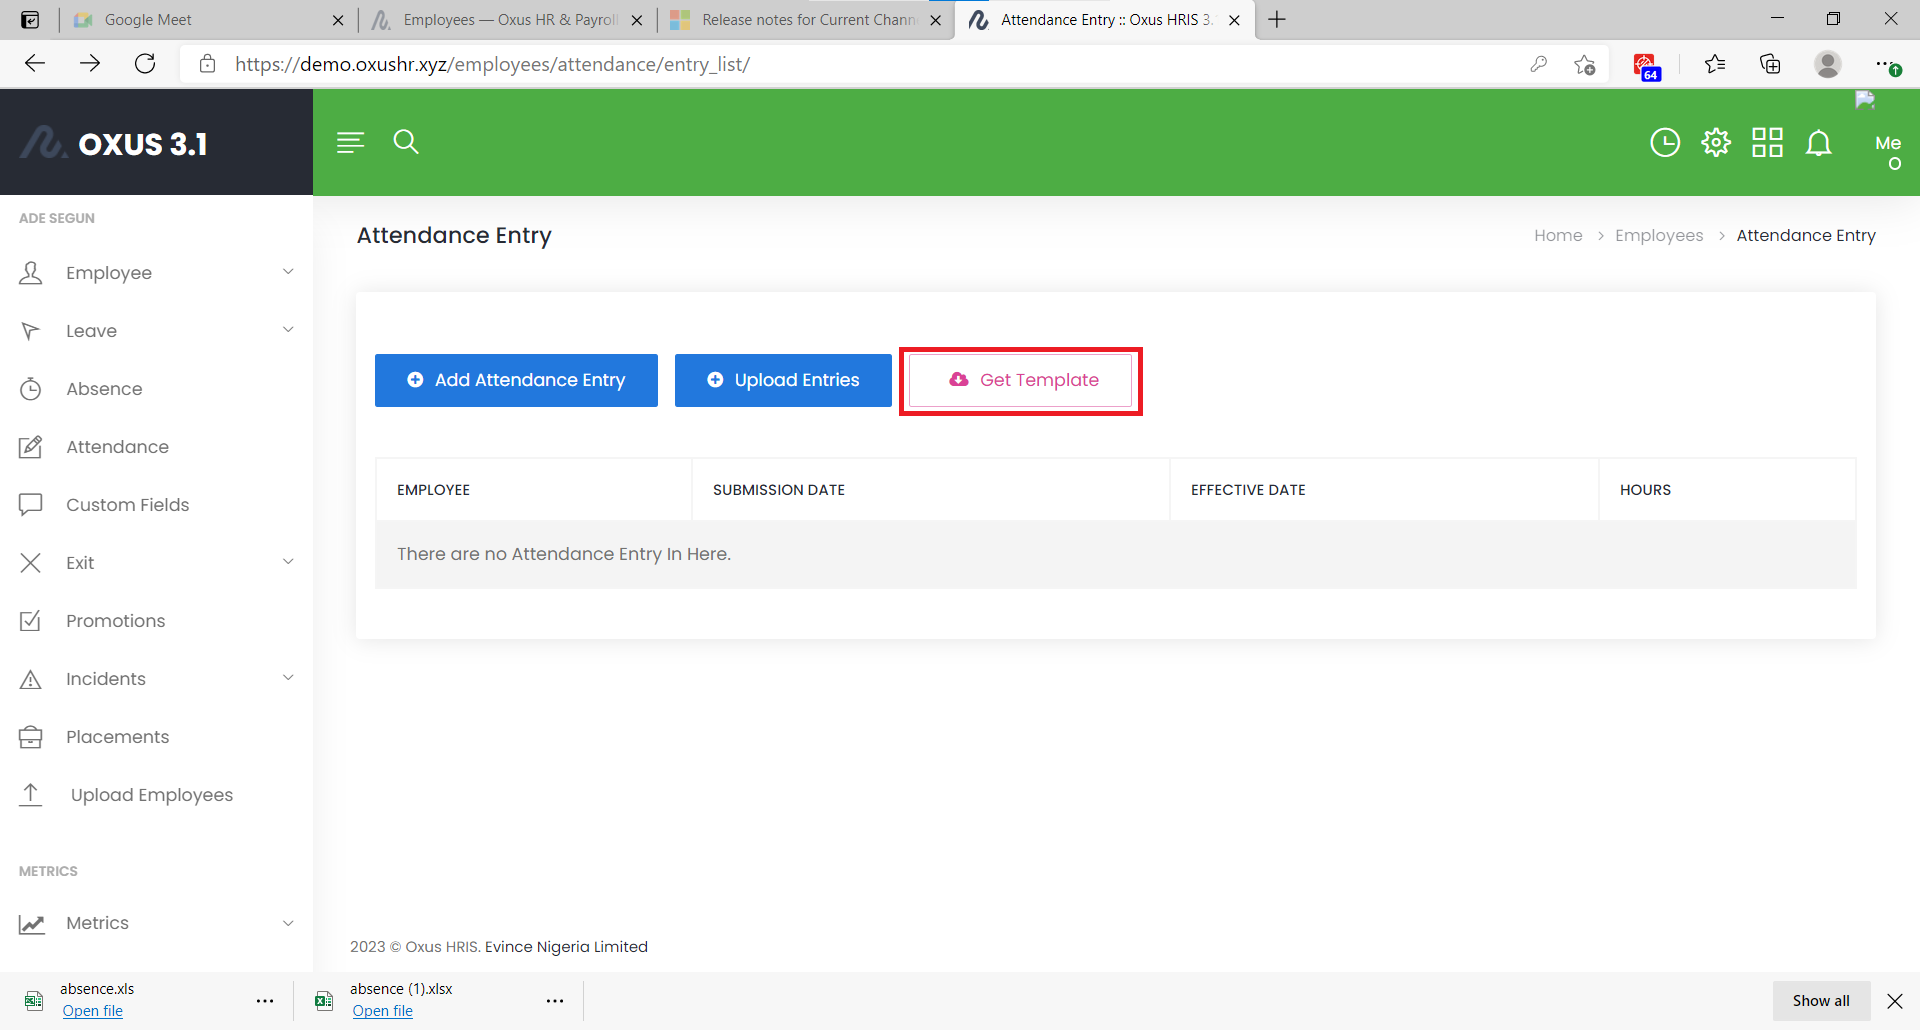
Get Template
To get template, click on ‘Get Template’ button which will enable you download the attendance.xlsx template file. You can go further to edit the attendance file when you open the file.
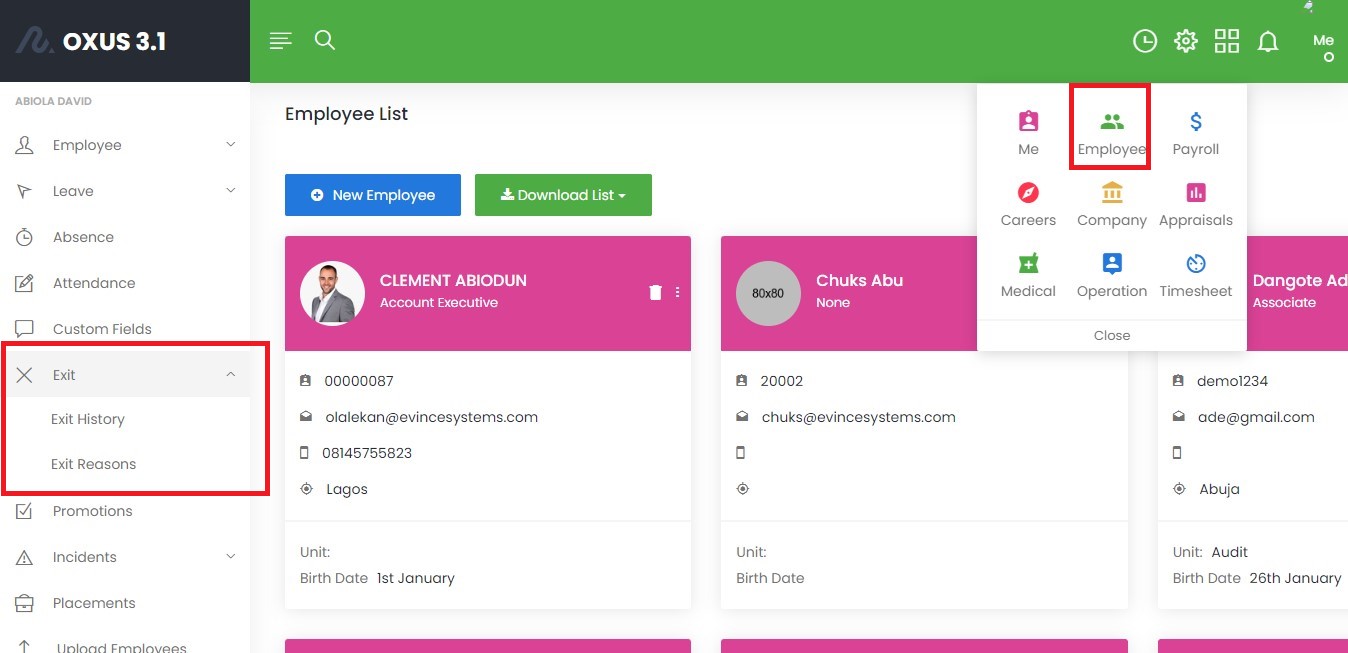
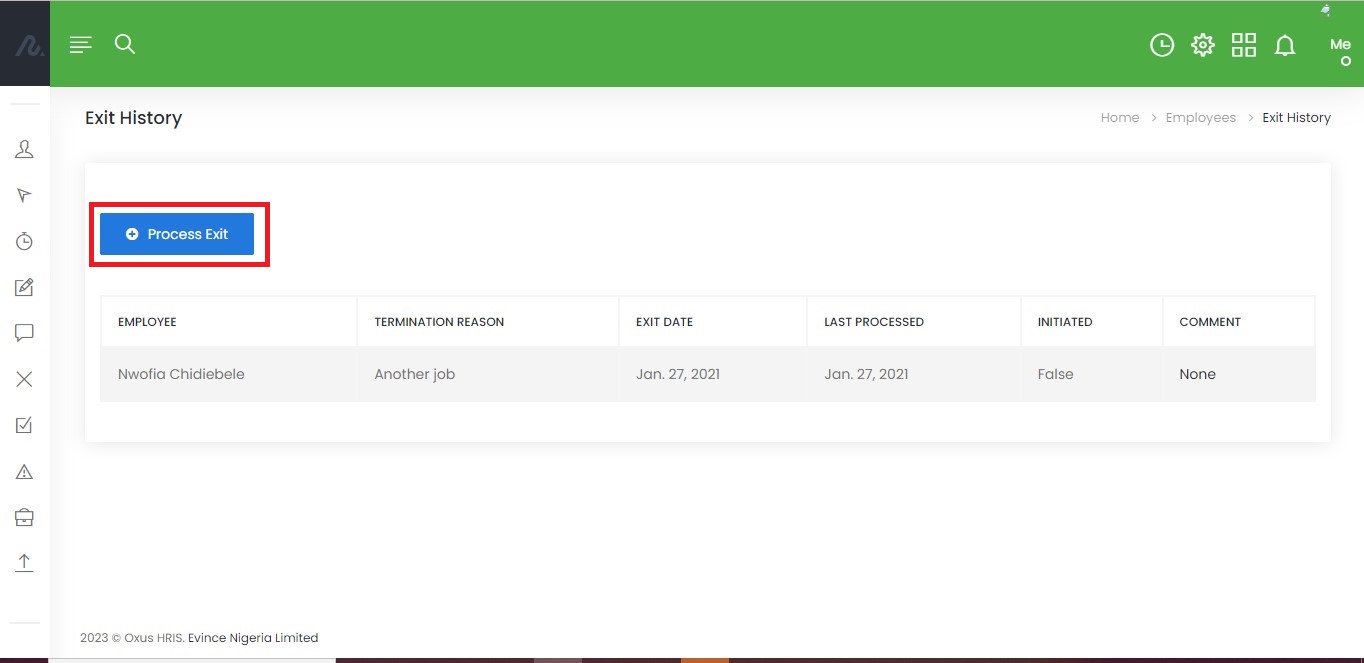
Exit History
The Exit History shows the record of employees leaving the company, the reasons for Exit and the date of Exit.
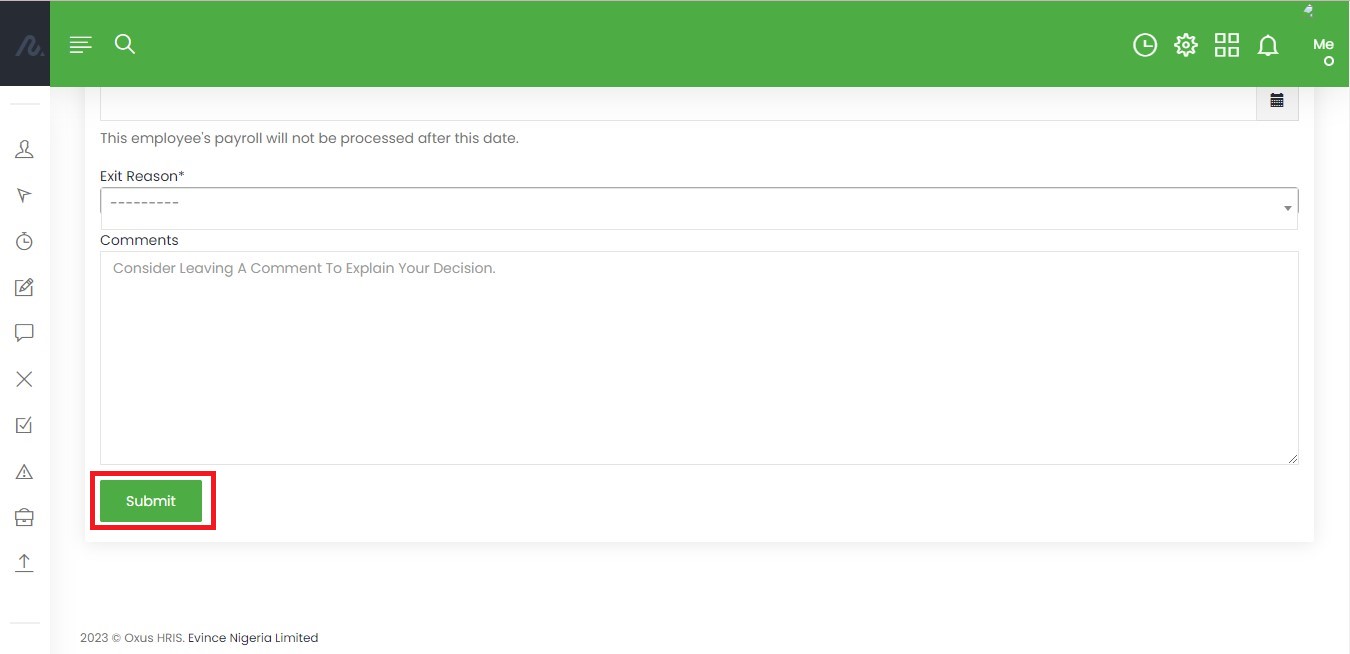
To process a new Exit for an employee leaving, click on “Process Exit” button and fill out the form with the required details and submit.
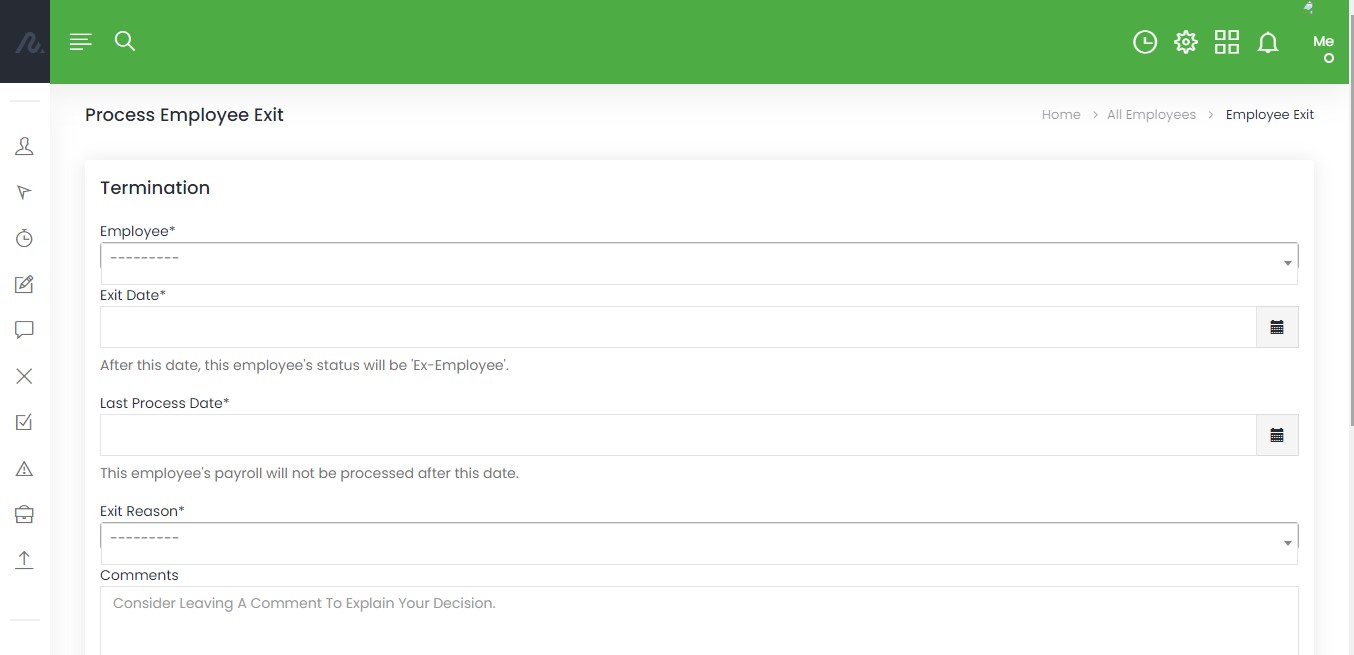
Note
The Employee’s Payroll will not be processed after the last process date filled in and will be an Ex-Employee.
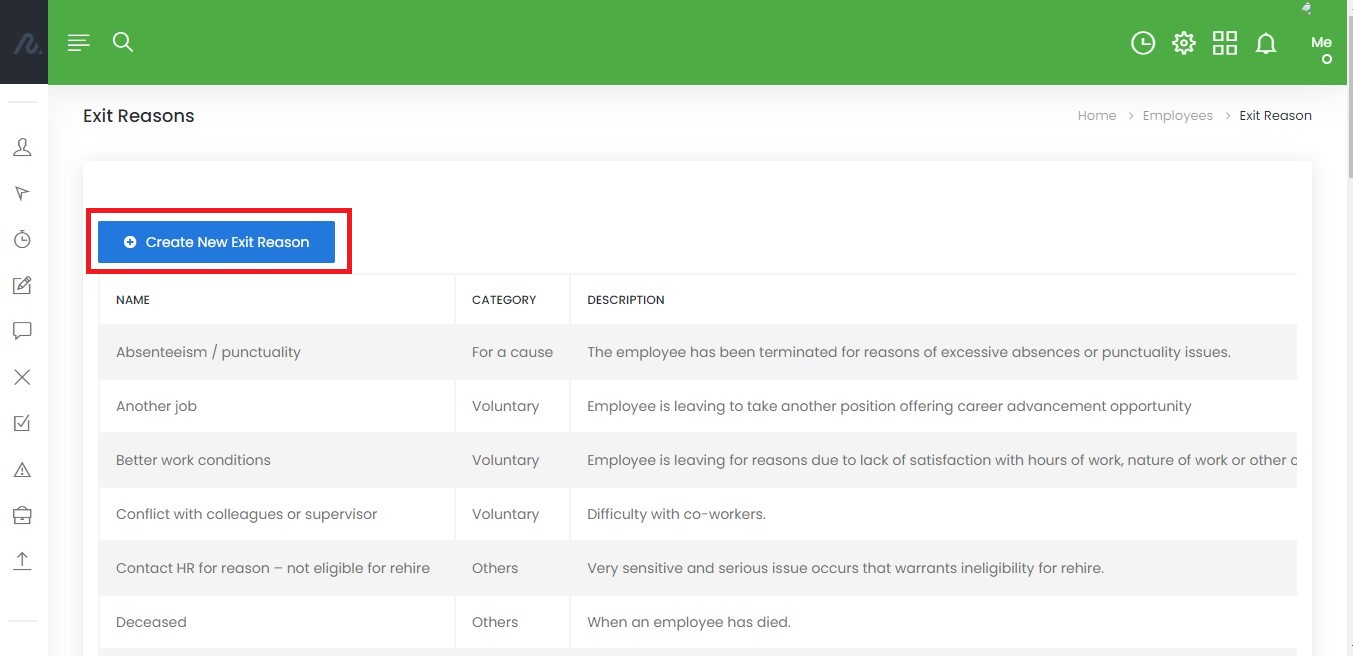
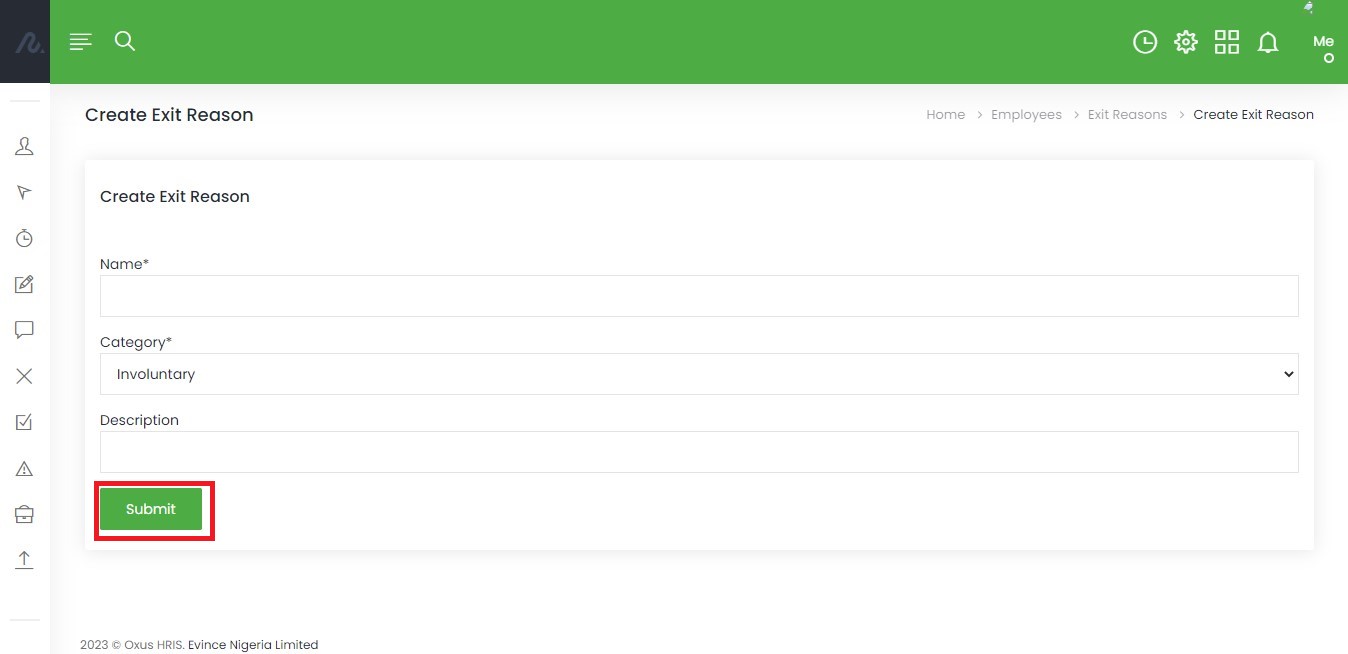
Exit Reasons
Exit Reasons can be added, edited and deleted.
To create a new Exit Reason , use the “Create New Exit Reason” button, fill the form and click submit. To edit Exit Reasons, click on the pen icon and make desired changes in the presented form. To delete an entry of Exit Reasons, click the close icon on that particular entry row.
Promotions
The Employee Promotions page is designed to enable HR personnel to manage employee promotions in an organization.
Promotions can be found under the left menu of the employee module.

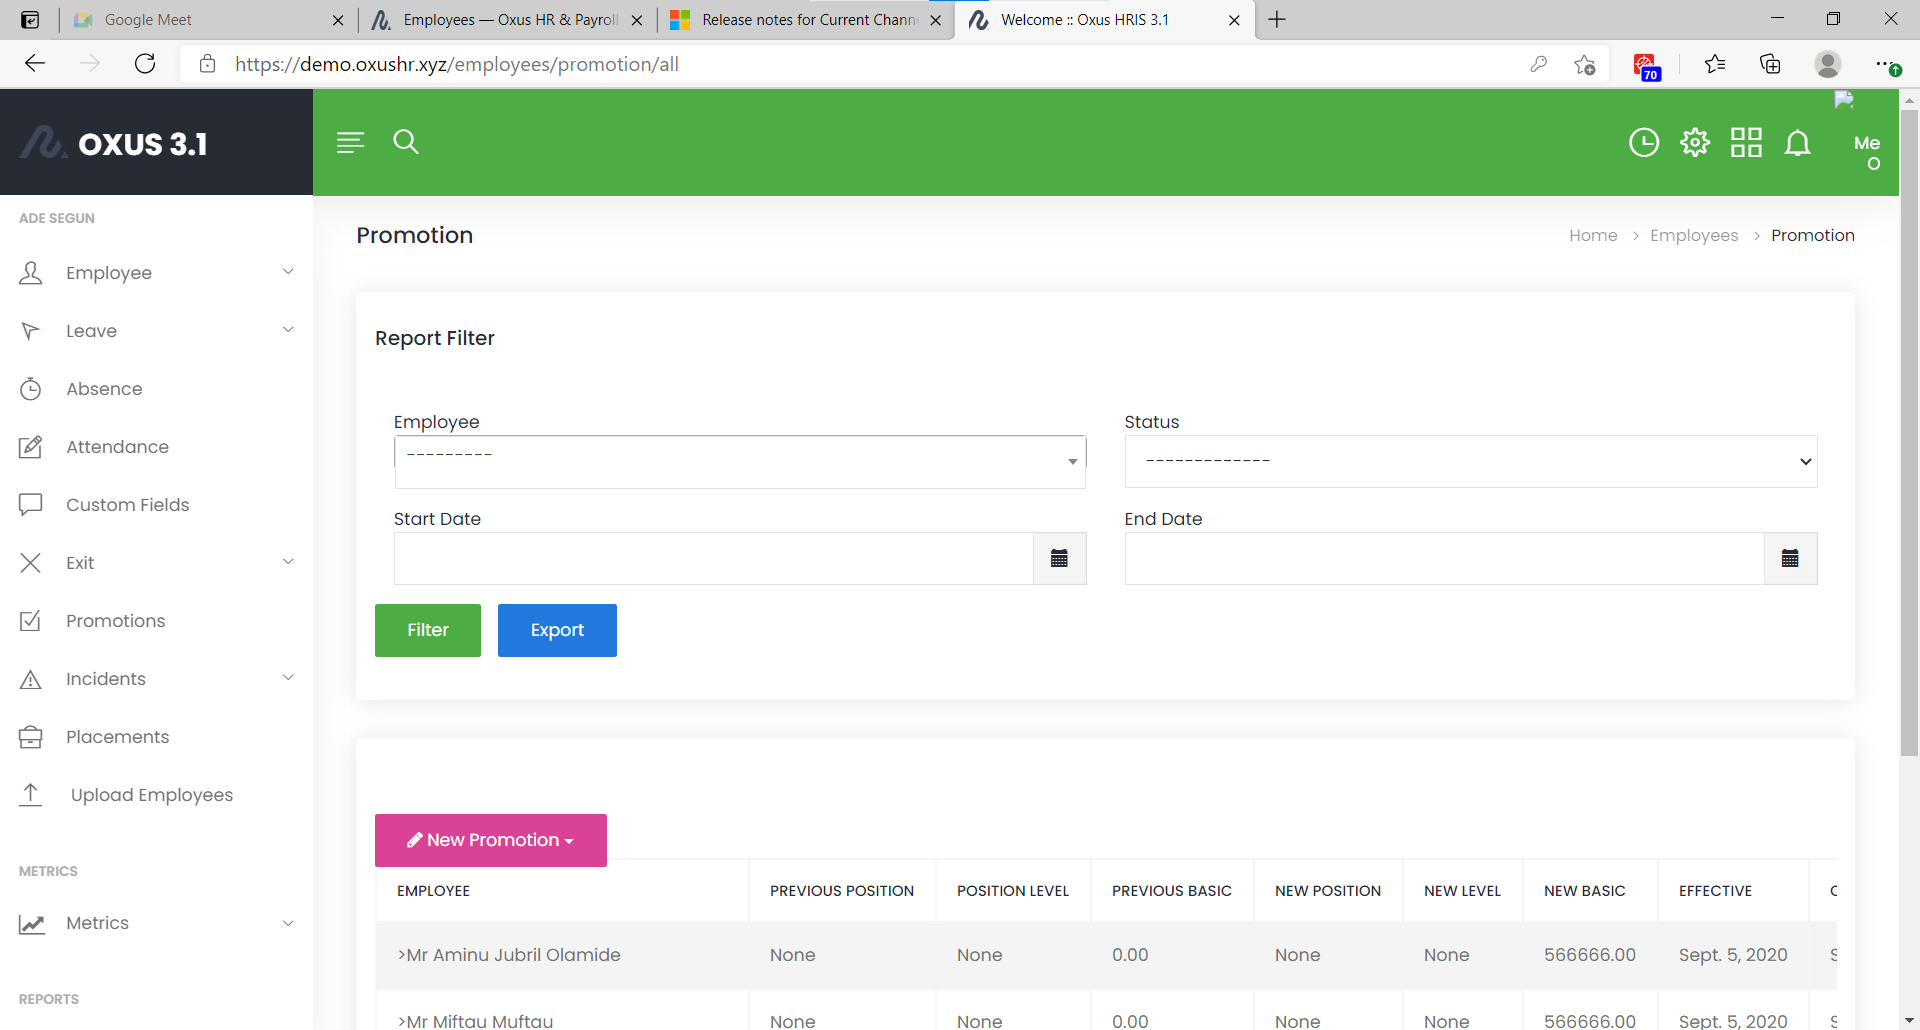
Promotion Page
The employee promotions page provides a report filter that enables you to search for specific employee promotions based on various parameters. The parameters are: Employee, Status, Start Date and End Date. After filling out the parameters, you can filter by clicking on the ‘filter’ button. You can also download the filter result by clicking on the ‘export’ button.

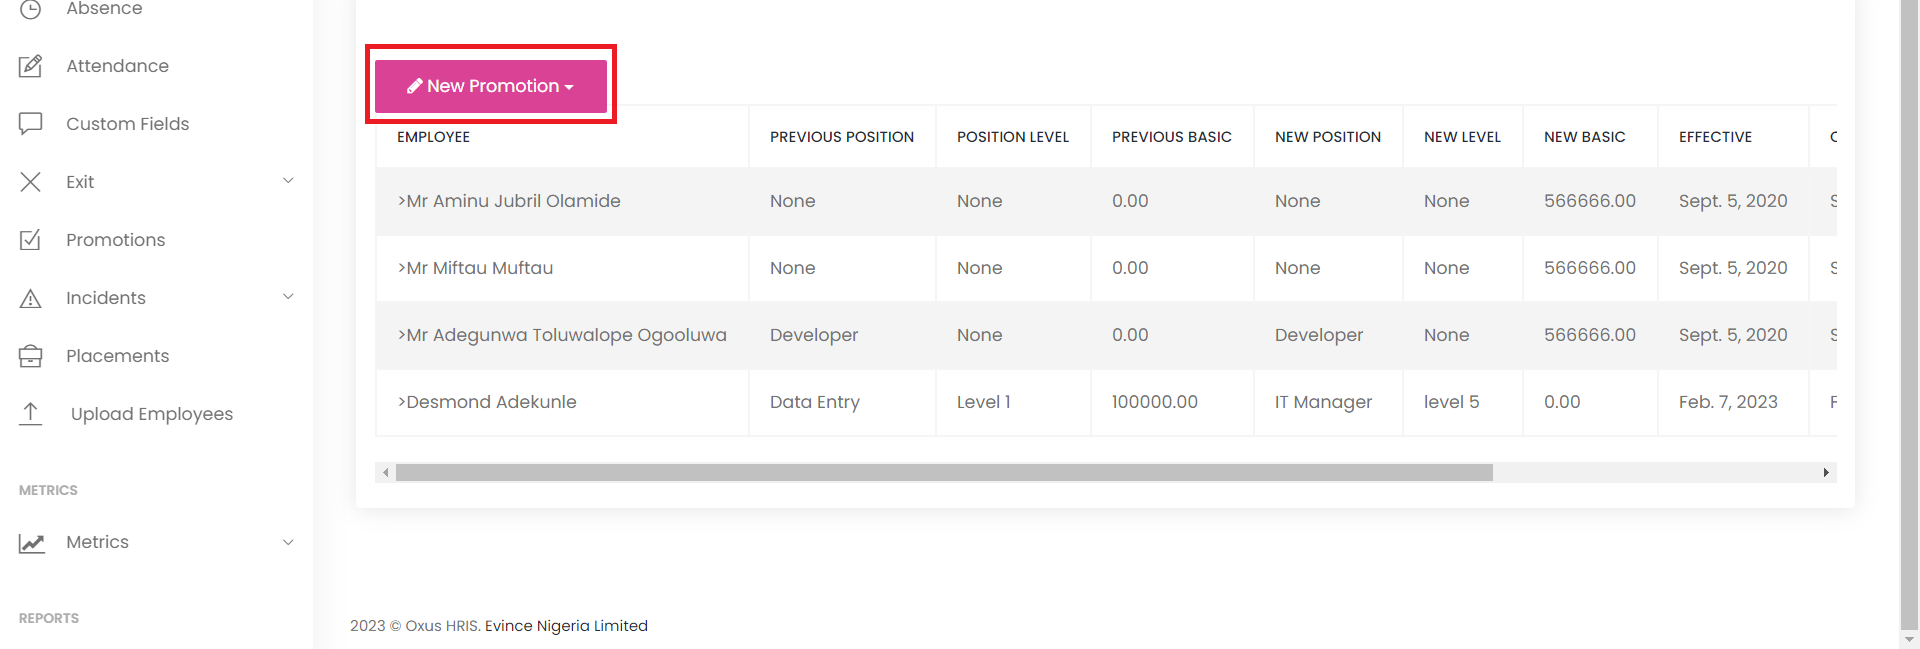
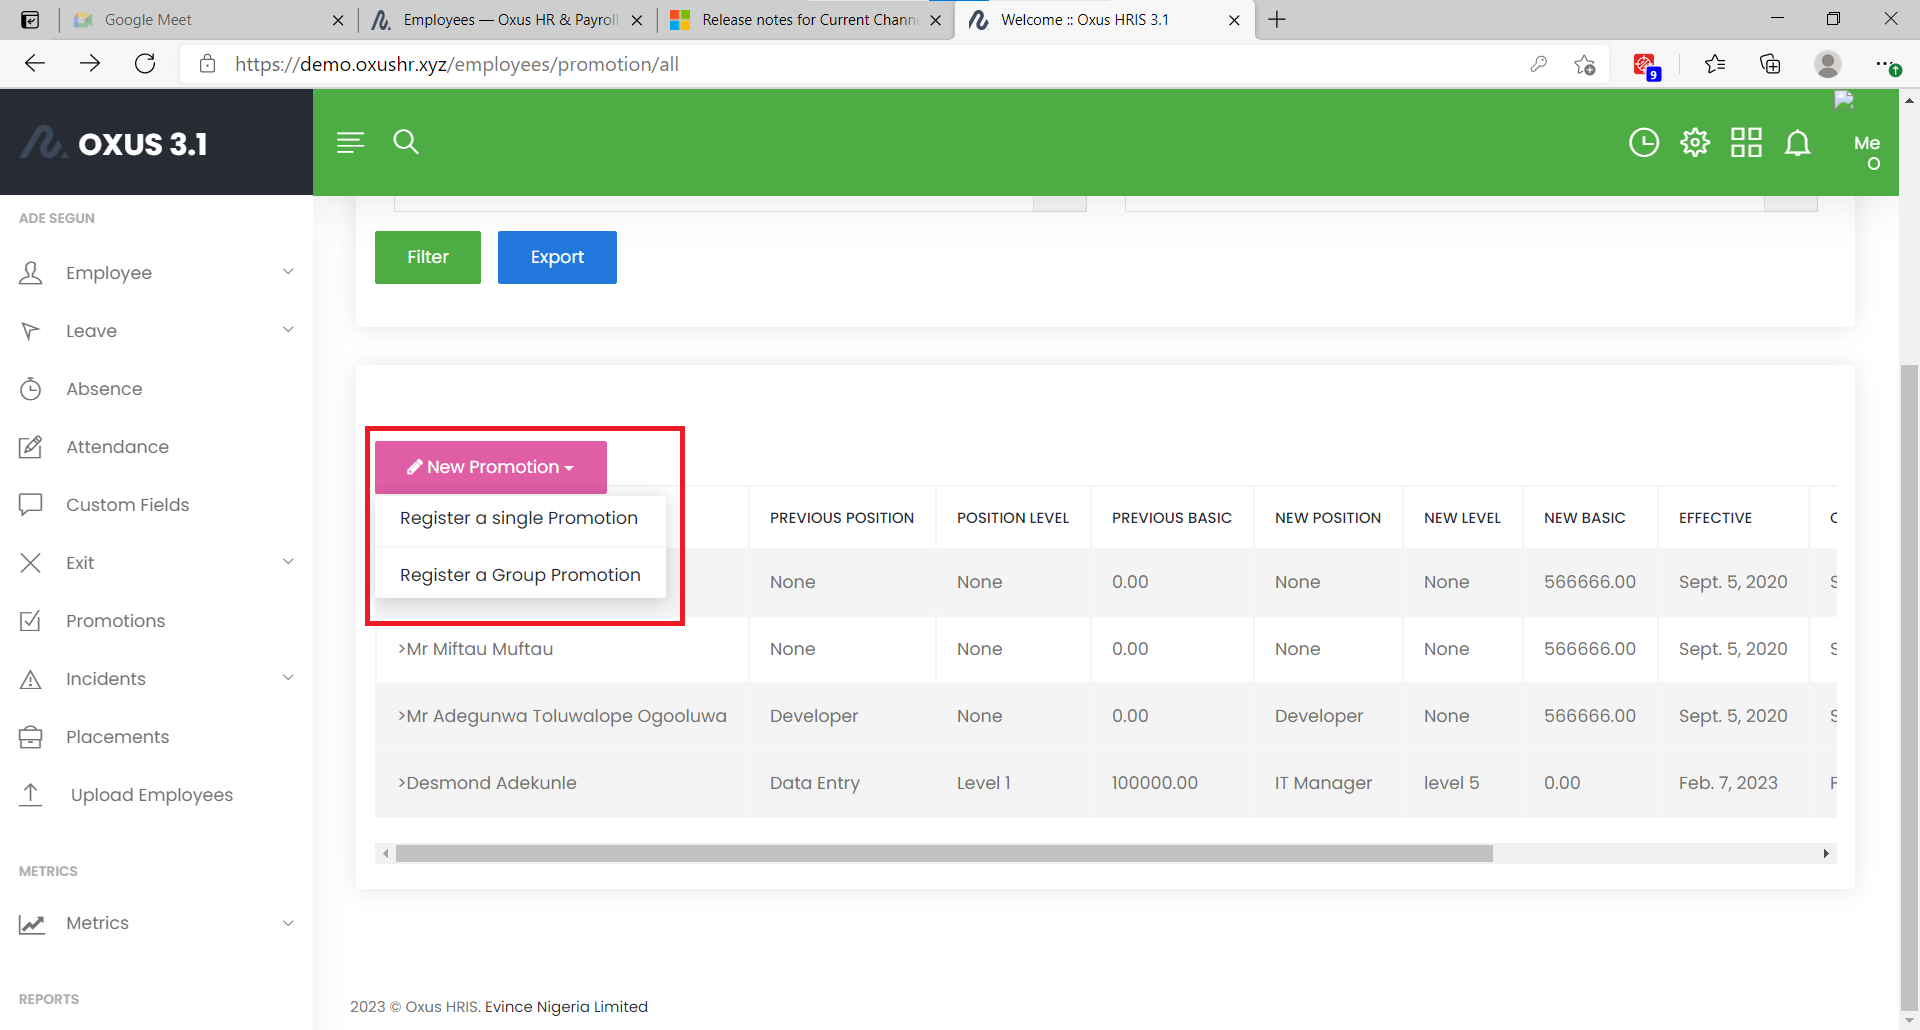
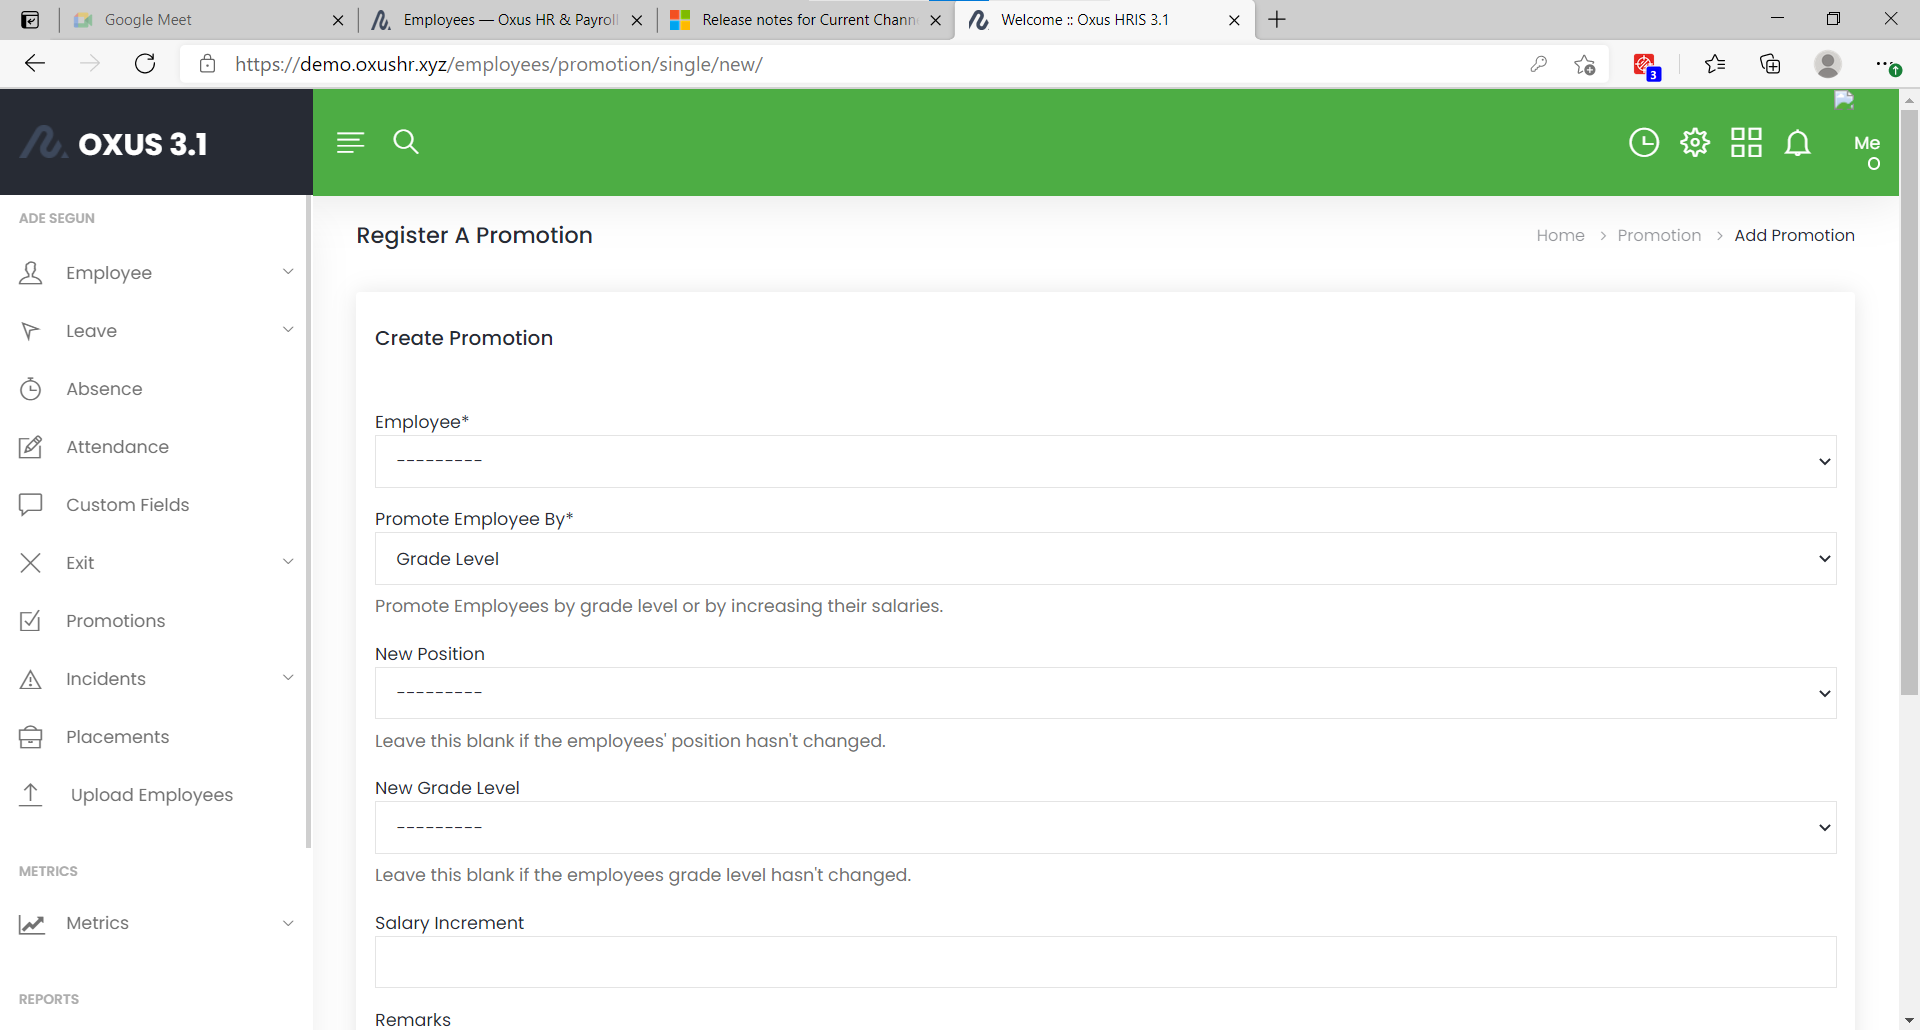
Create New Promotion
To create a new employee promotion, click on the “New Promotion” button on the Employee Promotion page where you can either register a single promotion or a group promotion. This will take you to a page where you can enter the details of the promotion, such as the employee’s name, previous position, new position, effective date, and basic salary.
Incidents
Incidents is used to document incidents that occurs at work or at the workplace by an employee. When an incident occurs, an employee incident report should be filed to document the details of the incident, including who was involved and when it occurred. Incidents is located under the employee tab.

Incidents include -
Incidents History
Incidents Types

Incidents History
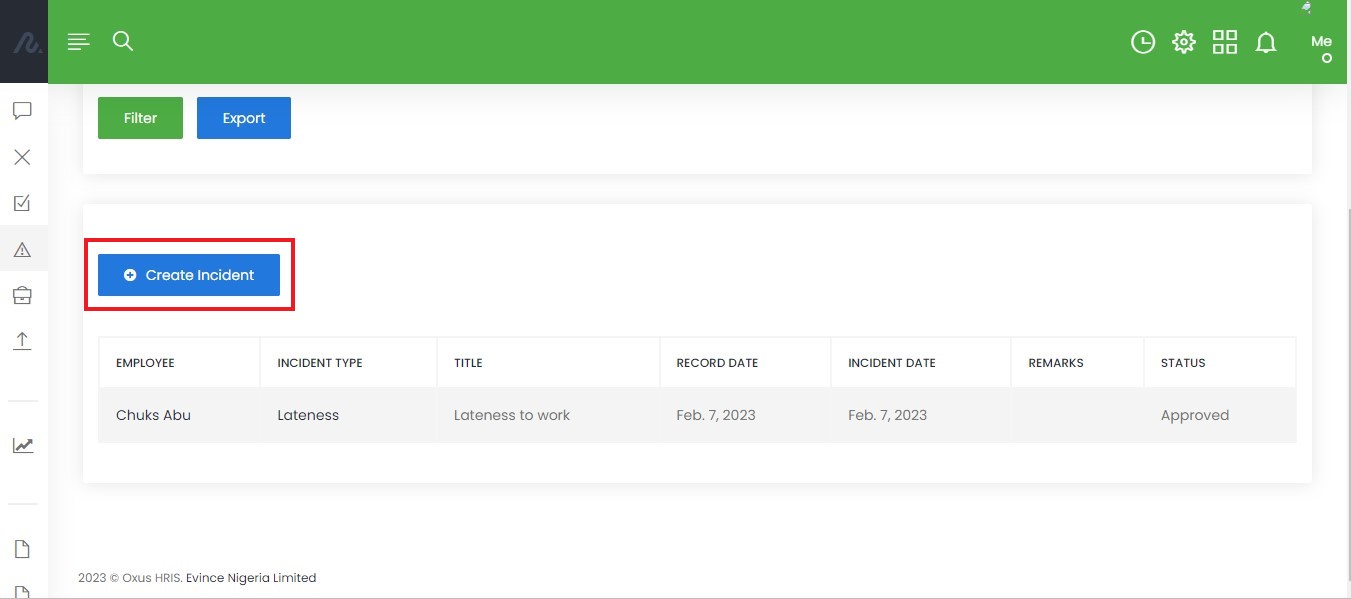
This shows existing records of employee incidents
Incidents data can be collectively downloaded in a single excel sheet by clicking on export.
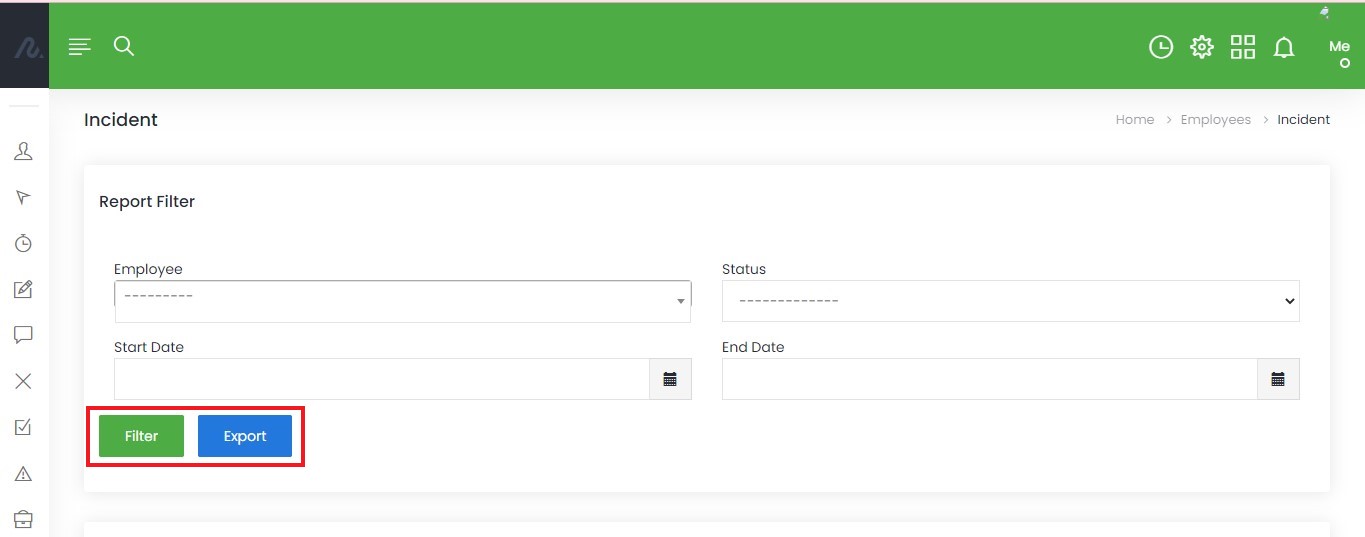
There is also the option to filter for each employee by status and by a date range to view an employee incidents report.
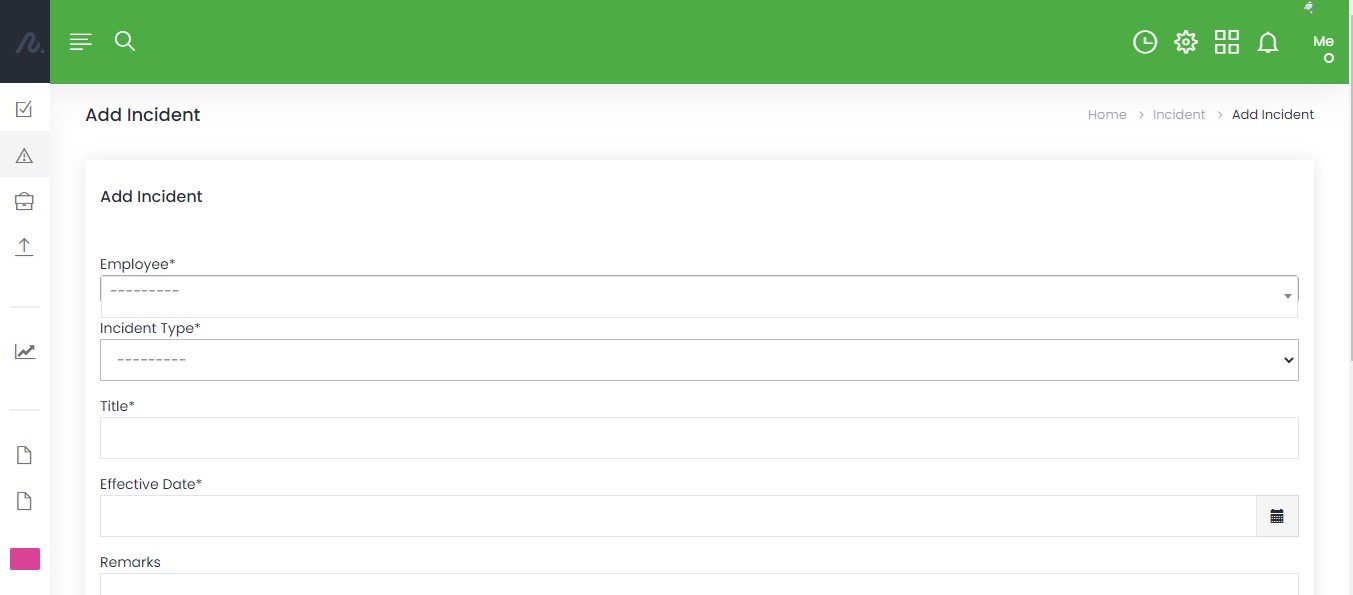
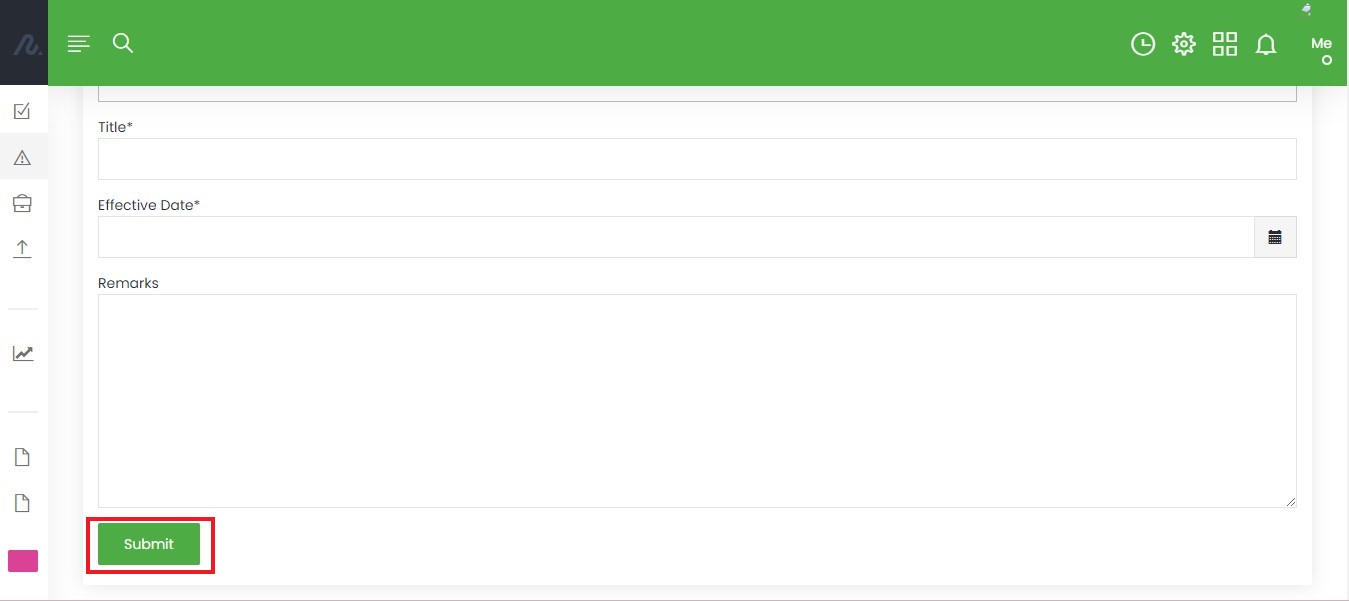
To create a new incidents report, use the “Create Incidents” button and fill out the form with the required details and submit.
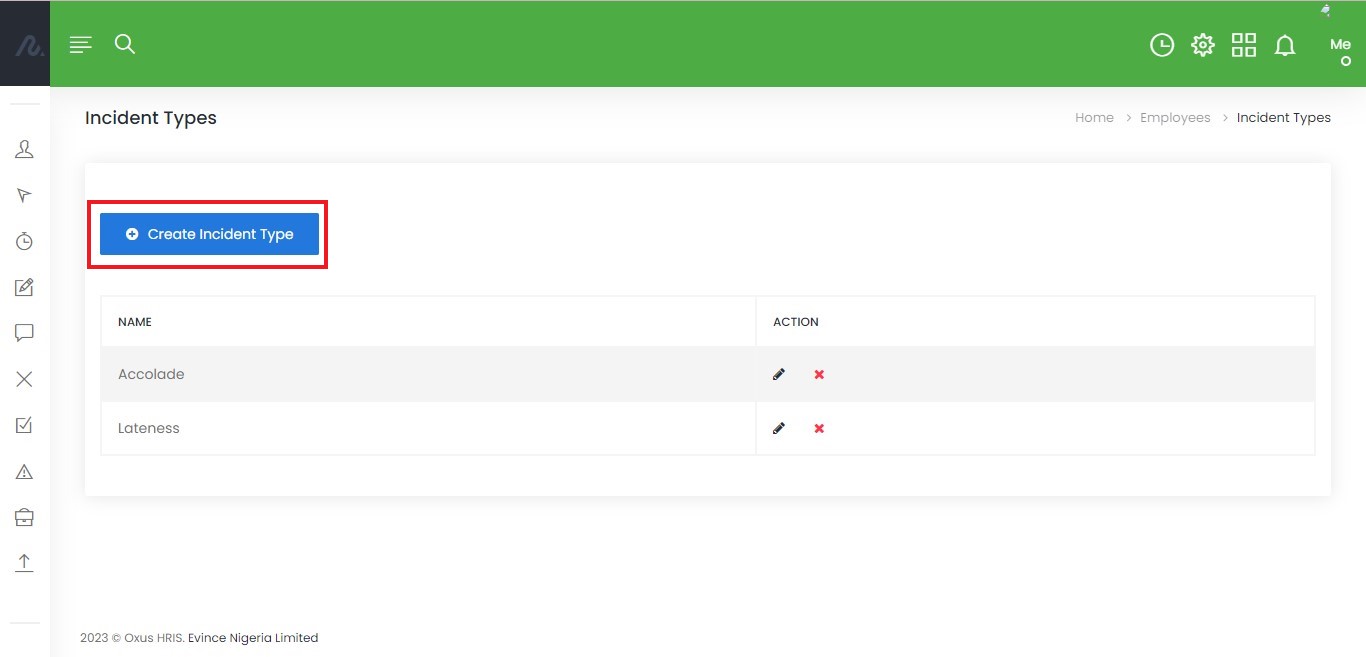
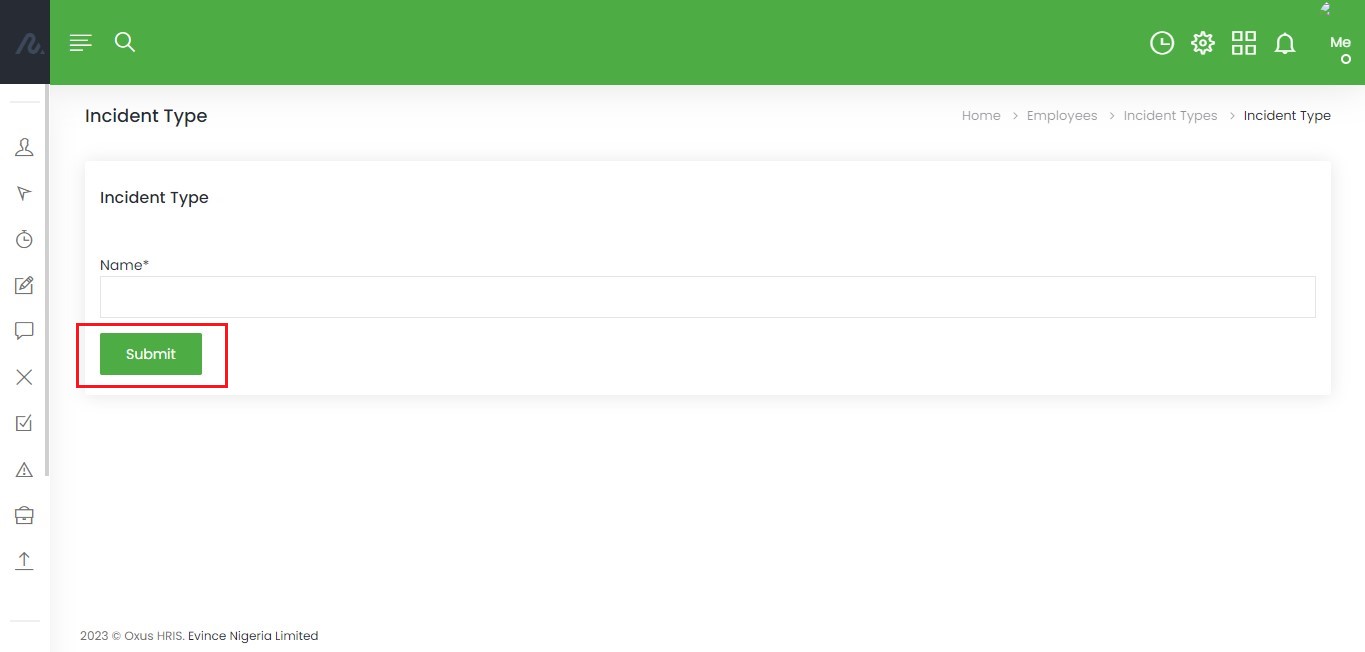
Incidents Types
Incidents Types can be added, edited and deleted. Examples of Incident types include violent behavior, lateness, theft, and any other threat to the safety of people or property.
To create a new Incident type, use the “Create Incident Type” button and fill the name of the Incident type and click submit. To edit Incident type, click on the pen icon and make desired changes in the presented form. To delete an entry of Incidents types, click the close icon on that particular entry row.
Placements
Placements is understood as the allocation of employees to the job. It is assignment or re-assignment of an employee to a new or different role. Placement includes initial assignment of new employees and promotion, transfer or demotion of present employees. Placements can be found under the Employee tab.
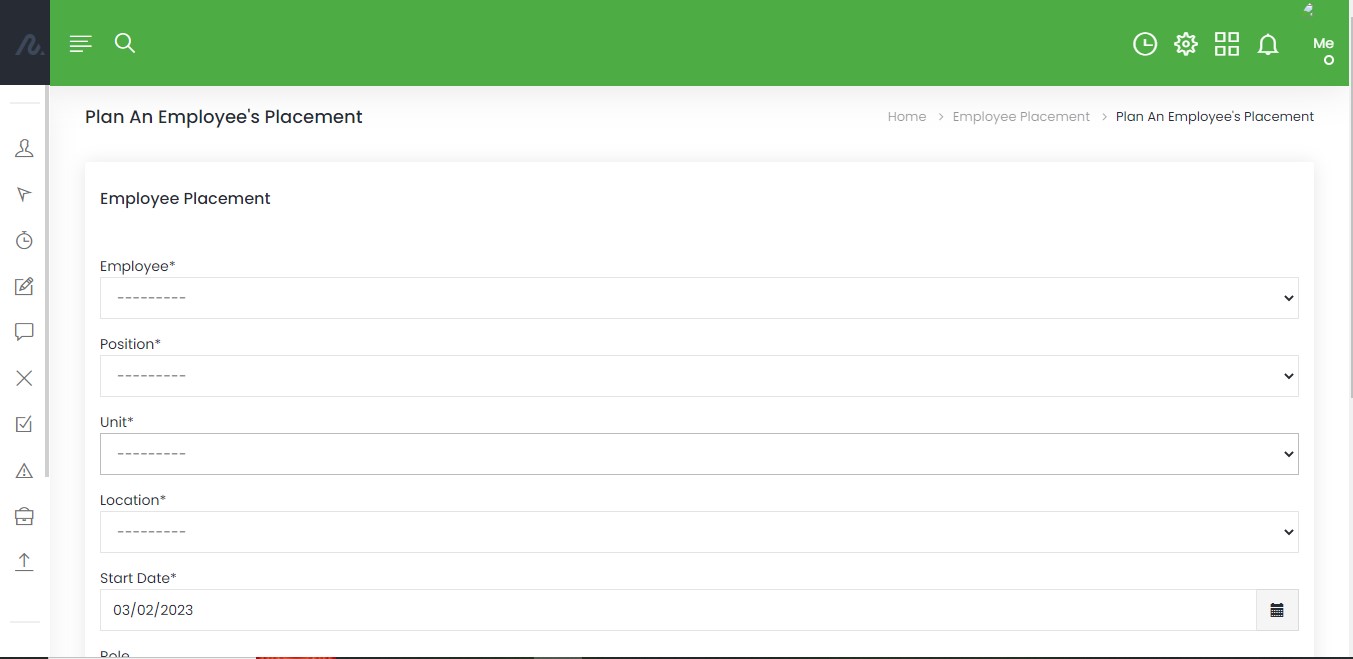
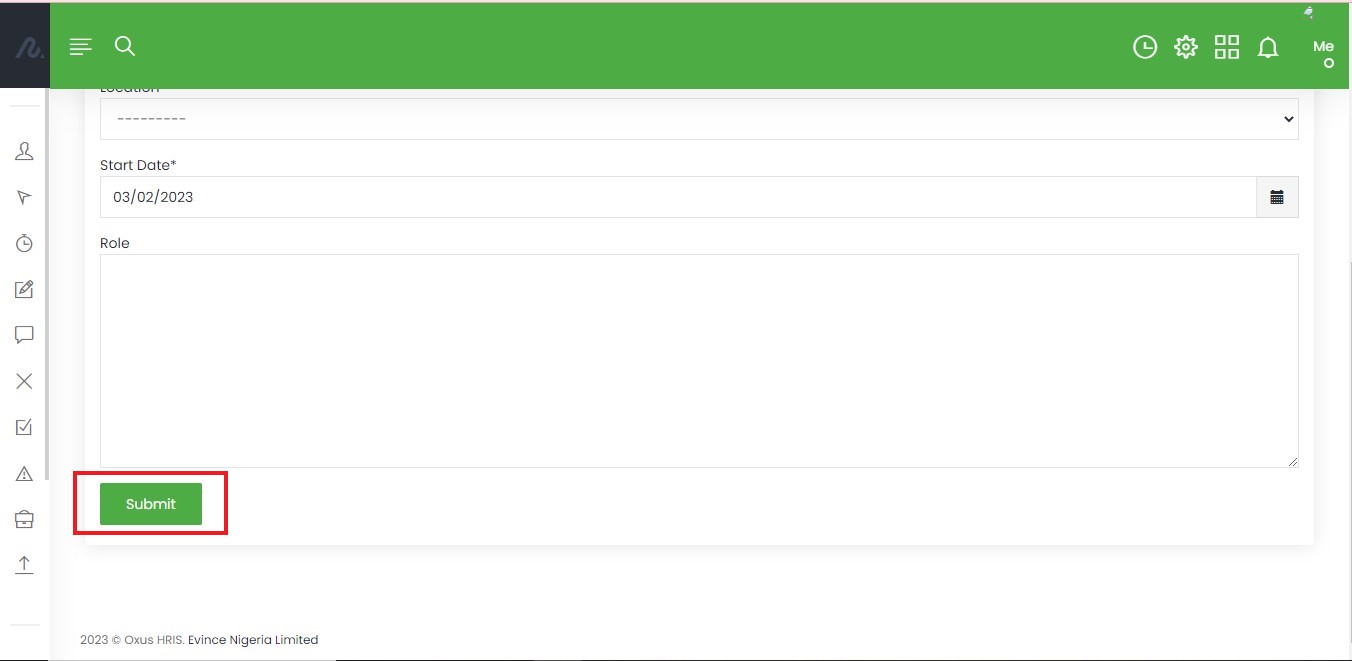
To add a new placement for an employee
click on create placements
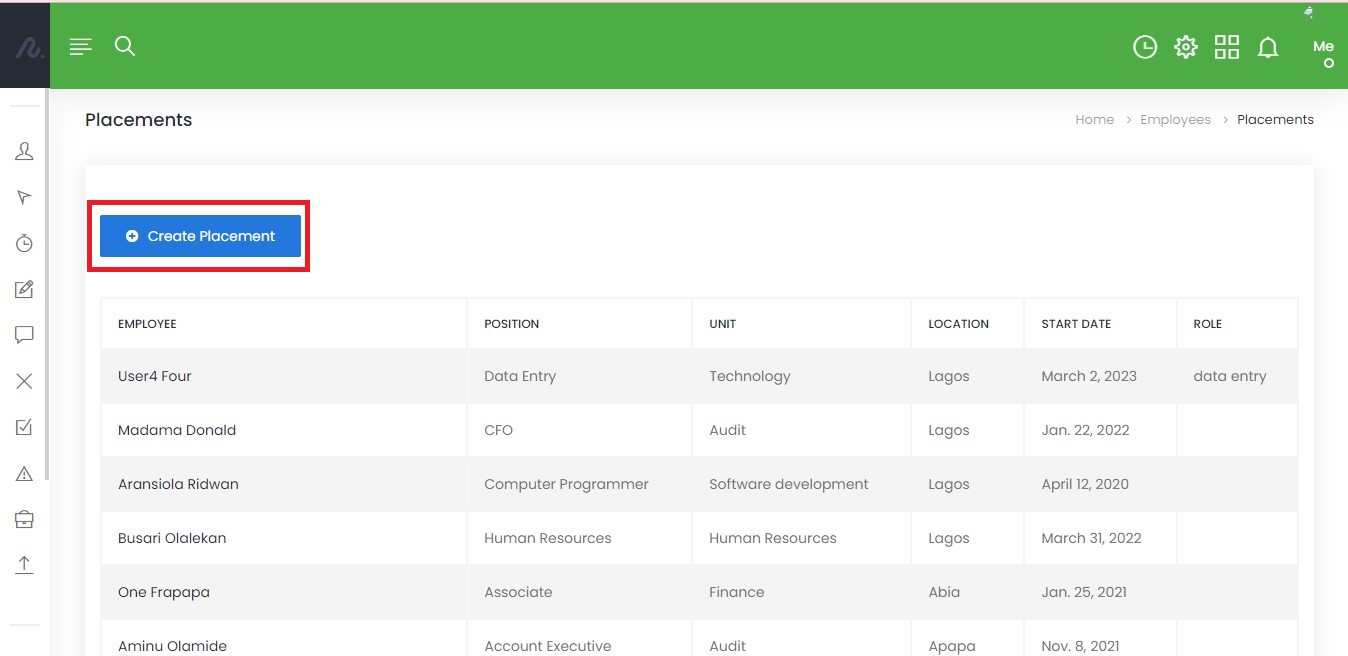
fill the form and click submit
Employees Report
The Employees Report provides a table of employee information, while the Additional Information Report provides additional details about employees in a specific unit or position.
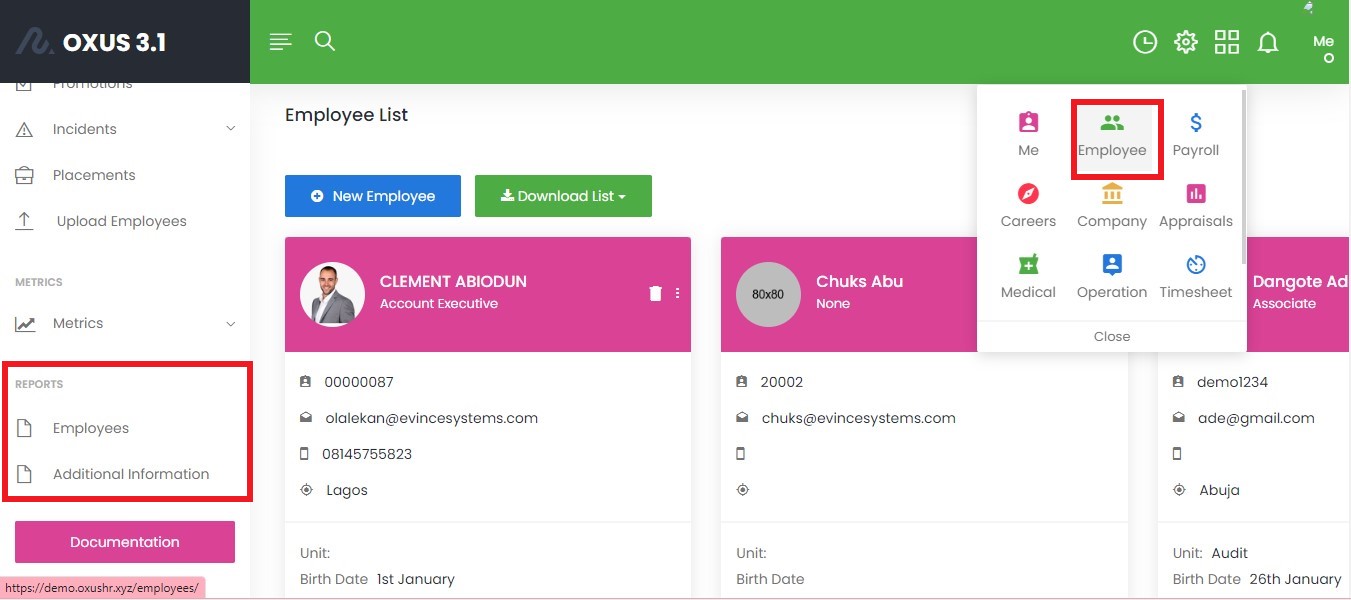
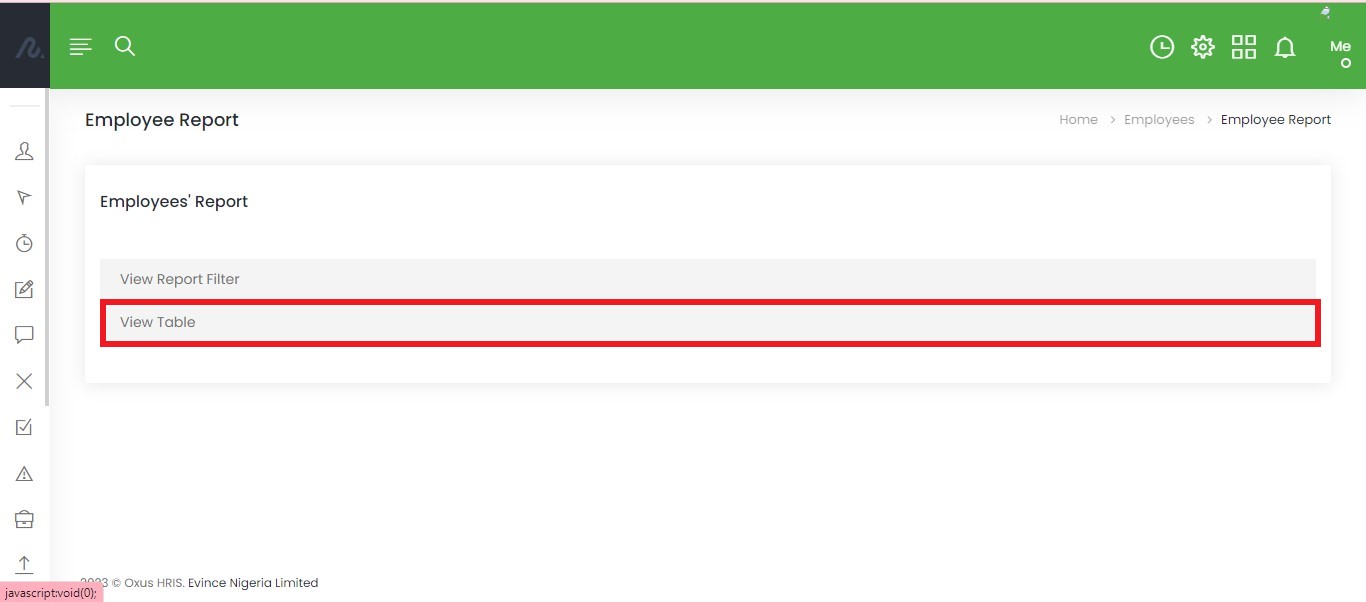
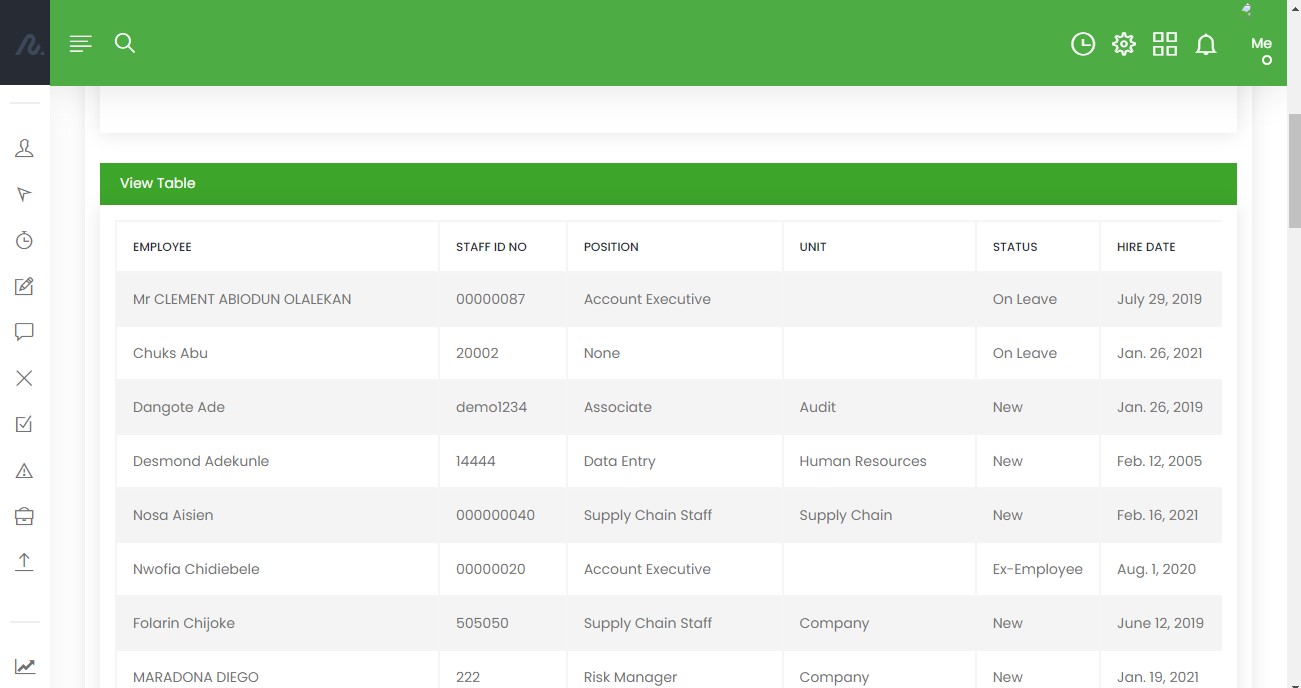
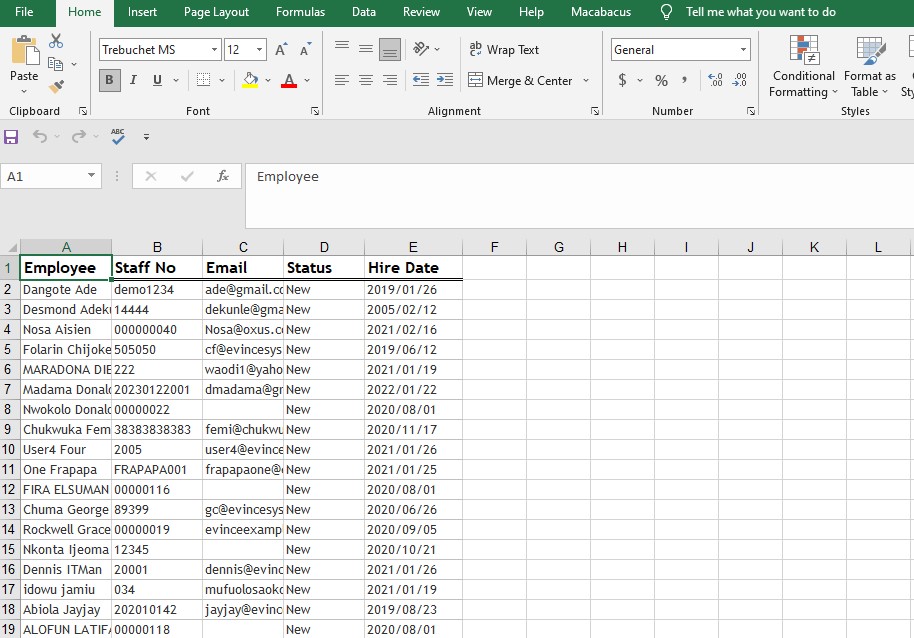
The Employees Report is a table of employee information containing important details such as staff ID, position, unit, status, and hire date. To access the Employee Report, click on the “View Table” button on the Employees’ Report page.
Report Filter:
The filter function makes it easy to find specific employees based on different criteria such as Grade Level, Hire Date, Status, Pension Administrator, Position, Unit, Employee Type, and Bank.
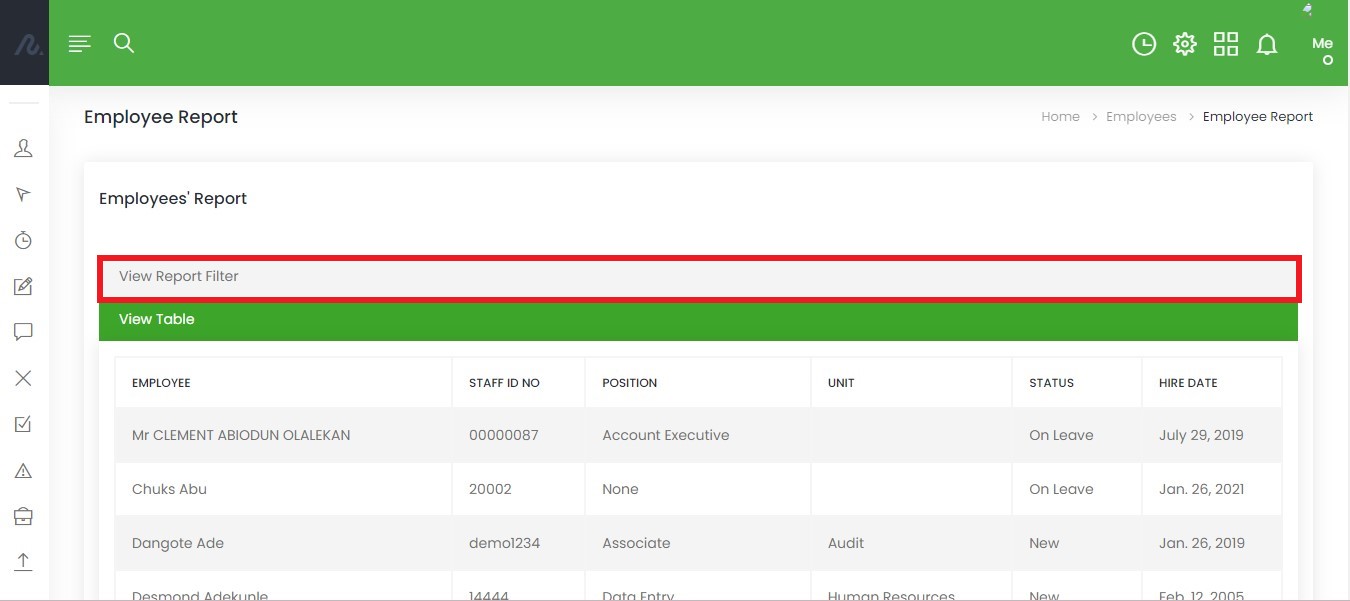
To use the filter, click on the “View Report Filter” button, select your criteria, and click “Filter.”
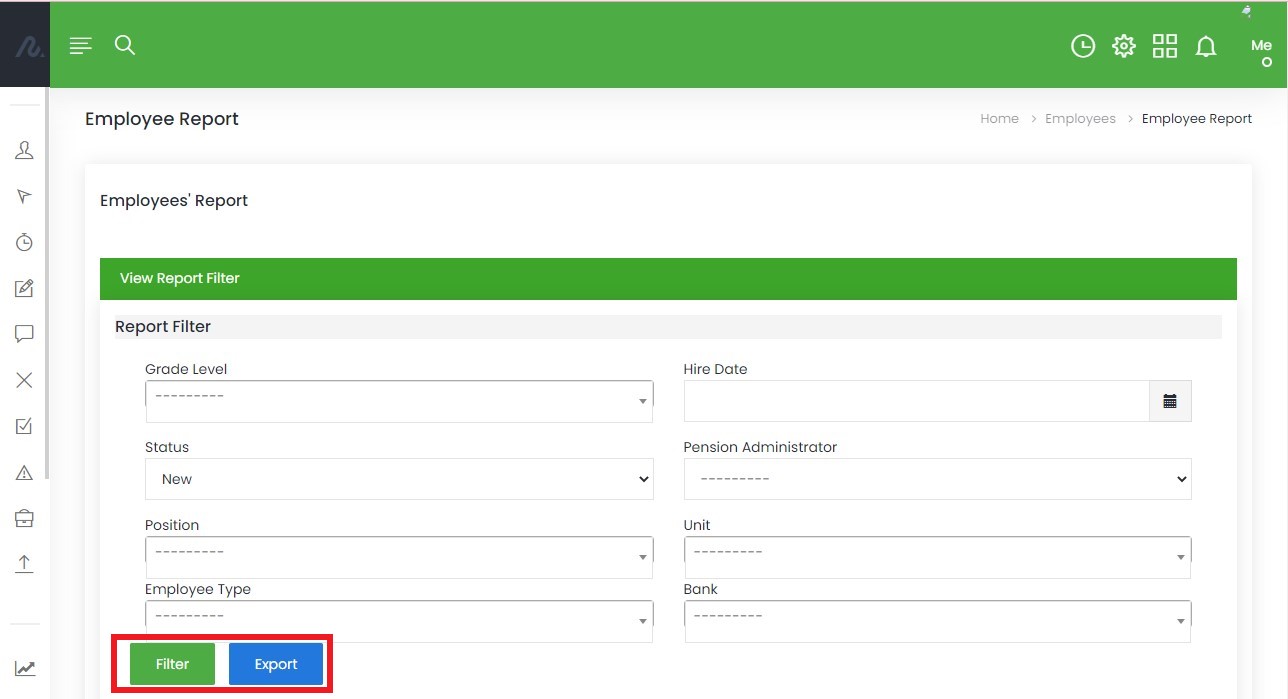
You can then download the filtered report into an Excel file by clicking on the “Export” button.
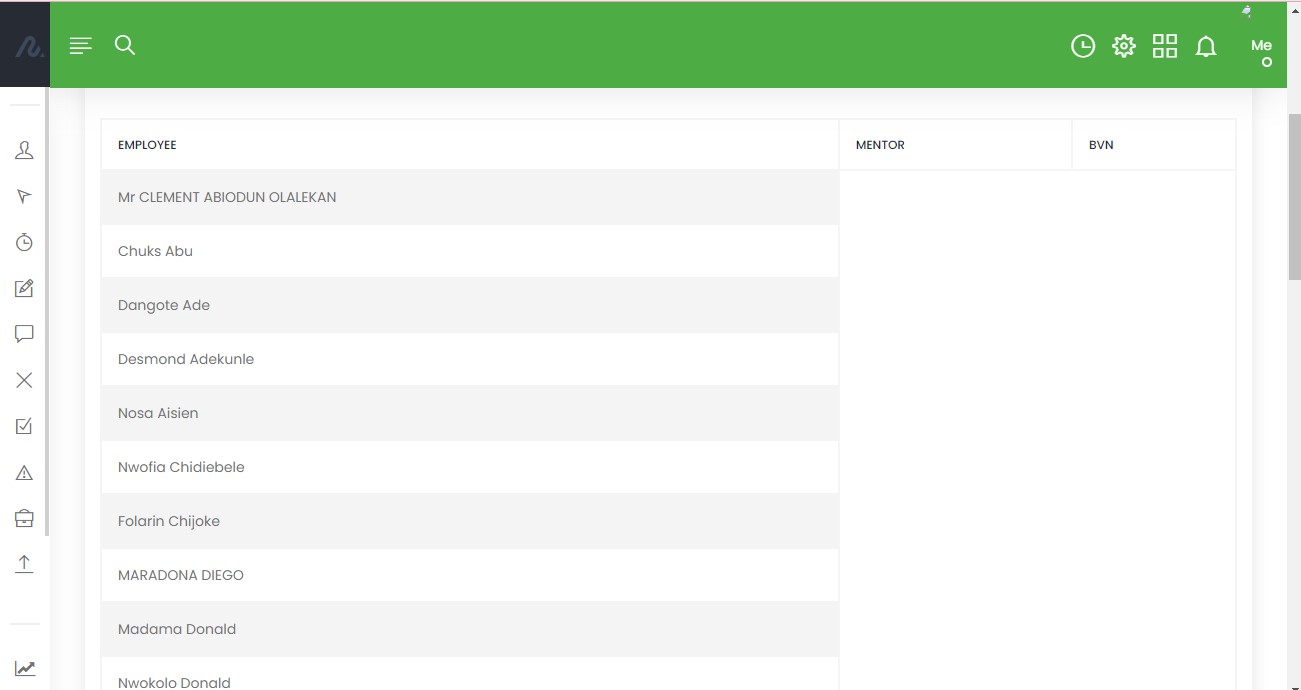
Additional Information Report
The Additional Information Report provides additional information about employees in a particular unit or position such as their mentors and BVN numbers. This information includes the employee’s name, mentor, and BVN number. This is particularly used to identify the employees who are being mentored and by whom and also used to identify employees using their unique BVN numbers.
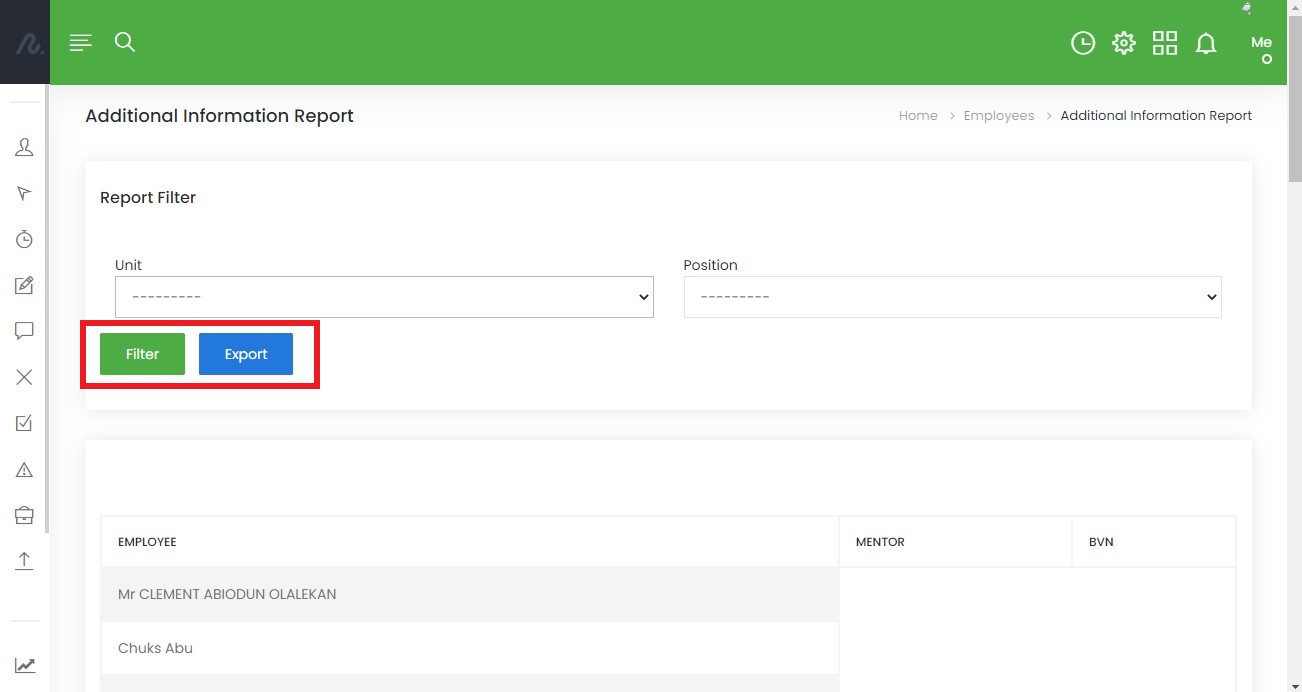
The “Filter” button allows users to filter the report based on the unit and position of the employees. A specific unit or position can be selected to get information on employees in that unit or position. The report can also be downloaded by clicking the “Export” button
Upload Employees
The Upload Employees page allows users to view, download, and upload employee information. You can add or update each employee’s data.
You can perform the following actions on the Upload Employees page:
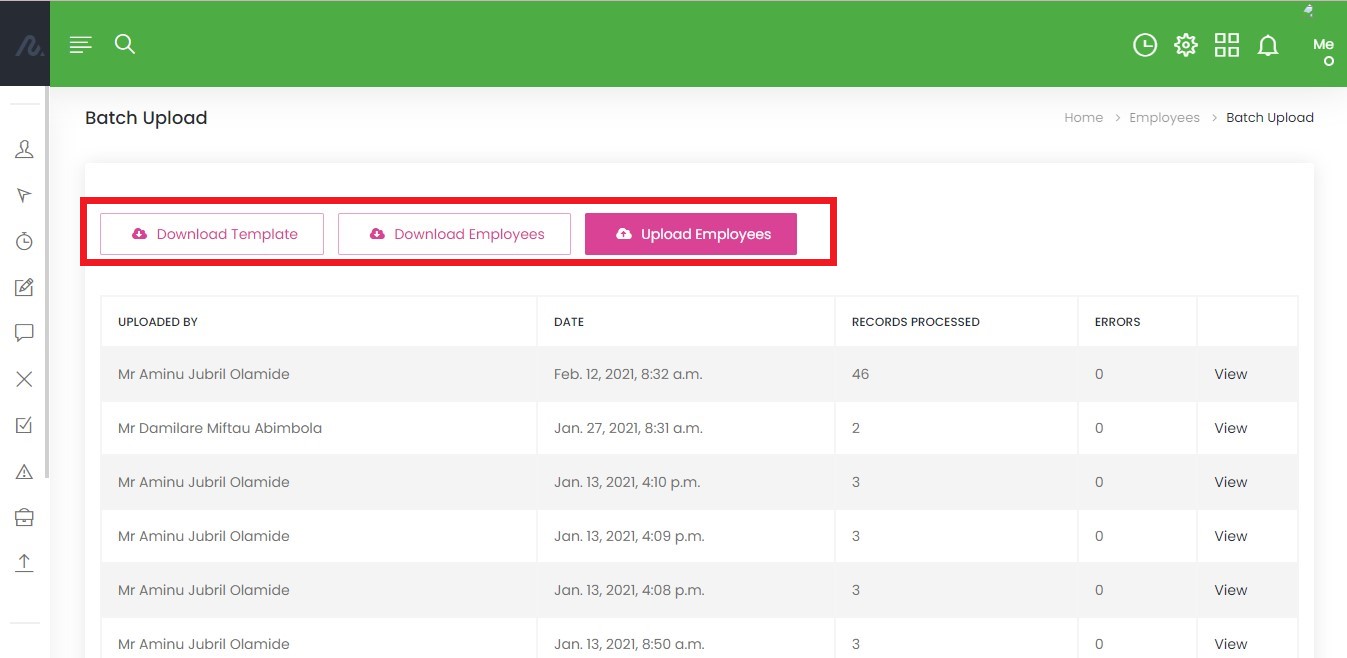
Download Template
Before uploading employee information, you must download the template provided by the system. The template contains all the necessary fields required to upload employee data. To download the template, click on the “Download Template” button on the Upload Employees page. The template will be downloaded in an Excel file format.
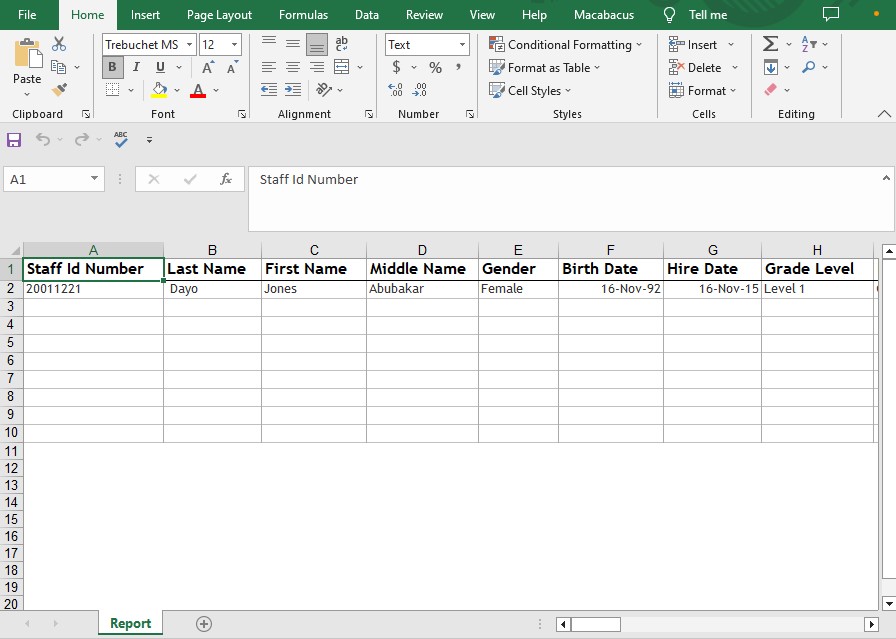
The template includes fields such as employee ID, name, job title, department, and contact information.
Note
The template’s correct formatting is crucial to ensure a successful upload.
Download Employees
You can download the current list of employees by clicking the “Download Employees” button on the Upload Employees page. This will download an Excel file containing all the employees’ information currently present in the database.
Upload Employees
To upload new employee information, click on the “Upload Employees” button on the Upload Employees page. This will open the Employee Records page, where you can upload employee data. You can upload the template file containing employee information by clicking “Select File,” choosing the appropriate file, and clicking the “Upload” button.
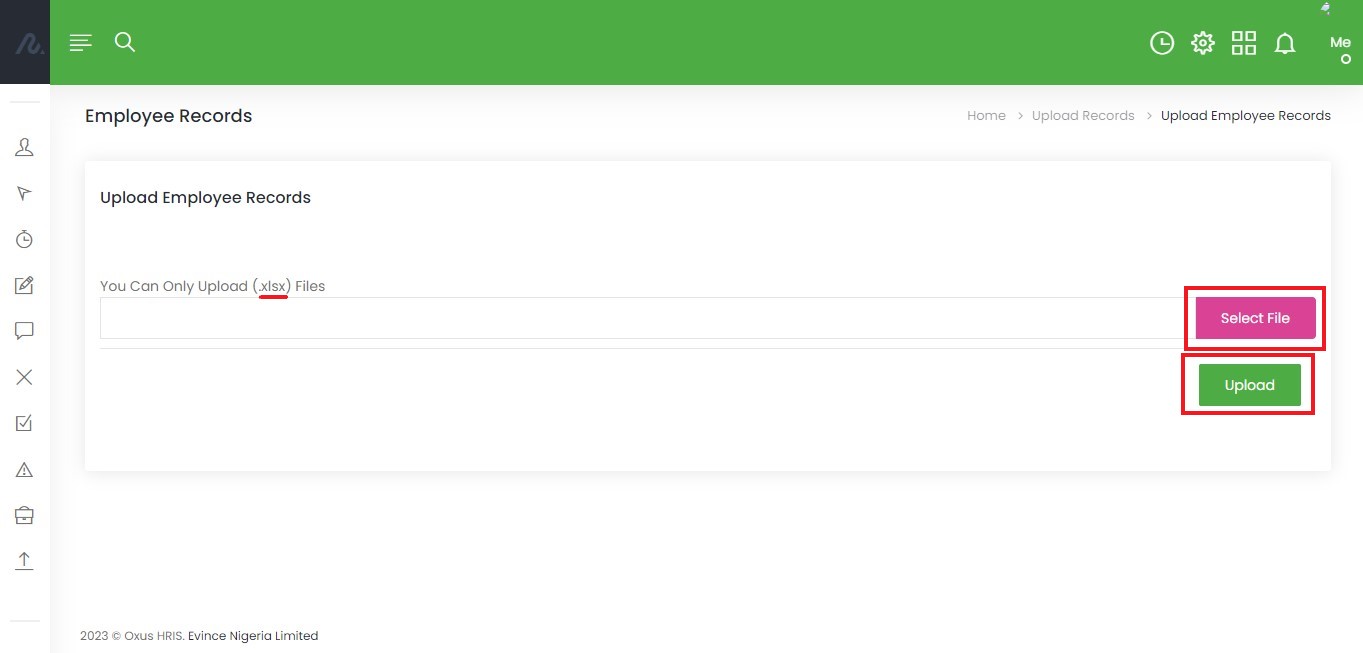
Note
The system only accepts files in (.xlsx) format.
If there are errors during the upload process, the upload Employees page will display the number of errors. To see the error, click on “View” on the Upload Employees page.
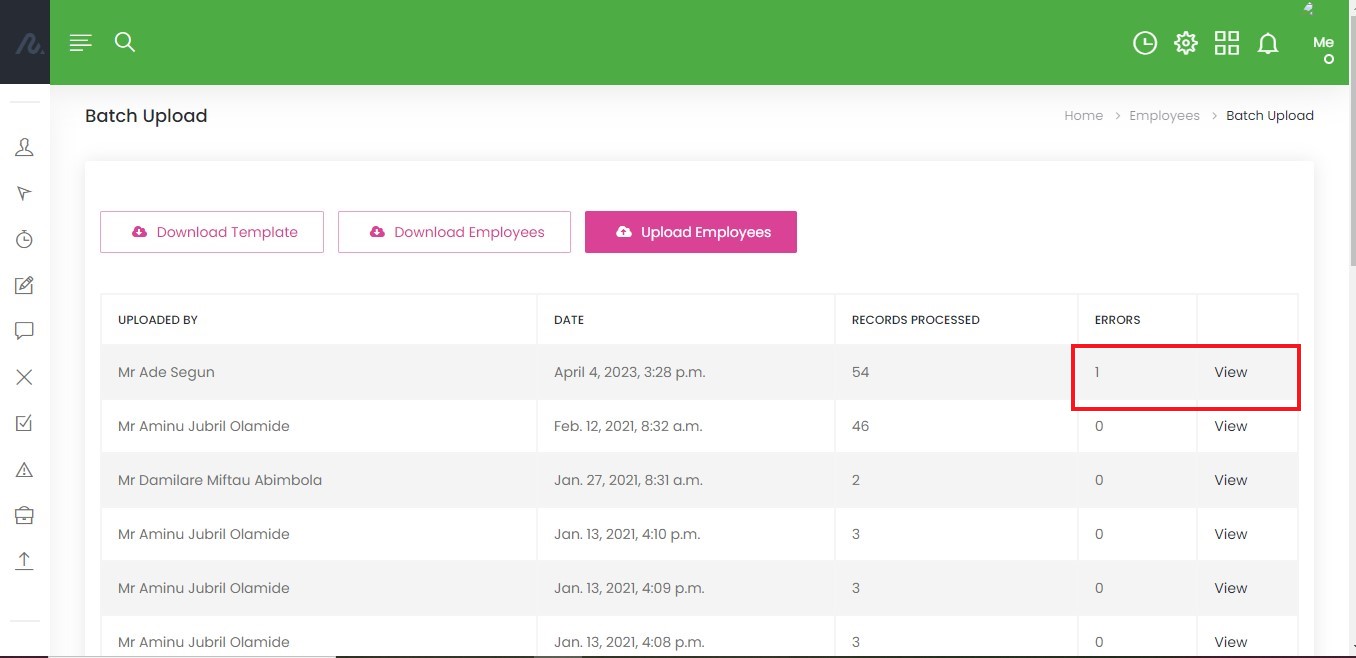
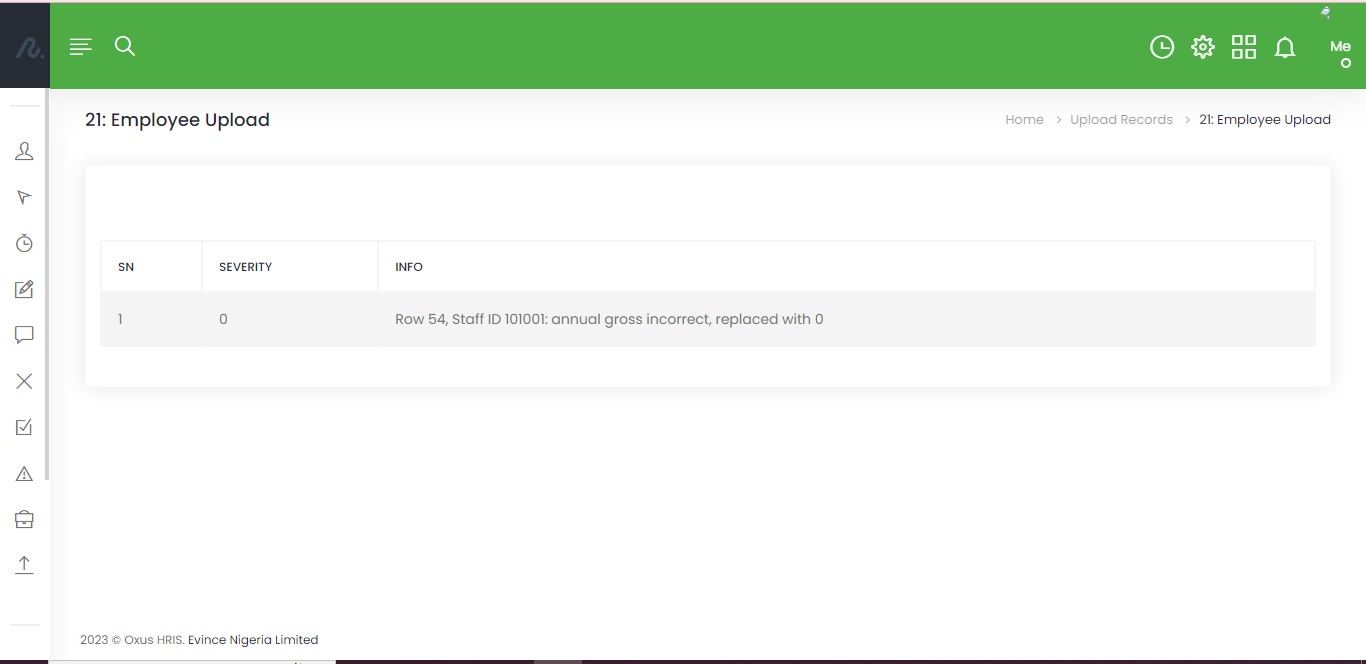
You can then correct the errors and re-upload the file.
HR Metrics
The HR Metrics page allows you to track and analyze employee-related data to identify trends, areas of improvement, and opportunities for growth. This is divided into 3:
Diversity
Time and Rates
Turnover

Diversity
Gender Diversity
The Gender Diversity metric shows the distribution of male and female employees over the years. You will then be prompted to select a start and end year for the data you wish to analyze.
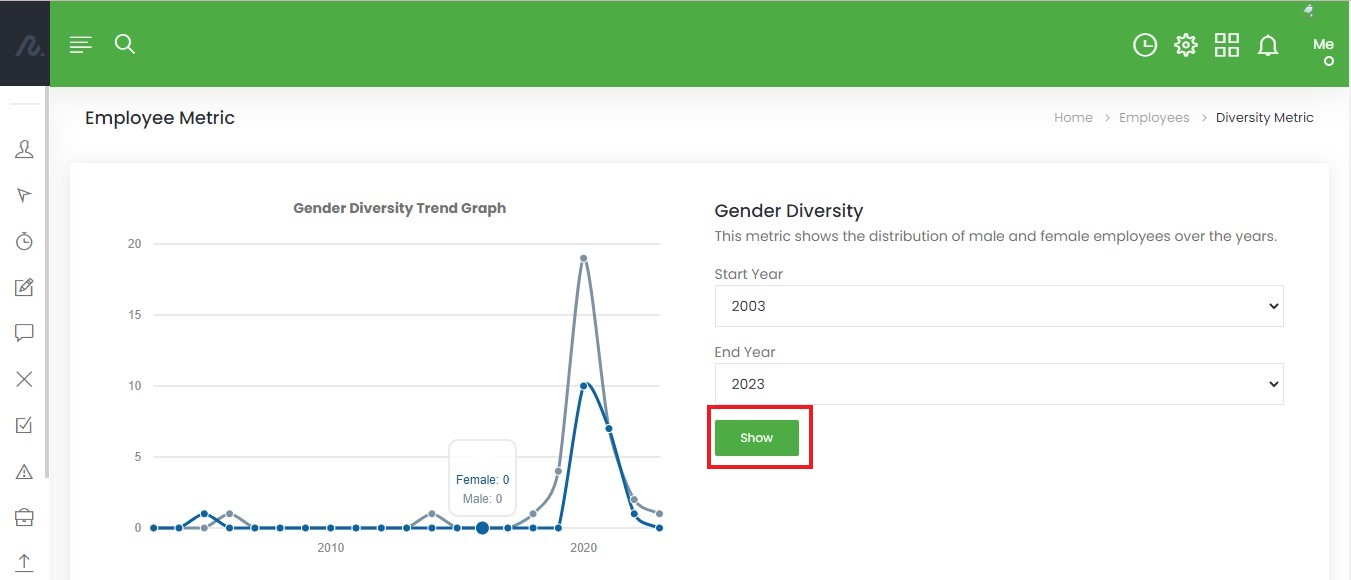
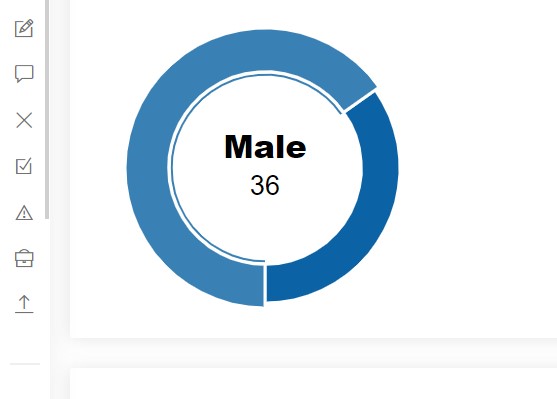
Once you have selected the appropriate years, click on “show”. This will display a graph showing the number of male and female employees over time and and a pie chart showing the percentage of employees belonging to each gender. You can hover over each data point on the graph to see the exact number of male and female employees for a specific year.
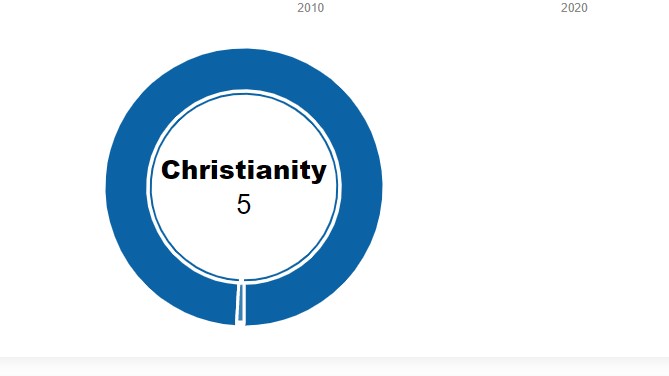
Religious Diversity
The Religious Diversity metric shows the distribution of employees based on religion. You will be prompted to select a start and end year for the data you wish to analyze.
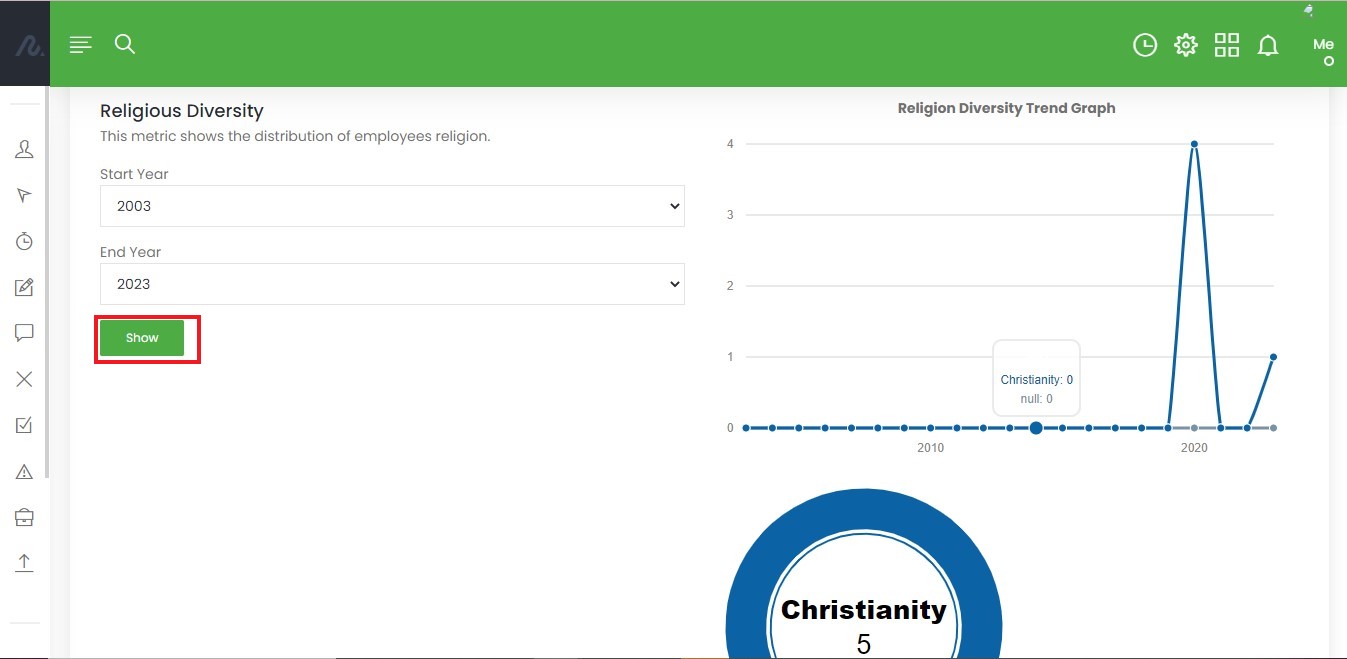
Once you have selected the appropriate years, click on “show”. This will display a religion diversity trend gragh and a pie chart showing the percentage of employees belonging to each religion. You can hover over each section of the chart to see the exact percentage of employees belonging to a specific religion.
Nationality Diversity:
The Nationality Diversity metric shows the distribution of employees based on their nationality over the years. You will be prompted to select a start and end year for the data you wish to analyze.
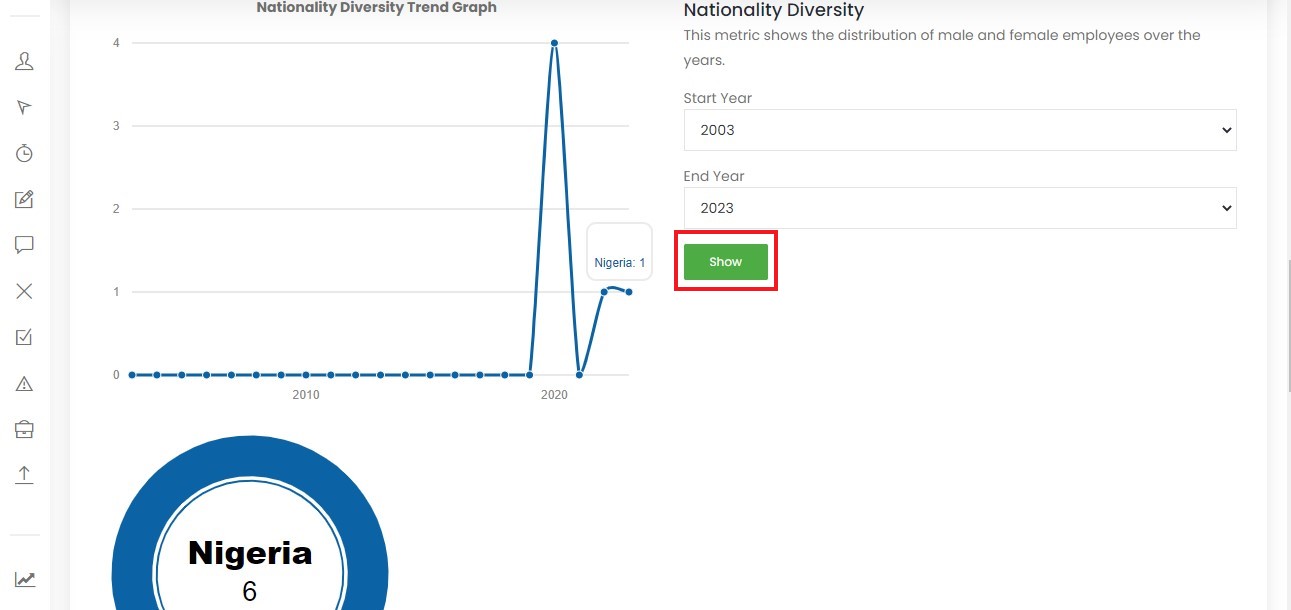
Once you have selected the appropriate years, click on “show”. This will display a graph showing the trend in employee nationality. You can hover over each data point on the graph to see the exact number of employees from a specific nationality.
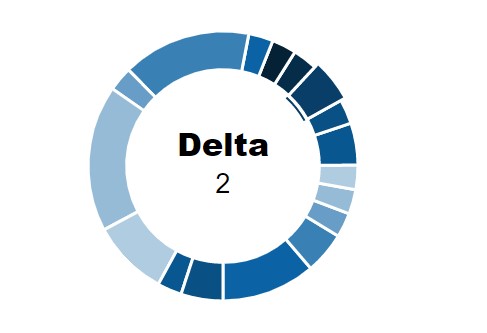
State Diversity:
The State Diversity metric shows the distribution of employees based on their ethnicity. You will be prompted to select a start and end year for the data you wish to analyze.
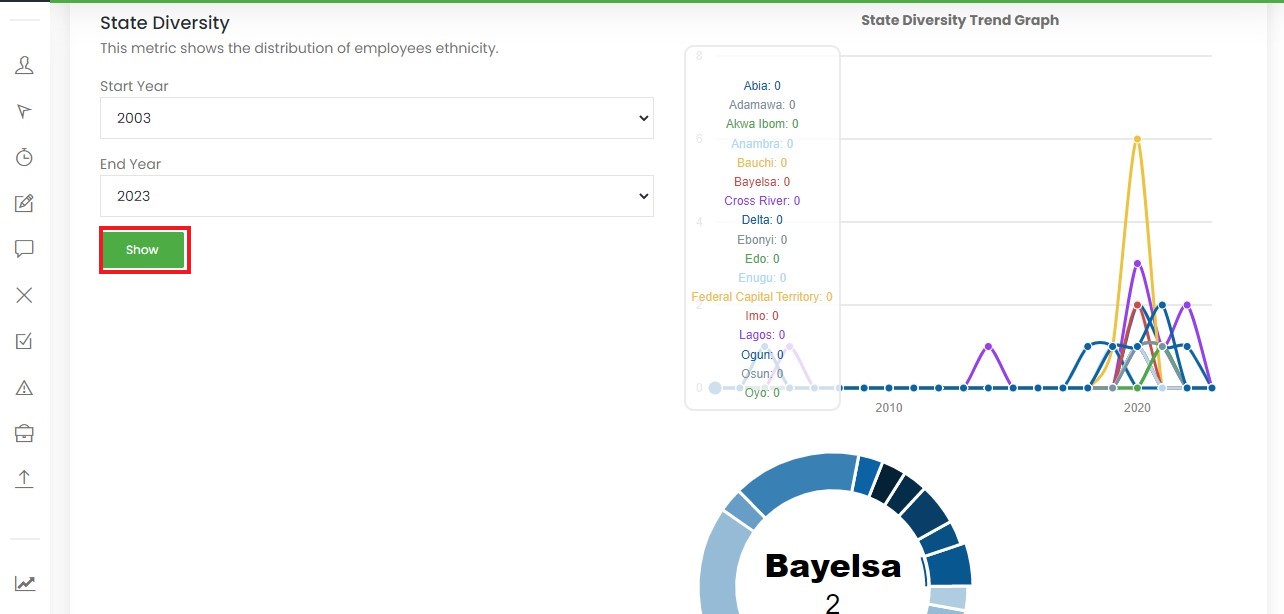
Once you have selected the appropriate years, click on “show”. This will display state diversity trend gragh and a pie chart showing the percentage of employees belonging to each ethnicity. You can hover over each section of the chart to see the exact percentage of employees belonging to a specific ethnicity.
Time and Rates
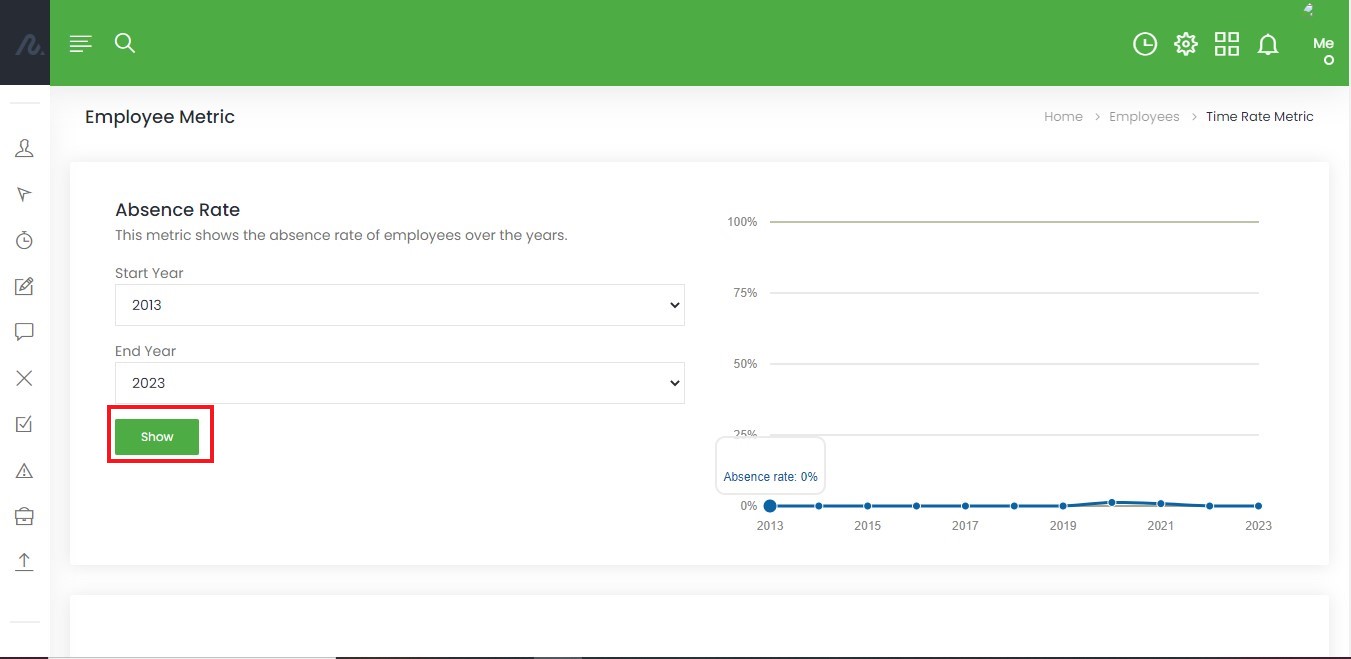
Absence Rate:
The Absence Rate metric displays the absence rate of employees over a specified period. You will be prompted to select a start and end year for the data you wish to analyze. Once you have selected the appropriate years, click on “show”. This will display a line graph showing the absence rate of employees over time. You can hover over each data point on the graph to see the exact absence rate for a specific year. The absence rate is expressed as a percentage, and it shows the number of days employees were absent from work in a given year.
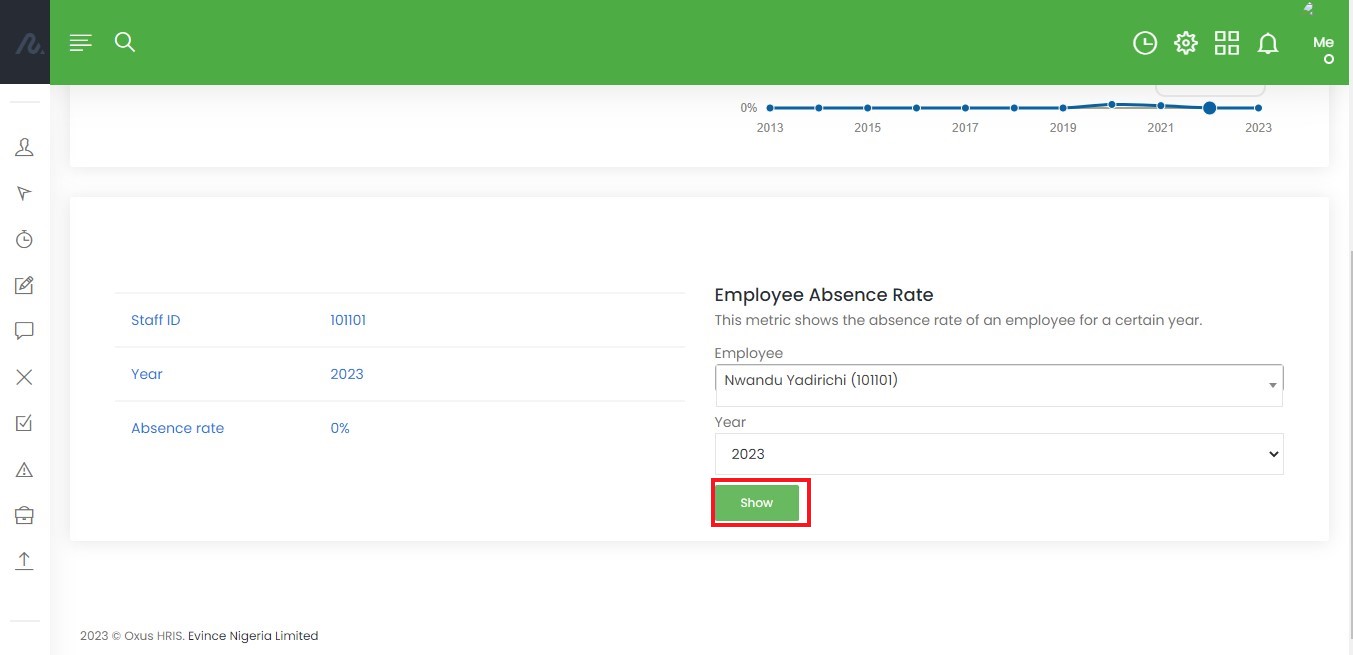
Employee Absence Rate:
The Employee Absence Rate metric shows the absence rate of an individual employee for a certain year. You will be prompted to select an employee and the year you wish to analyze. Once you have selected the employee and year, click on “show”. This will display a table showing the employee’s absence rate for the selected year.
Turnover
The Turnover section on the Employee Metrics page displays three metrics:
Turnover Rate
Voluntary Turnover Rate
Involuntary Turnover Rate
These metrics help you understand the rate at which employees leave your company, and whether the turnover is voluntary or involuntary.
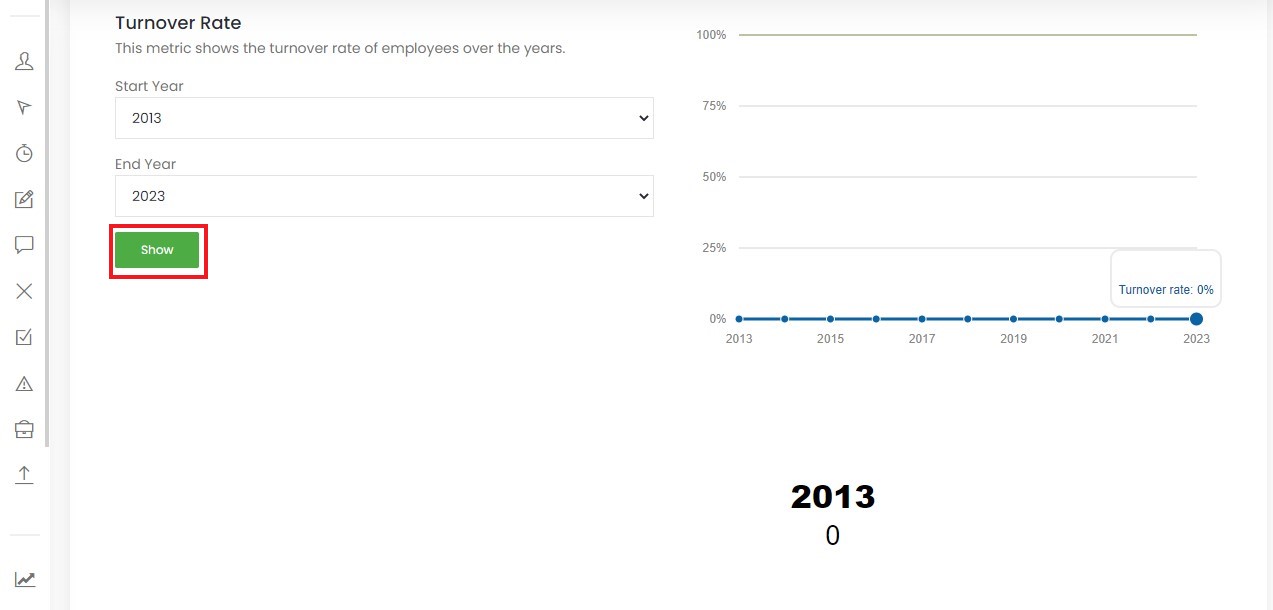
Turnover Rate:
The Turnover Rate metric displays the percentage of employees who have left the company over a certain period of time. You can select the start and end year to view the turnover rate for that period. The Turnover Rate metric will display a graph showing the percentage of employees who left the company during that period.
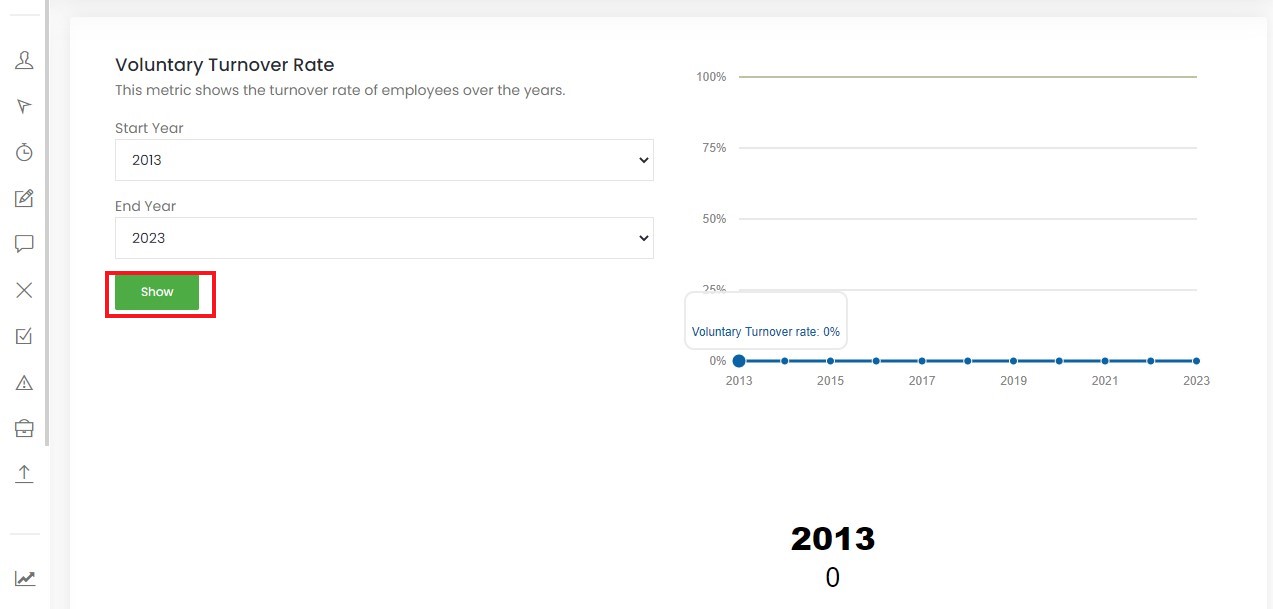
Voluntary Turnover Rate:
The Voluntary Turnover Rate metric displays the percentage of employees who left the company voluntarily over a certain period of time. Voluntary turnover refers to employees who leave the company on their own accord, such as for personal reasons or to pursue other opportunities. To view the voluntary turnover rate for a specific period, select the start year and end year for the period you want to view. The Voluntary Turnover Rate metric will display the percentage of employees who left the company voluntarily during that period.
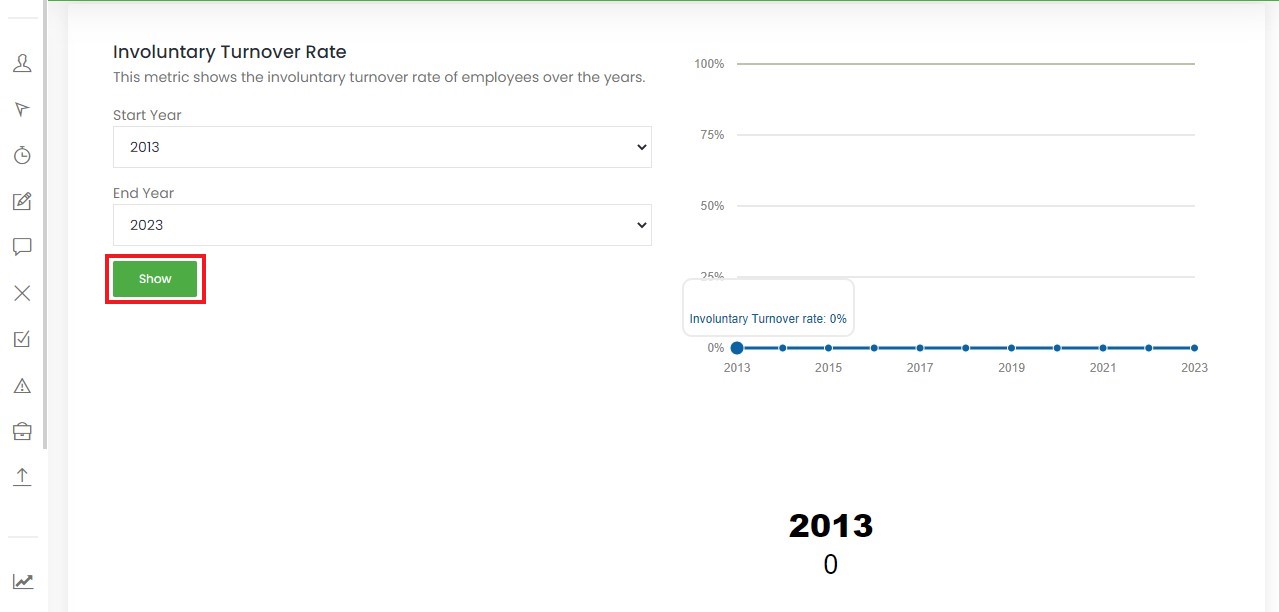
Involuntary Turnover Rate:
The Involuntary Turnover Rate metric displays the percentage of employees who left the company involuntarily over a certain period of time. Involuntary turnover refers to employees who were terminated by the company, such as for poor performance or misconduct. To view the involuntary turnover rate for a specific period, select the start year and end year for the period you want to view. The Involuntary Turnover Rate metric will display the percentage of employees who left the company involuntarily during that period.
By monitoring these turnover metrics, you can identify areas where improvements can be made to employee retention, satisfaction, and engagement.